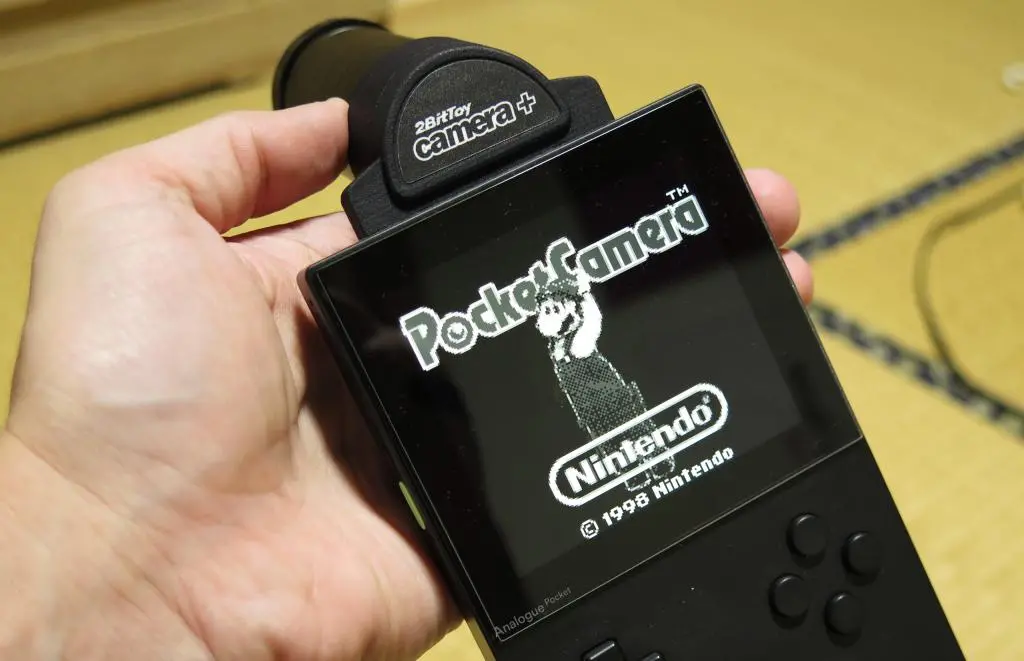
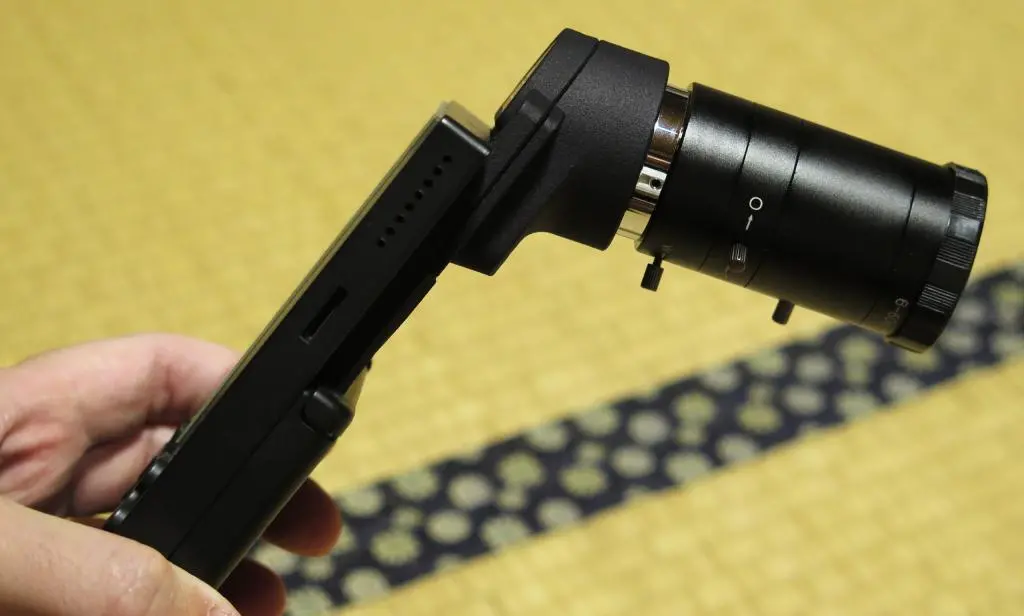
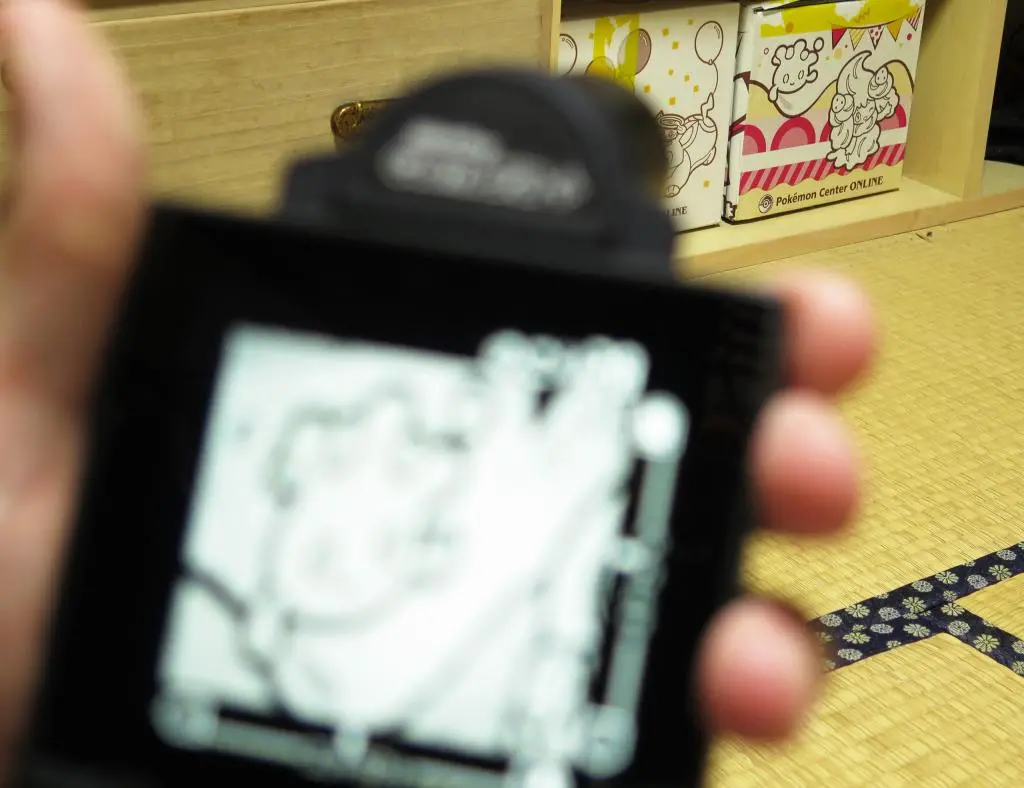
Back in February, people began circulating a video about a mod for the GameBoy Camera. Macho Nacho made a video about how you could take apart your GameBoy camera, and put it into a new shell created by 2BitToy. This shell used a CS mount ring, which would allow you to attach any CS mount camera lens to the GameBoy camera. People have made GameBoy Camera mods before. But, this was the first non-destructive, compact, and stable modification made easily available.
Here's the website detailing the mod: https://2bittoy.carrd.co/
It looked really simple and it wasn't too expensive. The Analogue Pocket has recently revived my interest in retro handheld accessories, so I ordered all of the parts and let things slowly arrive over time. Now that it's Spring Break, it's time to put everything together!
I was really surprised how fast and easy it came together. You can look through the pictures below to see how I assembled everything together. Macho Nacho's video also shows the step-by-step process of putting together the camera.
One thing to note! In Macho Nacho's video, he doesn't recommend using this mod with the Analogue Pocket. However, he's using Version 1 of the 3D printed shell. When I purchased the parts, Shapeways had Version 2. Version 2 is a little fatter than the original.
With the whole thing assembled, it is really tight when fitting it into the cartridge slot of the Analogue Pocket. This may or may not be a problem in itself, BUT there is no movement of the cartridge after it's inserted. It is very solid. That said, when actually taking pictures, I'm not going to hold it like a GameBoy. I plan on holding it in the middle to balance all of the weight.
There are 3 overall steps required to make this once you've gathered all of the parts: (1) taking apart a GameBoy Camera, (2) glueing the CS mount ring and IR filter, and (3) putting everything together. I let the Epoxy sit overnight to harden, but otherwise, it took me no longer than an hour to do everything. It was really fast.
I would recommend glueing the CS mount ring and IR filter first. Then, the disassembly and assembly can be done together very quickly.
Macho Nacho's video details all of the parts and tools you'll need, but I'll reiterate them here for comparison.
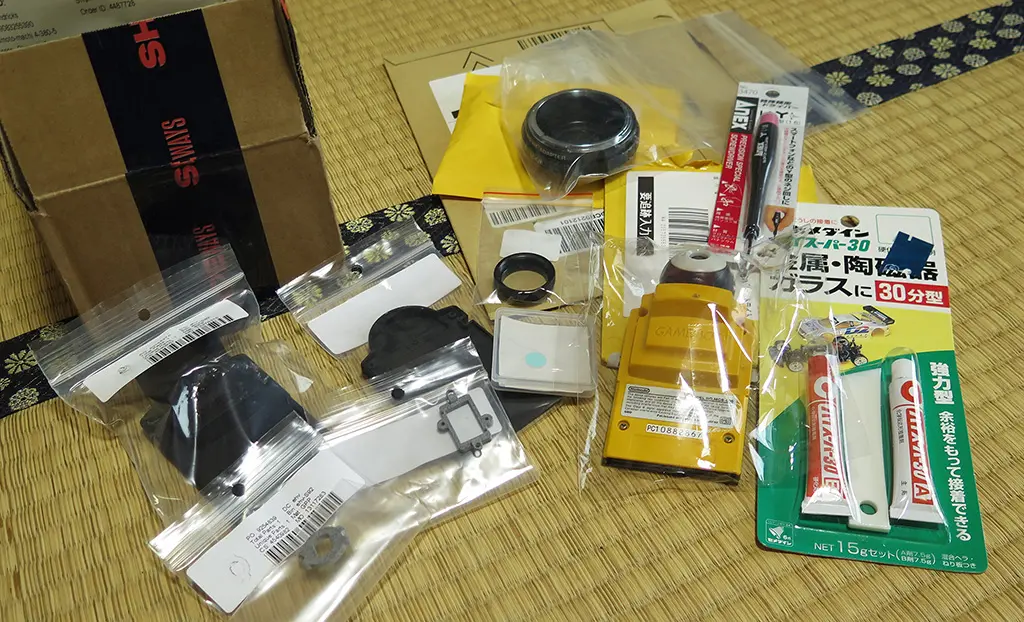
There are 5 main set of parts you'll need to create the Camera Plus.
1. You'll need an original GameBoy Camera. You'll take this apart and use the insides. If you don't already have one, you'll have to search on eBay for one. I got one from Yahoo Auctions for 2930円 with shipping.
2. You'll need a set of 3D printed plastic components to create the new shell for the Camera. You can print them yourself using the files from 2BitToy's website. Or, you can buy printed ones from ShapeWays. There are 4 total: The front and back shell, the sensor mount, and the IR filter mount. With shipping to Japan, this was $92.83
https://www.shapeways.com/shops/2bittoy
3. This is optional, but it's probably worth it. You'll need a 10mm x 1.0mm IR Filter. Linked below is the one that I purchased. It was 1200円.
https://www.amazon.co.jp/-/en/gp/product/B07GFMMK5V
4. You'll need a 5mm CS Mount Lens ring. This will be glued to the back shell and used to screw in the lens. It was 816円
https://www.amazon.co.jp/-/en/gp/product/B01N0XBD6A
5. Lastly, you'll need a CS Mount Zoom Lens. This is the one I purchased. Only 2660円!
https://www.amazon.co.jp/gp/product/B07H2VTQX9
Altogether, the materials cost 7606円 and $92.83, a total of about $150. Actually, I suppose this isn't so cheap after all. Although, your mileage may vary depending on how cheap you can get a GameBoy Camera and Lens.
You'll also need a few totals to disassemble the GameBoy Camera and glue some parts together. This adds a little bit more to the grand total.
1. You probably already have a Phillips screwdriver, but you need to have one fine enough to remove small screws.
2. You'll also need Epoxy to glue the Lens ring to the back shell and the IR filter to its mount. You may already have this, but it's easy to buy at your local hardware store. You can see the brand I purchased from my photos.
3. Something you probably don't have is a Tri-point screwdriver. Old Nintendo products used screws with three divots in them, rather than a flat-head or a Phillips. I did not already have this. They are readily available on Amazon, though. I bought the following one.
https://www.amazon.co.jp/-/en/gp/product/B0162MMGSS
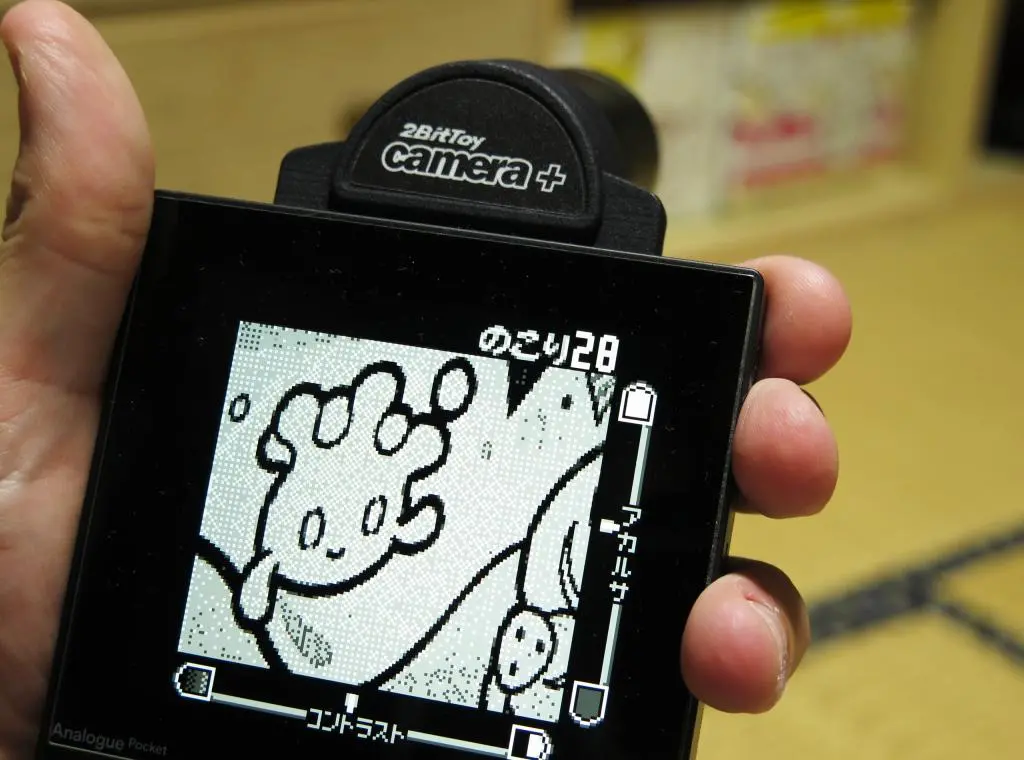
It is uncanny how much definition and versatility this modification adds to the GameBoy. You can take a picture from across the room by zooming in and focusing using the dials on the lens.
I can't wait to take this thing out in the field and take some photos.
