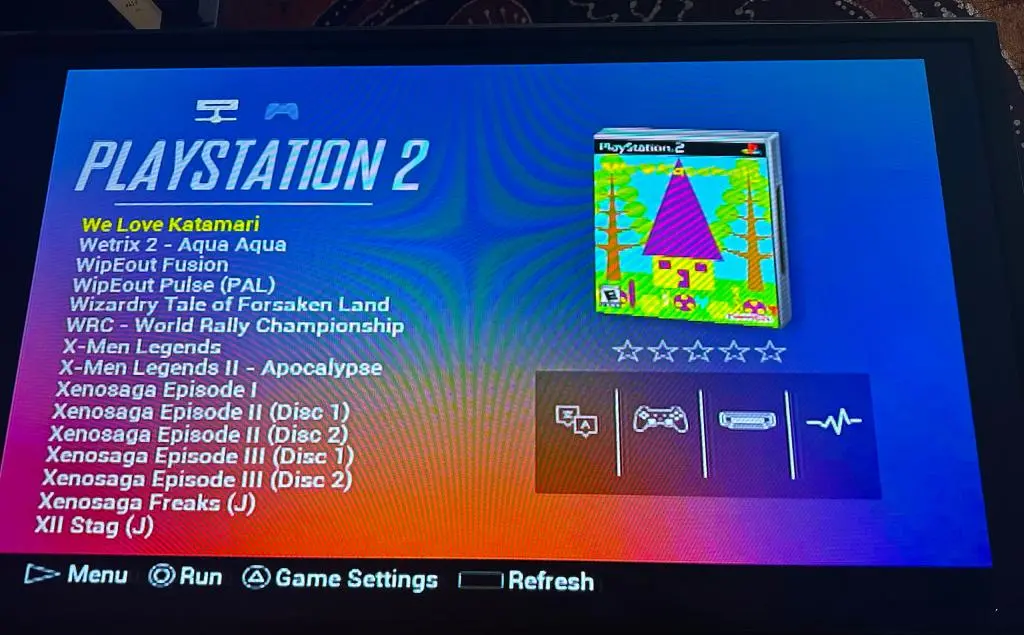
Lately I have revisited the Playstation 2, my favorite console of all time. I played the PS2 for hours and hours during college, made some amazing friends through playing games, and have amazing memories of those times. So, I wanted to relive those memories as well as return to a time when video games began evolving into something with more complexity, both for story and gameplay.
I wanted to return to the PS2 in the same way I've come back to other retro consoles thanks to the Analogue Pocket. I wanted to have a significant library of games that could easily be stored and sifted through digitally, as well as having them look their best on a modern TV. The PS2 is also backwards compatible with Playstation 1 games, so I wanted to be able to play those too. After messing around with things for about a month, I finally have everything set up.
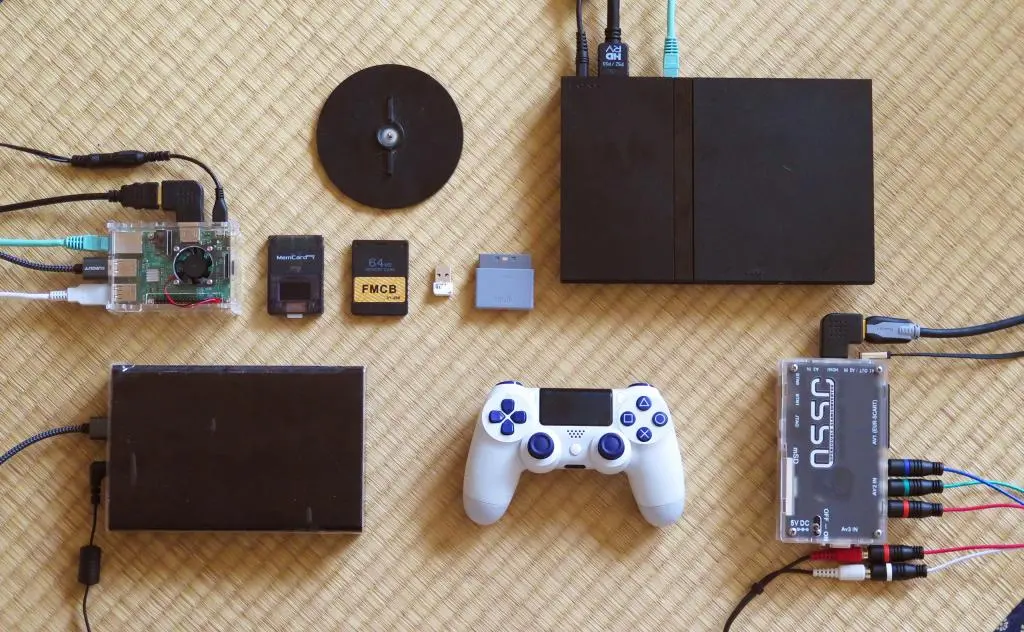
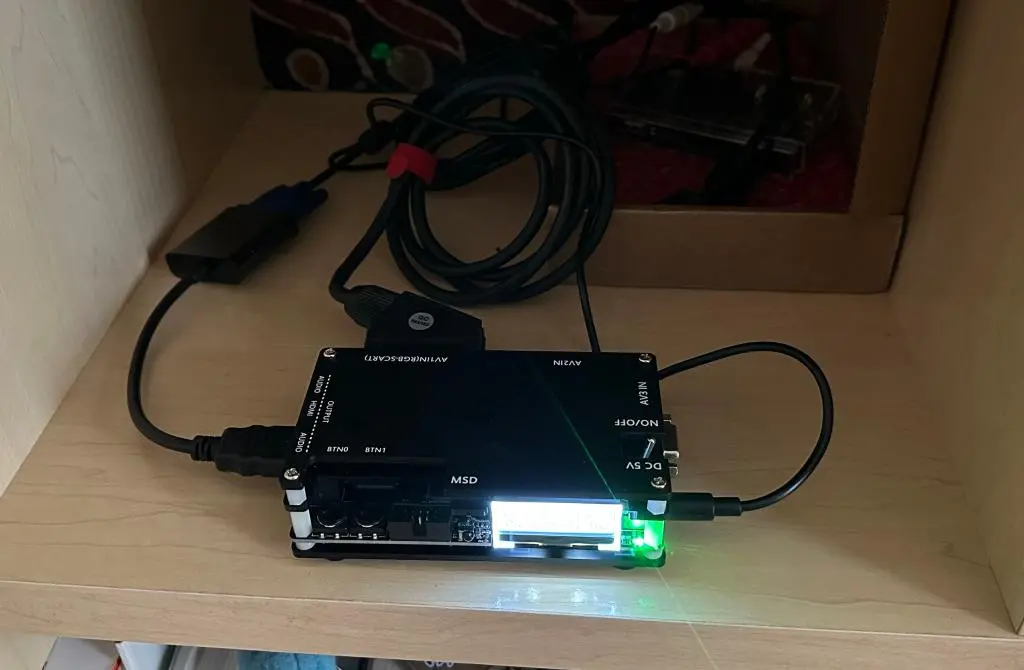
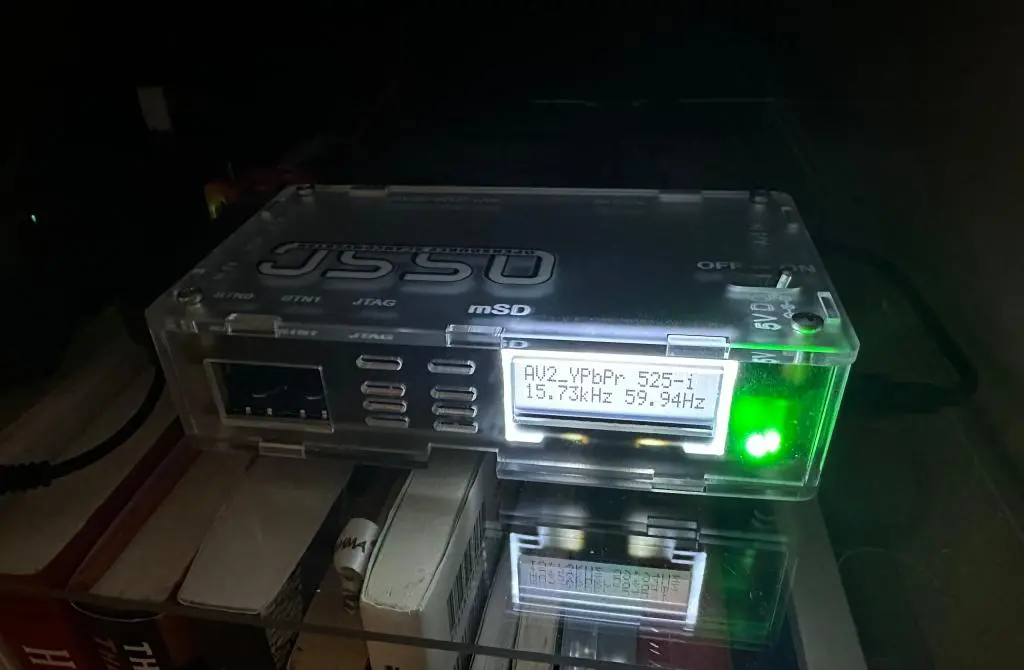
The overall set up isn't too complicated, but it has a bunch of parts required for everything to work together. To quickly explain, I'm using a memory card with Free McBoot on an original Playstation 2 slim to run Open PS2 Loader. I have a Raspberry Pi acting a network file server that OPL is connecting to in order to load games. I have a 4tb hard drive connected to the Raspberry Pi where all of the games are stored. And, the PS2 is using component video cables connected to an OSSC to digitize the video and send it to my modern TV.
All of this was inspired by another one of Tito's YouTube videos:
https://www.youtube.com/watch?v=DVCFbJCPtO8
At the center of the entire set up is an actual Playstation 2. None of this entire process modifies the original console whatsoever. Everything extra can be unplugged from the Playstation 2, and it'll be the same as it was 20 years ago.
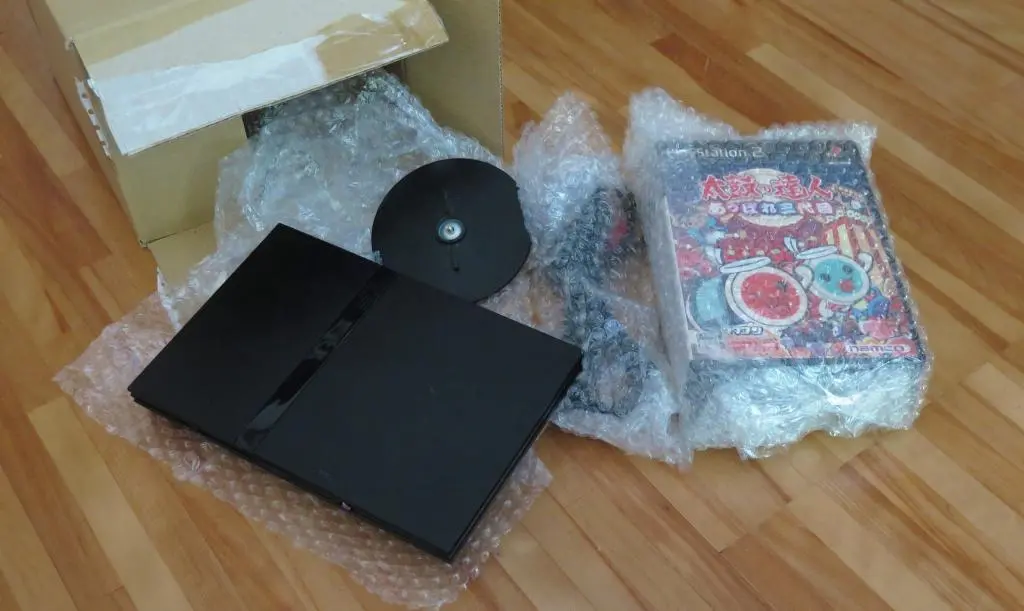
My original Playstation 2 Slim is 10,000km away back in the United States, so I bought a Japanese Slim from Yahoo Auctions. For the best possible compatibility, people had recommended the original Slim release, so I bought a SCPH-70000 model. It was really cheap at only 3000yen, and it came with the vertical stand and a few games.
In later revisions of the Playstation Slim, they moved Playstation 1 processing into software rather than hardware. They also removed legacy hard drive support, which isn't even available for the Slim.
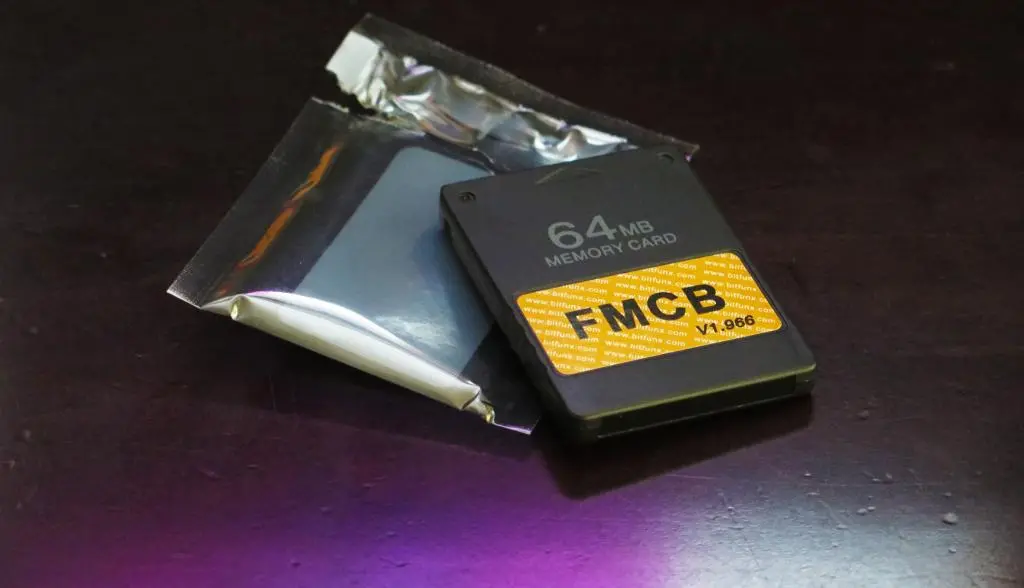
In order for any of this to work, we need access to the Playstation 2's file system and be able to run unofficial applications. In particular, we need to be able to run Open PS2 Loader. Creating your own Free McBoot memory card from complete scratch has a lot of steps, but these days, you can easily buy a pre-built Free McBoot memory card from Amazon. I bought one from Amazon JP for only 1500yen.
Official Playstation 2 memory cards have the Magic Gate branding on them, which acts like a Seal of Approval ensuring that all games are compatible with it. This card doesn't have such approval and it's also 64mb compared to the official 8mb limit. Because of this, some games don't like it. We Love Katamari in particular has some saving problems.
One really nice thing about this card is that it came with absolutely everything installed on it. It already had OPL, all of the retro game emulators, and other necessary applications.
Going one step further, 8bitmods released a device called the MemCard Pro2, which they restocked a month or two after my initial setup was complete. It is advertised as the "the last memory card you'll ever need," and with this, I no longer need a dedicated memory card with Free McBoot. Although, having an extra card with Free McBoot is handy when moving files around from Memory Card to Memory Card.
All of the details for the Memcard Pro2 are discussed in another post: /memcard-pro2-for-ps2
While the hardware center is the Playstation 2 itself, the software center is the Raspberry Pi. The Raspberry Pi acts as a File Server and it is directly connected to the PS2 using an ethernet cable.
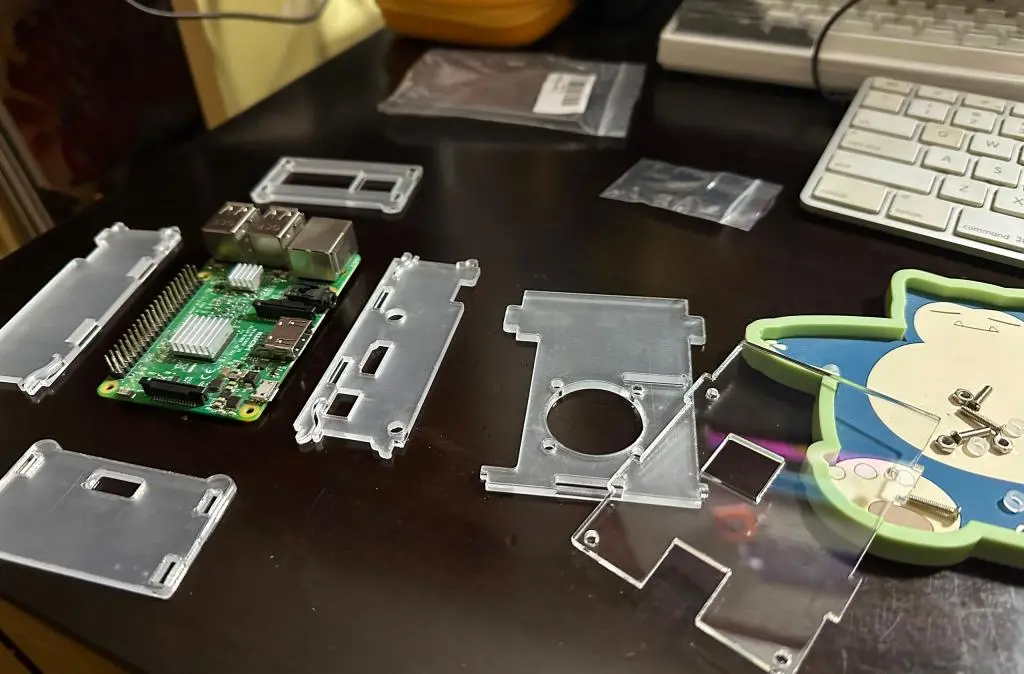
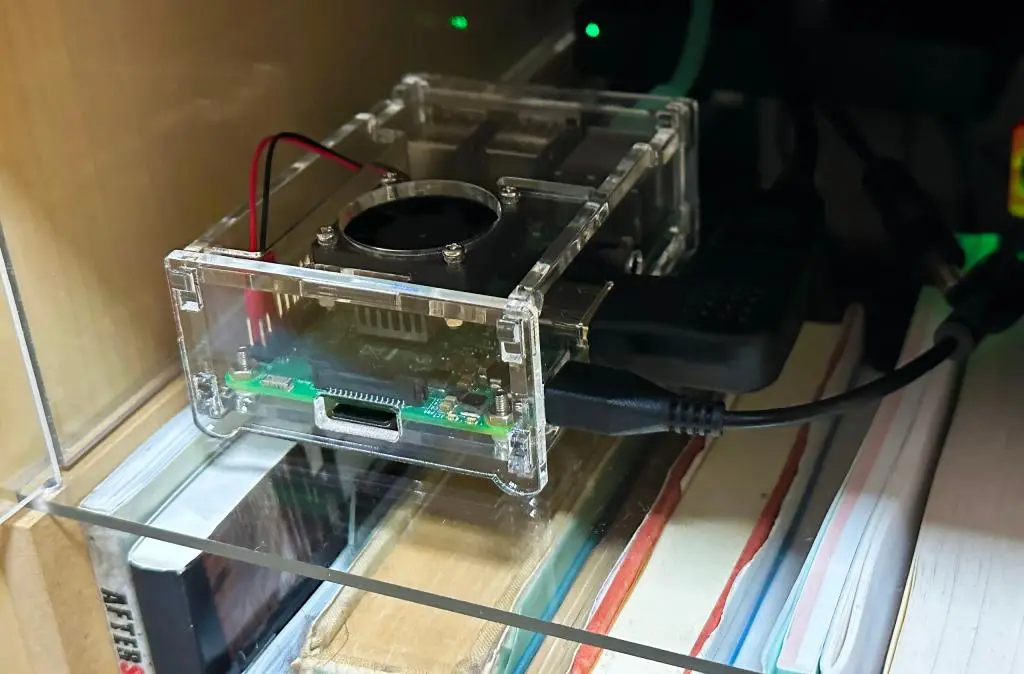
I didn't own a Raspberry Pi, so I went to Yahoo Auctions again to find a cheap one. I found a Raspberry Pi 3 with heatsinks installed and an AC adapter for 4000yen. Good deal! Later, I bought an acrylic case with a fan for only $4 from AliExpress. Also, I had an extra LCD Monitor and a extra keyboard, so I'm using those with it, too.
In order to set up the SMB Share, you need to flash an SD card with the Playstation SMB Share. This image is found here: https://github.com/toolboc/psx-pi-smbshare. I used a program called balenaEtcher to put this image on one of my extra micro SD cards.
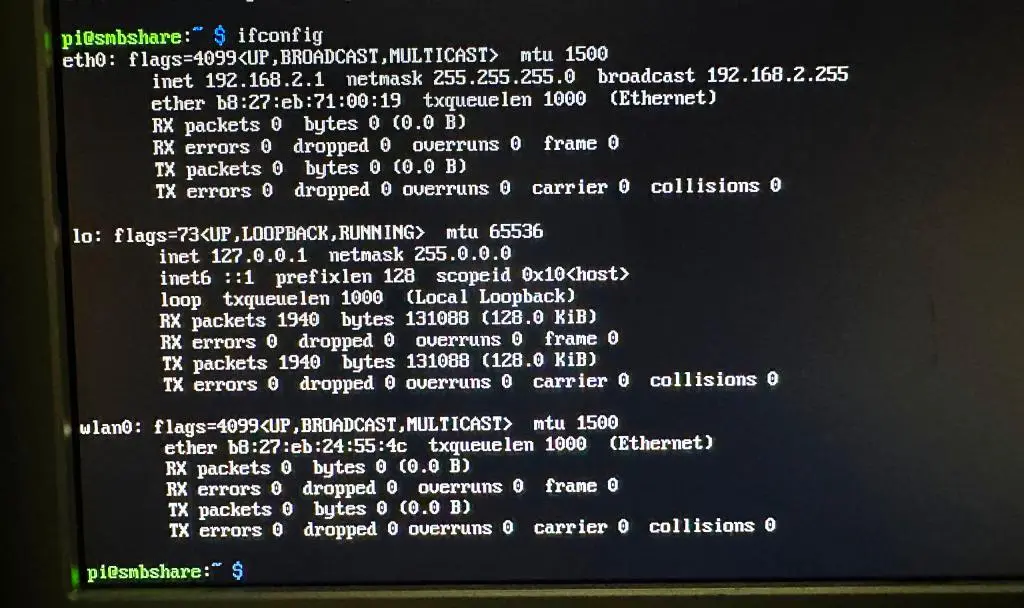
On the initial power-up, it takes a little time to do some set-up, but eventually you'll be given a log in prompt. This happens every time the Raspberry Pi boots up. The default username is pi and the default password is raspberry. With everything set up, you'll need IP information for OPL's connection. Type in ifconfig and you'll be given the network data.
inet 192.168.2.1 netmask 255.255.255.0 broadcast 192.168.2.255
This is the line that we care about. The Pi's IP address is 192.168.2.1. To turn off the Raspberry Pi, type sudo shutdown -h now. It will shutdown, but then you'll need to unplug it. There's no actual on/off switch.
Note: the Raspberry Pi doesn't like to plug and play. Anything you have plugged in on start up, it will auto mount, but if you plug in something after it has already been turned on, you need to manually mount the device, whether it's a keyboard, a monitor, or a usb drive. Plug in everything before you give it power for best results.
The SMB Server expects a USB device plugged in the Raspberry Pi to serve files from, and the device must be formatted exFat.
Every one recommends to use a USB Flash Drive, but standard USB Flash Drives aren't able to scale. They're fine if you want to have a couple of games, but I want to have a large library of games. Modern USB hard drives are pretty big. In fact, I have a few 5tb SSD drives for backing up files. But these are powered through USB. The Raspberry Pi uses a measly amount of power so it can't power anything through USB.
I had an older 4tb Western Digital hard drive with an actual hard disk, not a solid state or a flash drive. This drive has its own power connection separate from USB. By plugging this in and turning it on before powering on the Raspberry Pi, it works just like any other USB storage device.
The physical chain between the Playstation 2 and the games is complete, but there are two more steps. First off, we need some games. You can illegally download games for several different places online. These files come in two different flavors: ISOs and bin/cue files.
Open PS2 Loader is the UI application used on the Playstation 2 to select and run these files, so they need to be in a particular format and have a particular file naming scheme. The USB Drive also needs to be in a particular file structure for OPL to find the games.
OPL Manager is a PC program that will do all of this for us. You can download it here or just search on Google if the location changed.
When OPL Manager first starts, it will ask for a base location. For me, I use a temp location on my USB drive for a few reasons. (One) OPL Manager can take a while to load if there are a lot of games at the location. So, when using a temp location it only needs to load the few games I'm working with at the time. Likewise, these games take up a LOT of space, so (Two) I don't want to process them locally and copy them later. This takes up a lot of space on my local computer, and takes time copying to the hard drive later. I want to work with everything on the drive, and move files around on the drive after.
Once a base location is selected, it will create all of the folders OPL requires. PS2 games will primarily go in the DVD folder. The CD folder is also for PS2 games that use CD format rather than DVD. This only matters when a game uses other tracks on the disk for audio. I don't think any PS2 game does this. All notable and modern games have their music baked into the game code, so the CD folder can be ignored.
There are a few other interesting folders, particular THM, ART, and CFG. For a further description of these folders, please read my full OPL load out post: /opl-theme-and-loadout
OPL only wants games in the ISO format, so you need to convert CD/Bin games to ISO. OPL Manager can do this. Choose Disc/Convert to ISO under Tools, and select files from there.
Also, OPL wants a particular file format. OPL Manager will mark all the illegal filenames for you and ask you to change them. File names should start with the game's disc id, should not contain certain invalid characters, and should also not be longer than 31 characters. OPL Manager will help you make sure all of this stuff is correct.
Once all of the games are converted, I copy them into the main location and they are ready.
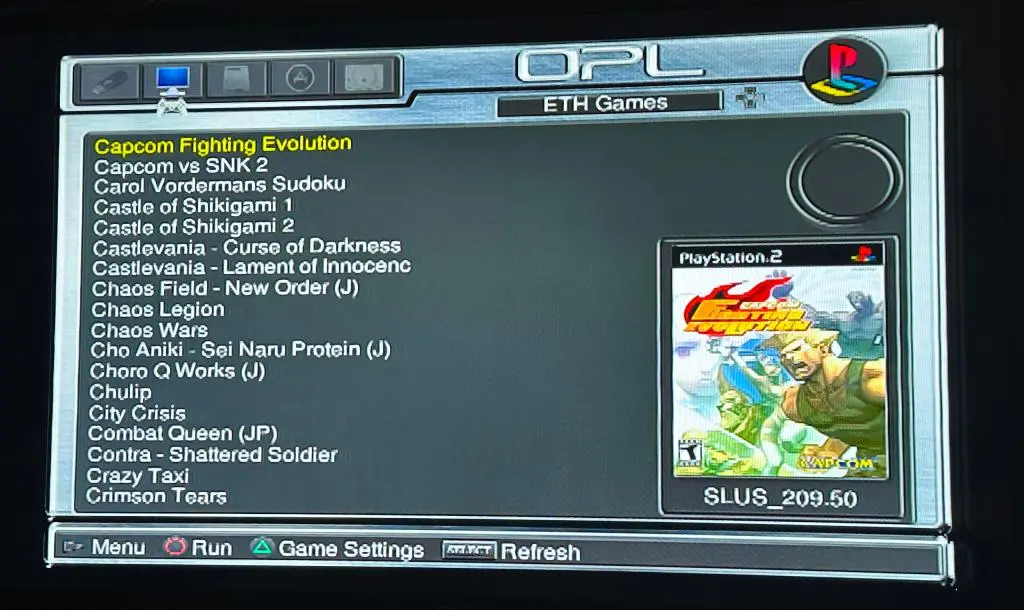
With the games ready, it's time for the Playstation 2 to find them. The USB Drive is plugged into the Raspberry Pi. The Raspberry Pi is turned on and the server is running. Now, the Playstation 2 can be turned on. With the Free McBoot memory card also plugged in, Open PS2 Loader, or OPL is available from the menu. Select it, and OPL will open.
When it first boots up, there will be no games. There's a few things OPL does by default that we'll change later, but the first thing we'll need to do is configure the Network Settings so OPL can find the file server.
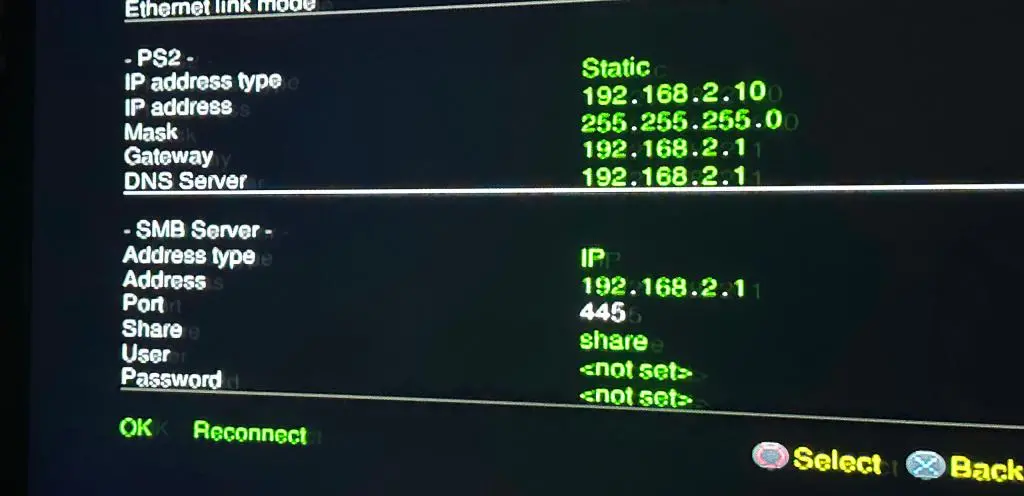
Hit start to bring up OPL settings, go to Network Config, and here is where we will enter the IP information from the Raspberry Pi we received from several steps before.
For the SMB Server, the PI's IP address was 192.168.2.1, and the "Share" folder's name is share.
Note: Originally, my PS2's IP address was 192.168.0.10, but I changed it to 192.168.2.10 to have the same LAN address as the Raspberry Pi. It's not necessary for OPL to work, but it is necessary for POPS to work with Playstation 1 games. Please read the POPS post for more details.
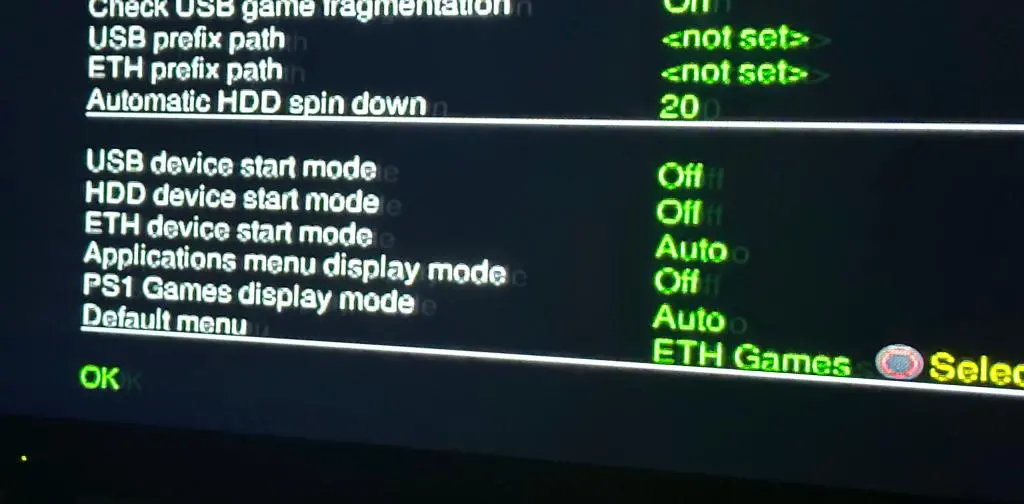
Overall, OPL will serve PS2 games from 3 locations: the USB drive, the hard drive, and the ethernet port. By default, it won't automatically connect to these locations. You need to hit the Circle button to connect manually. Also, the hard drive is selected by default. All of this can be changed in the OPL Setting menu.
By default, I am displaying the Ethernet games on Start Up. Since we're not using the USB Drive and Hard Drive for games, nor are we using any Applications, I disable all 3 of these options in the menu. And for both Ethernet games and Playstation games, I have OPL connecting to these sources automatically on start up. Now, when OPL opens all of my Playstation 2 games will be shown immediately.
Note: I'm using OPL Anniversary Edition which has Playstation as a menu display. The latest versions of OPL have removed the Playstation menu and force everything to be run from the Applications menu for better compatibility.
We can also run Playstation 1 games using OPL. As mentioned above, this is only available through OPL Anniversary Edition as a separate menu. I have detailed that process in a different post:
/playstation-games-on-ps2-opl
OPL allows you to customize its appearance with an overall theme. You can also have artwork and metadata for all of the games. I put all of these details in a different post:
/opl-theme-and-loadout
There is one final link in this entire PS2 chain, and that is the video output. The video game generation of the Playstation 2 was the final generation to output analog video by default. HDMI became the standard for the PS3 and Xbox 360, and now everything is HDMI. Without any additional modification, Component video is the highest quality available for the PS2. I'm using the Retrovision Component cables for the PS2, which are apparently the absolute best.
Analog video must be converted to digital, and that's where I'm using the OSSC.
The OSSC isn't too difficult to get working, but it can send you down a rabbit hole of optimization headaches. I made another post about making Playstation 2 games looking their best using the OSSC in other post:
/using-ossc-with-ps2
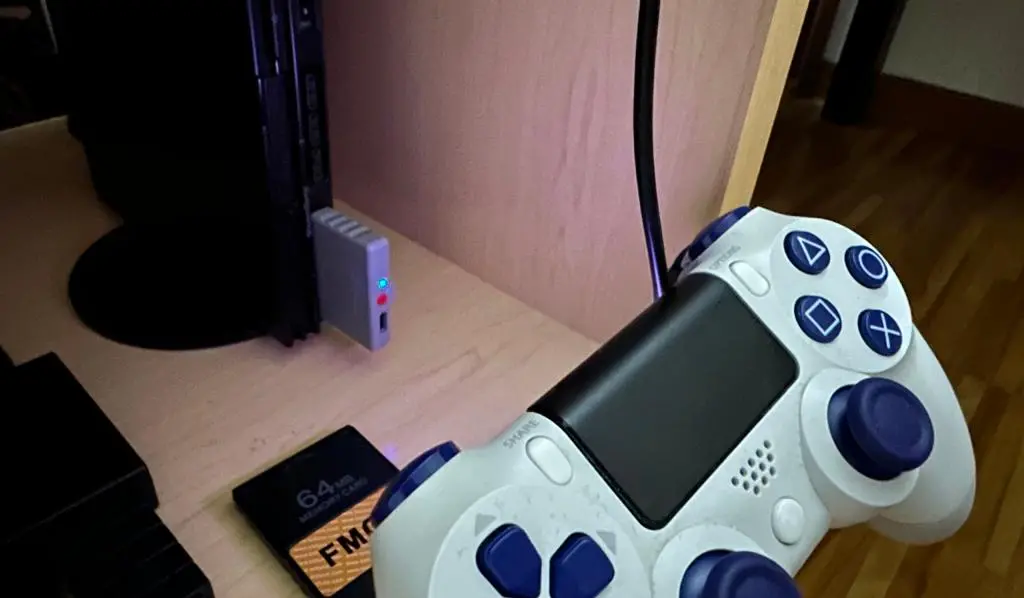
The final icing on this cake is using a Playstation 4 controller on the Playstation 2. With the 8bitdo Retro Receiver controller dongle for the Playstation, you can connect almost any bluetooth controller through the controller port of the Playstation or Playstation 2, and use that to control the games.
I'm using my Playstation 4 controller that I fixed and slightly modified not all that long ago.
Overall, this is my entire chain that serves my Playstation 2 library on my modern TV. The Raspberry Pi 3 is running a local network server serving files from a 4tb hard drive across a wired LAN connection to the Playstation 2. The Playstation 2 is running OPL from the Memory Card which finds these games and will play them. The video signal is being converted by the OSSC to a modern TV. And I'm controlling it all with a bluetooth Playstation 4 controller.
It's a lot of moving parts, and each part in the chain is using its own power outlet, but it works. I can play my favorite games from 20 years ago, and plenty of others that I skipped at the time. :)
