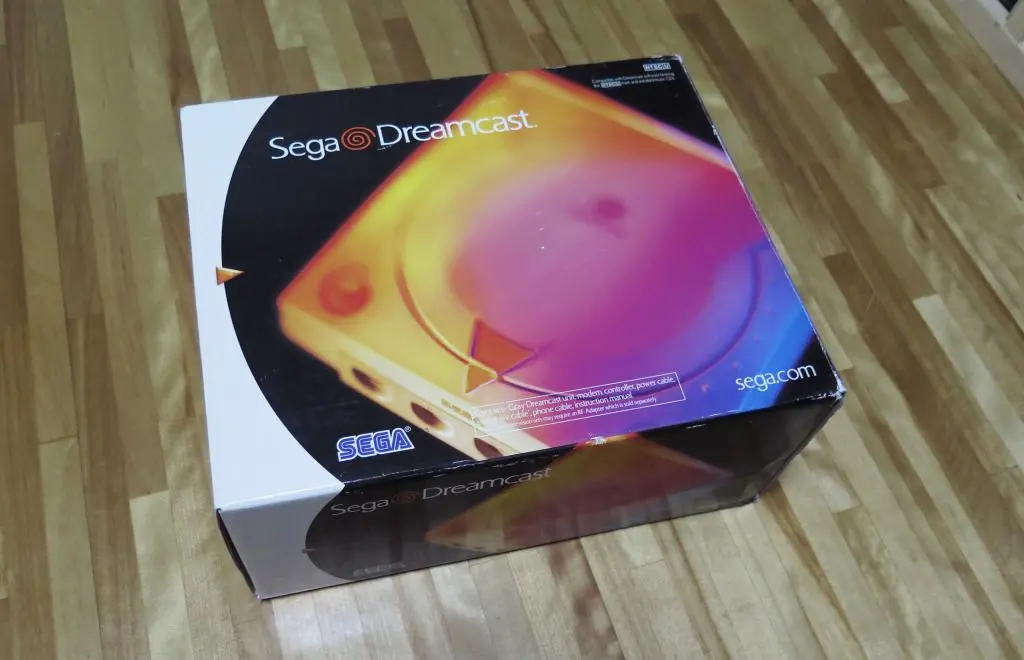
Earlier this year, I started thinking about the Dreamcast again. The recent ADGQ run of Crazy Taxi resparked some dormant brain cells and reminded me of all the arcade fun the console had to offer. Ultimately, back in the day, I would shelf the console in favor of the Playstation 2 and its library of much deeper story telling games. But, the console would occasionally get pulled out of storage when friends were around.
With this wave of nostalgia, I purchased several hardware mods to build an ultimate Dreamcast with all my favorite games available to play at a touch. I received all the packages, but my Dreamcast was half a world away in the United States. This summer, I returned home, and now I have all of my original Dreamcast hardware on hand, and finally took the weekend to put everything together.
Spoilers. It is excellent, and I am amazed how easy it was to install everything and how seemless everything worked on the first try.
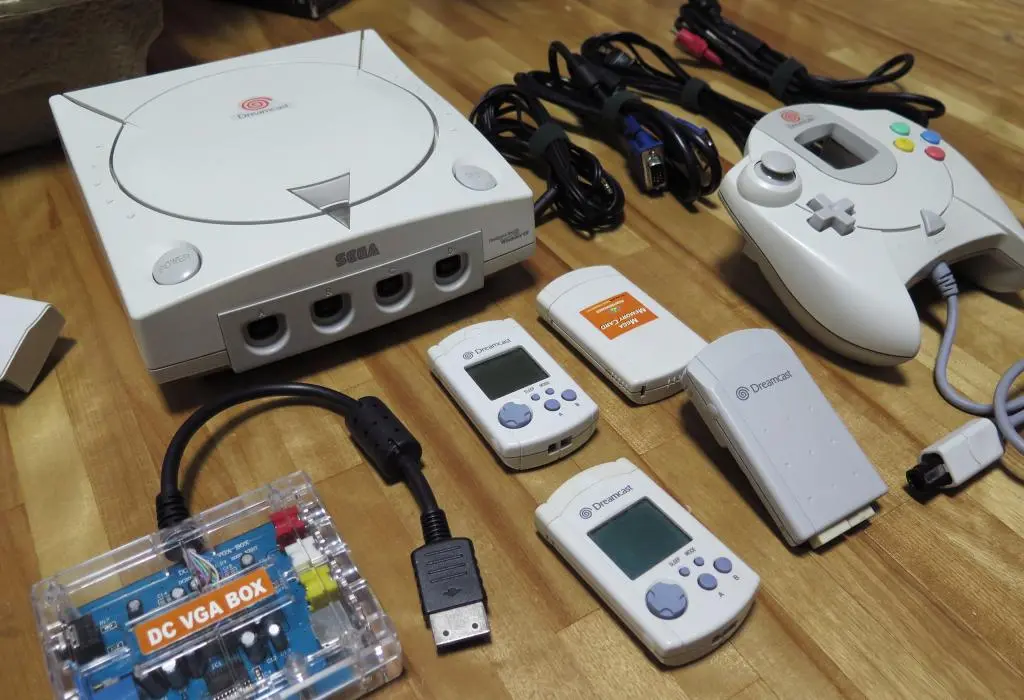
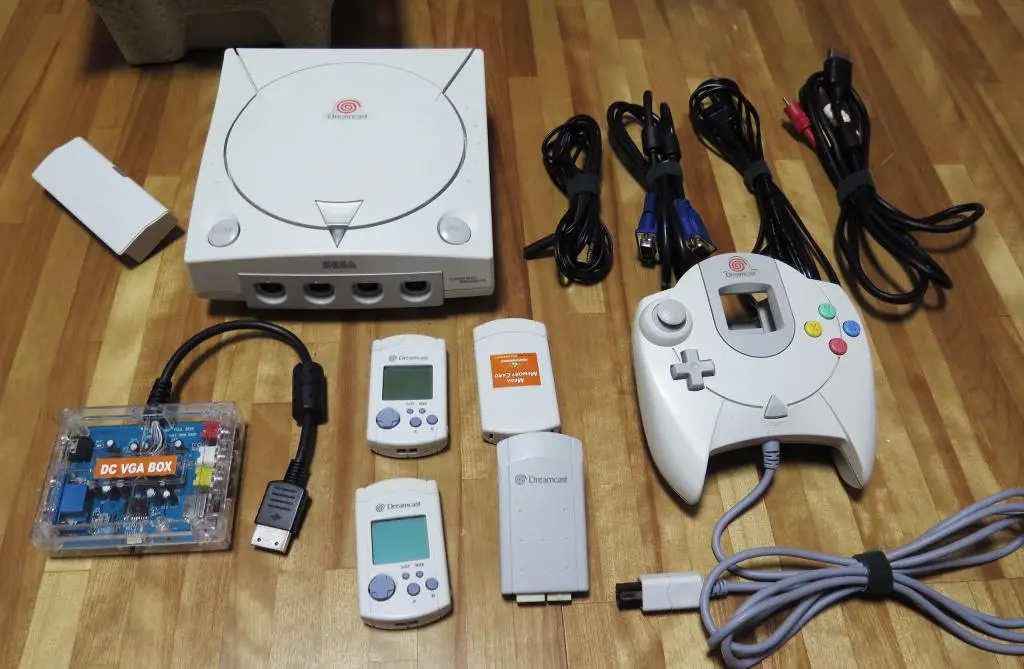
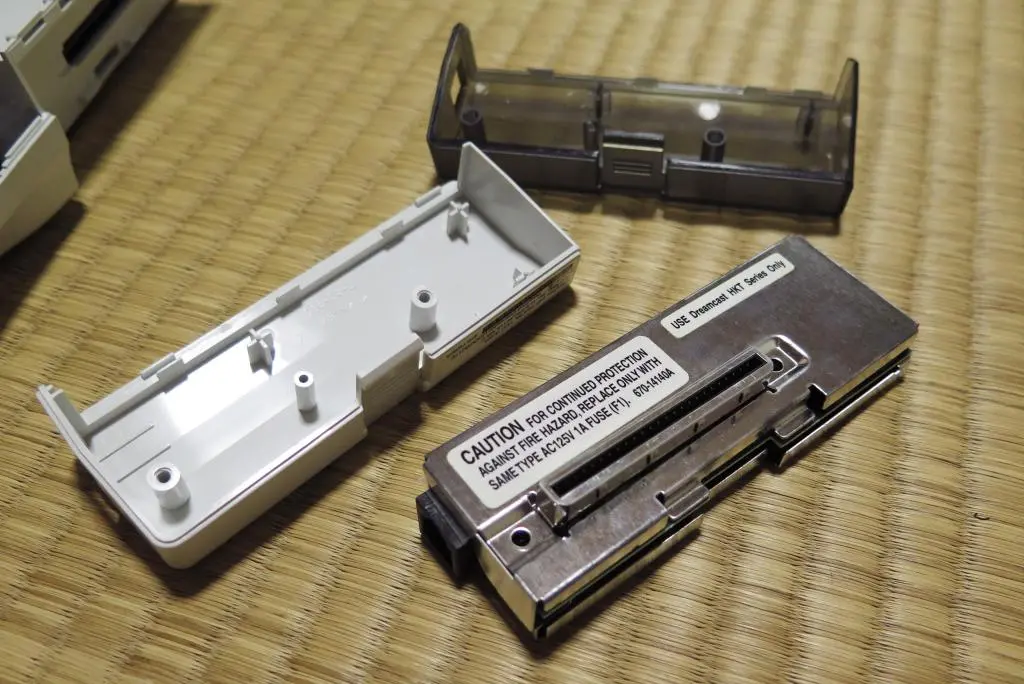
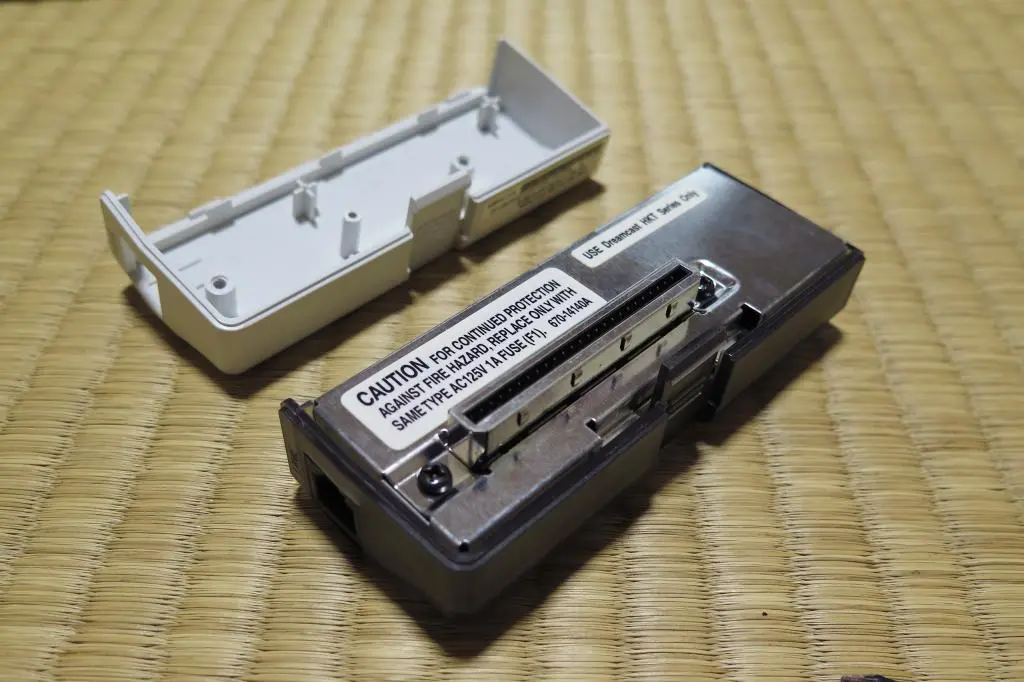
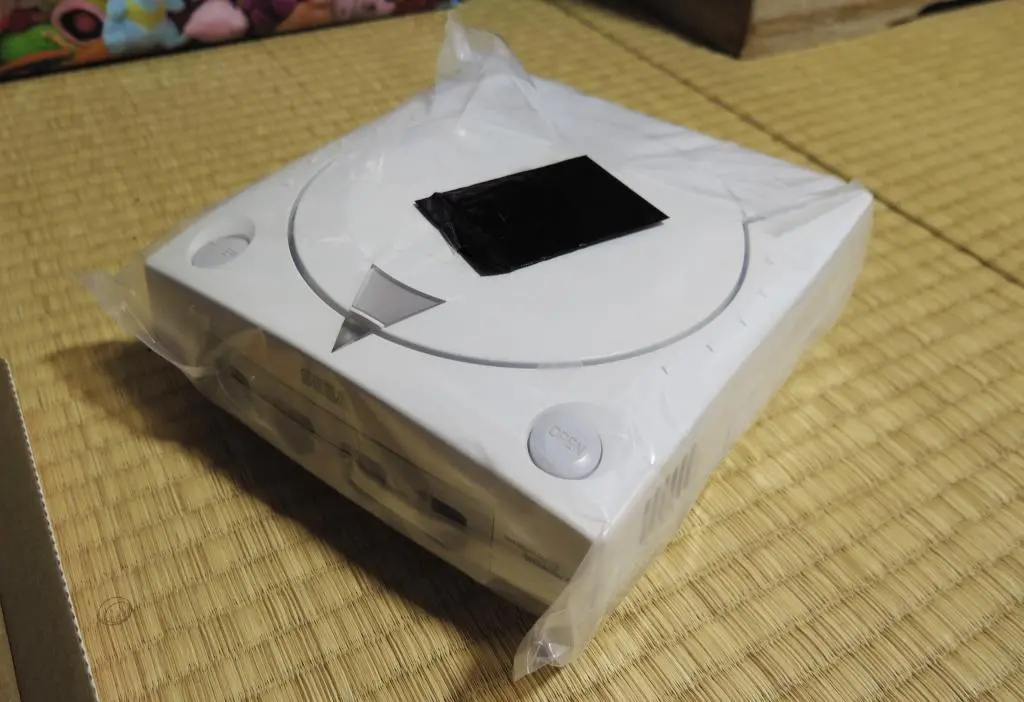
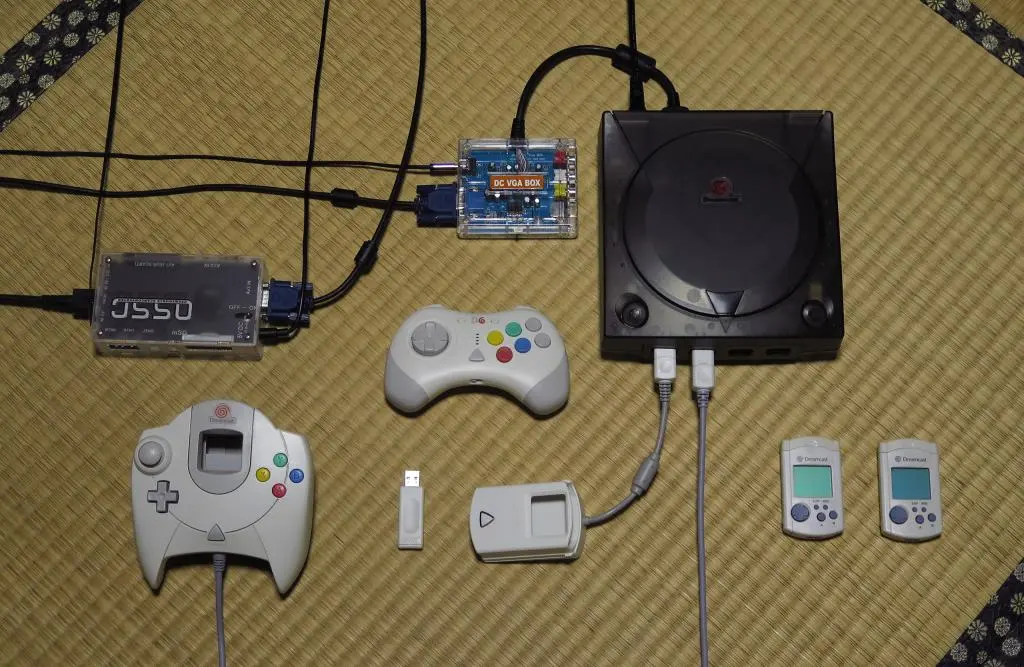
Here is all of my original hardware from back in the day.
There were a few surprises.
First, I had completely forgotten that I bought a VGA box. After really crawling into my memory about when this happened, I do recall hooking it up to my LCD monitor a few times. But I never used it that way for long periods of time because it was a nuisance to my computer set up.
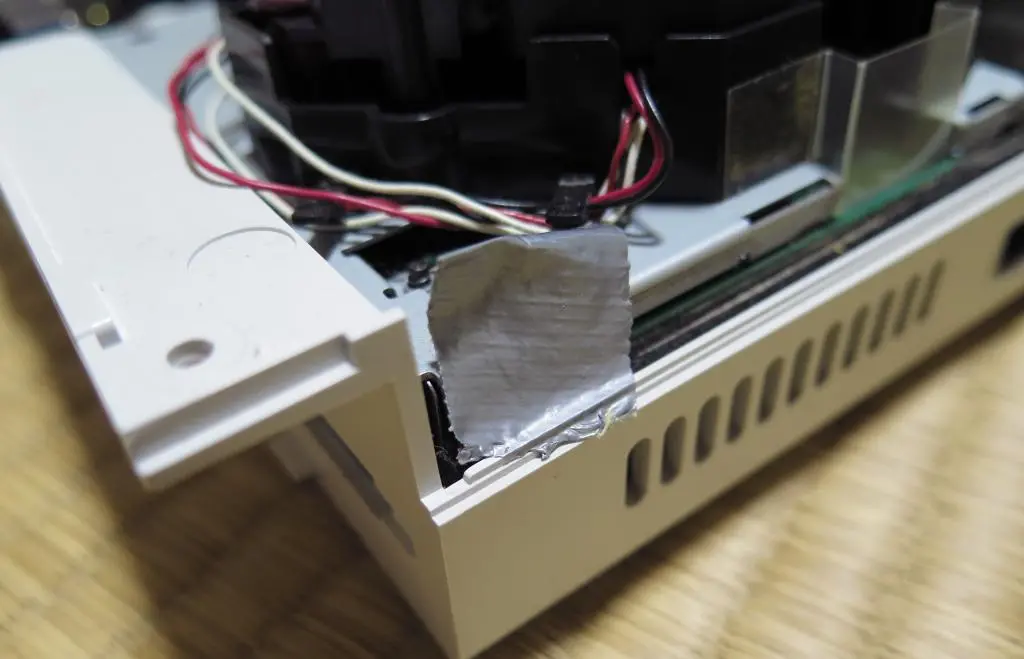
Second, I had also forgotten about some other prior modding. 2007 was probably the last time I had used my Dreamcast. At that time, I had purchased some new Shmup releases and the discs would scrap along the shell inside of the disc tray. I made a few modifications, and eventually taped the lid sensor to always be closed.
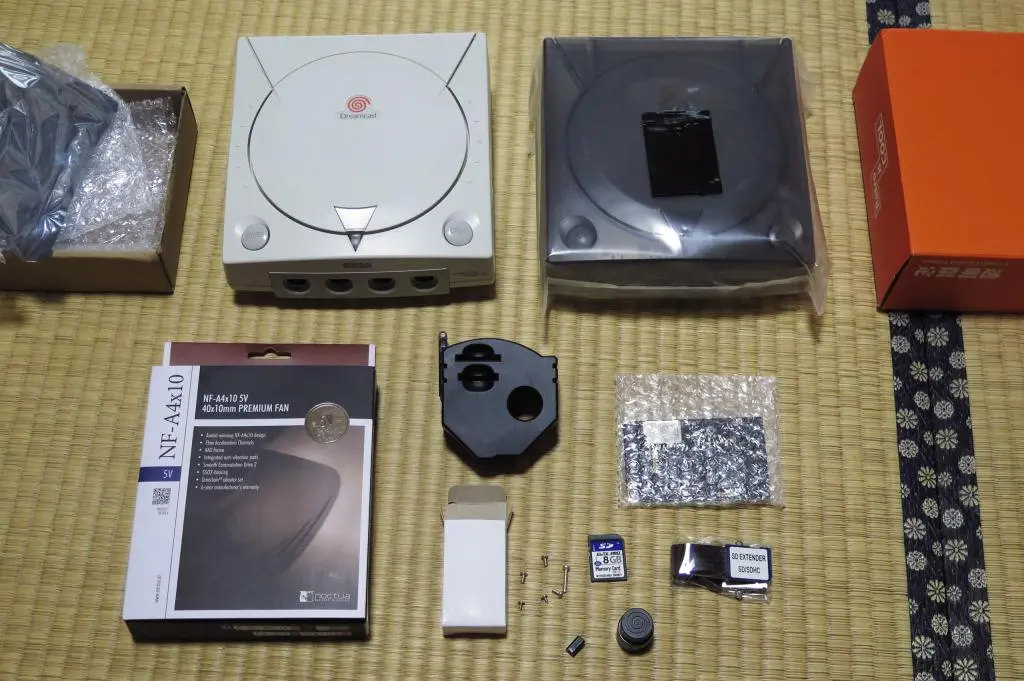
For modding and upgrading the Dreamcast, I purchased the following:
- GDEmu Disc Emulator (8019円 / $53.46)
- Noctua Fan Replacement (4924円 / $32.82)
- DreamPSU Power Supply Replacement (3304円 / $22.03)
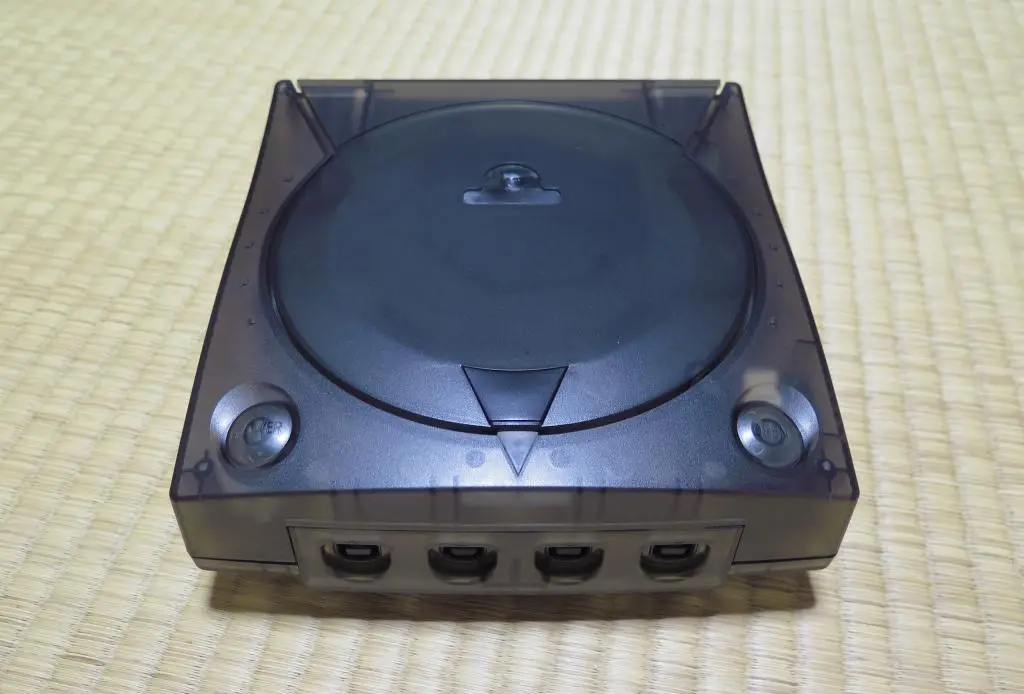
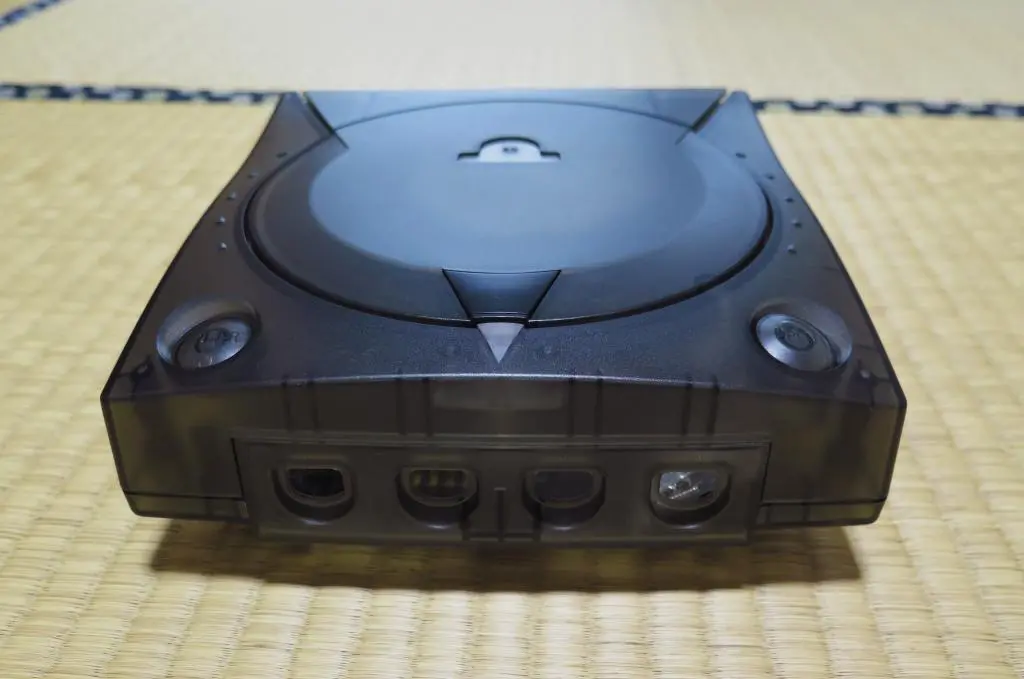
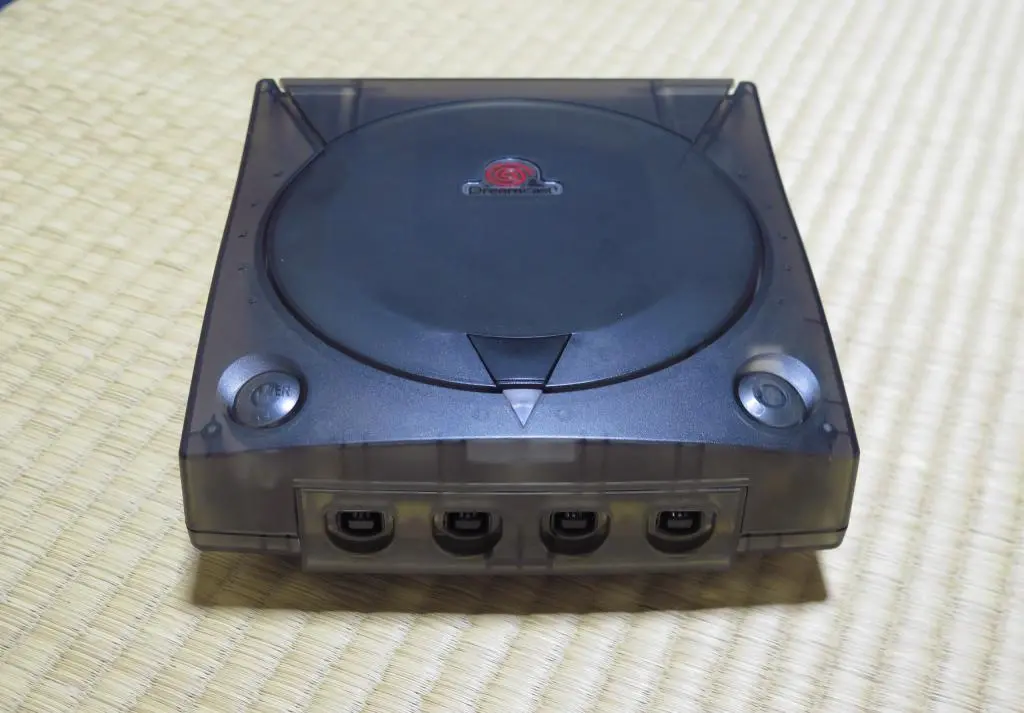
- Console Shell Replacement (in Smoke Black) (4994円 / $33.29)
- Bitfunk Dreamcast HDMI Adapter (2519円 / $16.79)
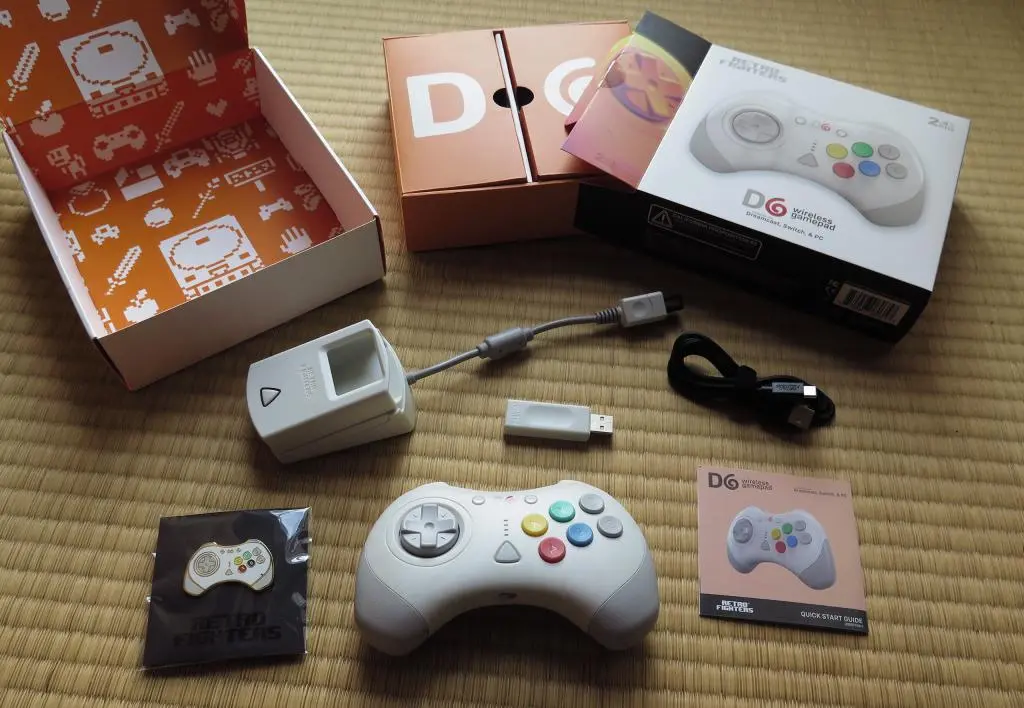
- Retro Fighters D6 Controller (released in Feburary 2025) ($65.89)
- 8BitMods VMU Pro (in Smoke Black) (released in November 2025) ($94.44)
- 128gb SD Card (2865円 / $18.77)
The top 5 hardware mods were purchased from AliExpress from various retailers. I bought the D6 Controller from Retro Fighters directly. The VMU Pro isn't out yet, but it's only available through the 8BitMods site. Those prices include shipping to Japan. Maybe it's a bit expensive, but I think it's a small price to have a dedicated machine that can easily play all of these great games.
I should note that understanding which mods to buy and what was required came from another one of Tito's Macho Nacho YouTube videos, similar to my PS2 build. He put all of this stuff together a couple of years ago.
Ultimately, I decided to skip using the DreamPSU and the HDMI Adapter. Since its release, the DreamPSU has had some criticism. It seems like the DreamPSU doesn't really offer anything new to the Dreamcast, and could potential cause harm. If there's nothing wrong with your current Dreamcast power supply, then there's no reason to get rid of it.
I skipped the HDMI adapter because I am able to get crisp video through the VGA box. I can pass the VGA and audio signal into my OSSC, and use that to display on my TV through HDMI. Also, the HDMI adapter works with the VGA signal, so the few games that don't work with VGA won't work with it anyway.
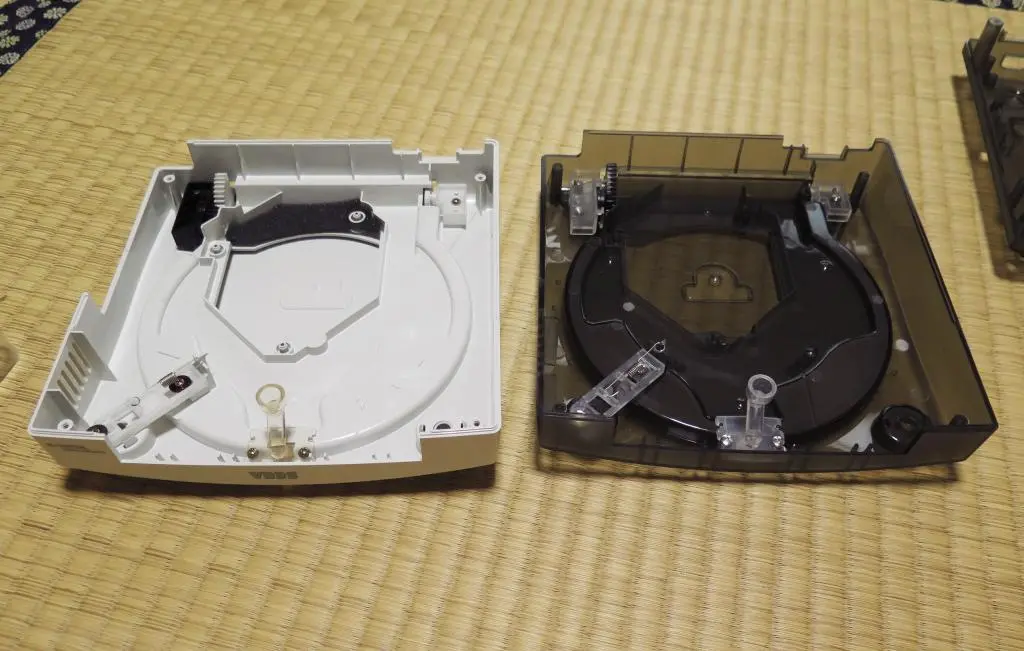
My Saturday afternoon was spent replacing the Dreamcast shell and installing the GDemu and the fan.
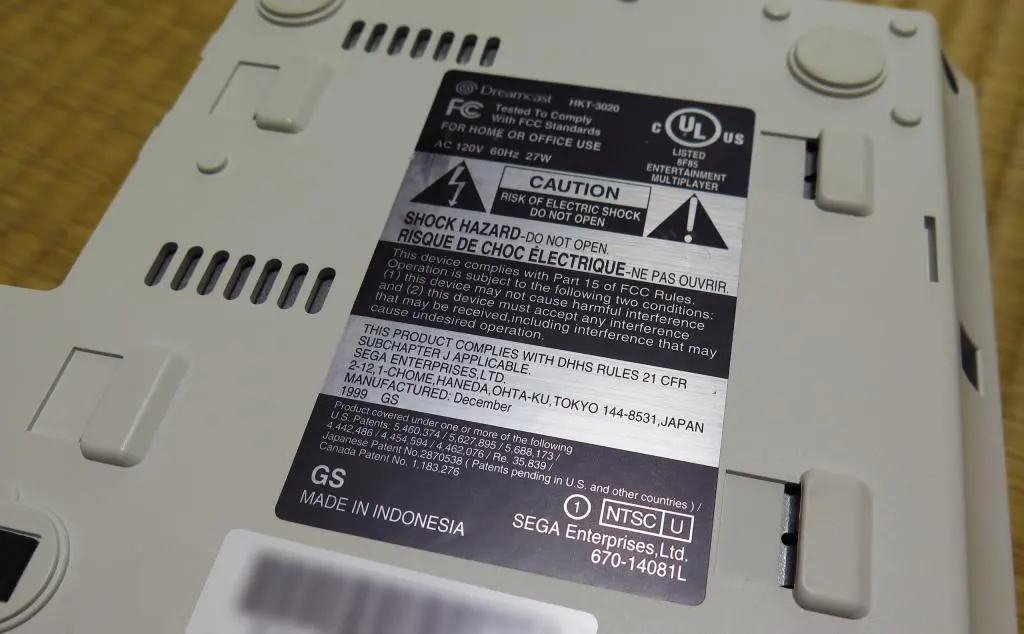
It's important to note that the GDemu only works on version VA1 consoles, denoted by the circled 1 on the bottom sticker. Revision VA1 consoles are the most common, so you most likely own that one. VA0 consoles were only produced through mid-1999, so perhaps only launch models in the US were VA0. The VA1 started production in mid-1999 and continued through late 2000. VA2 revision models began production around October and December 2000, but so they may have come to market in early 2001, a few months before Sega announced the Dreamcast was done.
The Dreamcast can be completely taken apart using a Phillips head screwdriver.
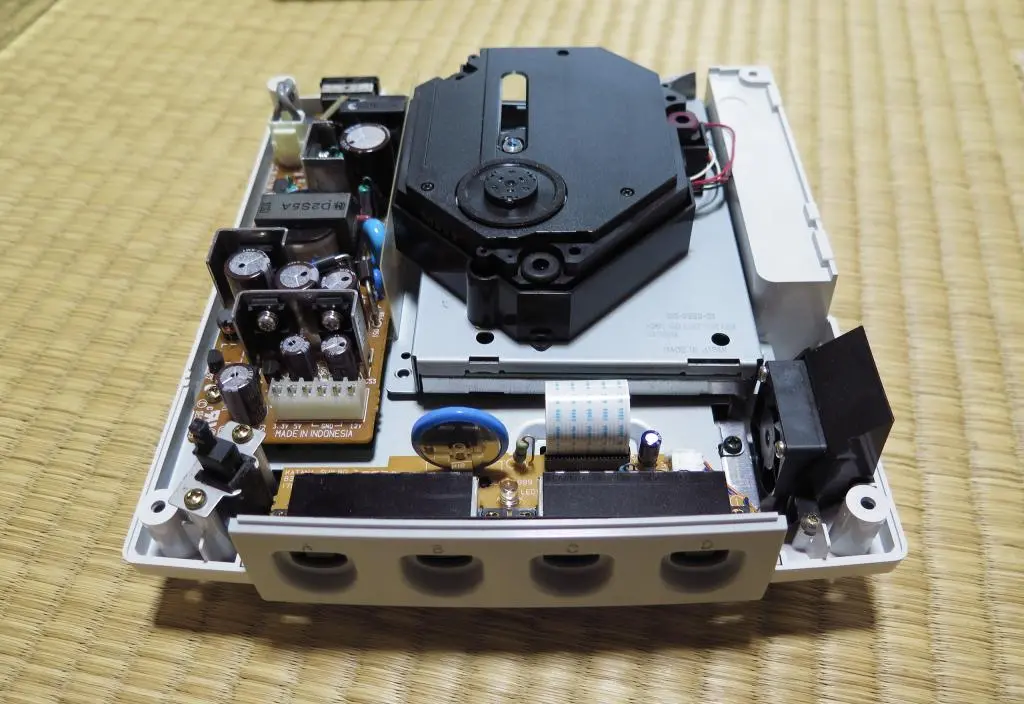
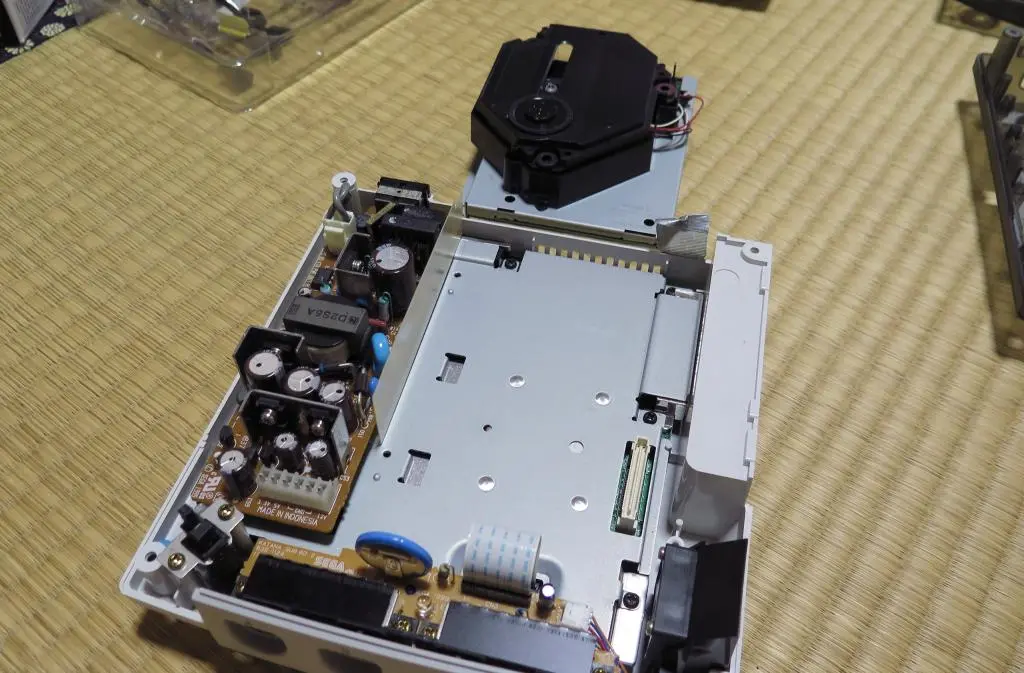
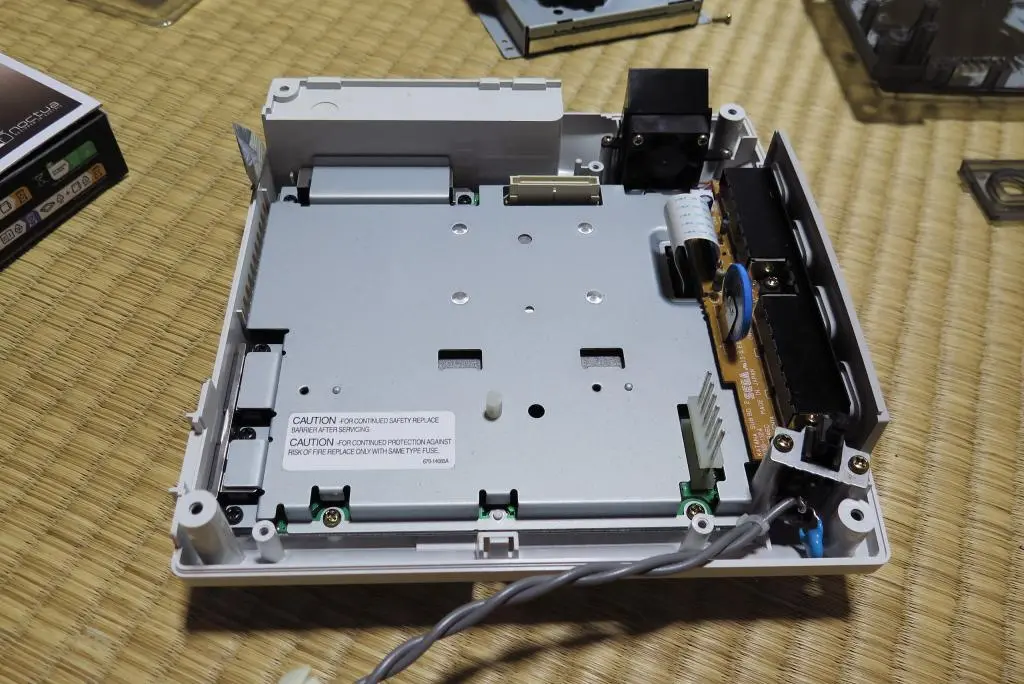
The disassembly starts with the 4 screws keeping the outer shell in place. You'll need to remove the modem to get at the 4th corner screw. With the shell removed, nearly all the inner components are visible.
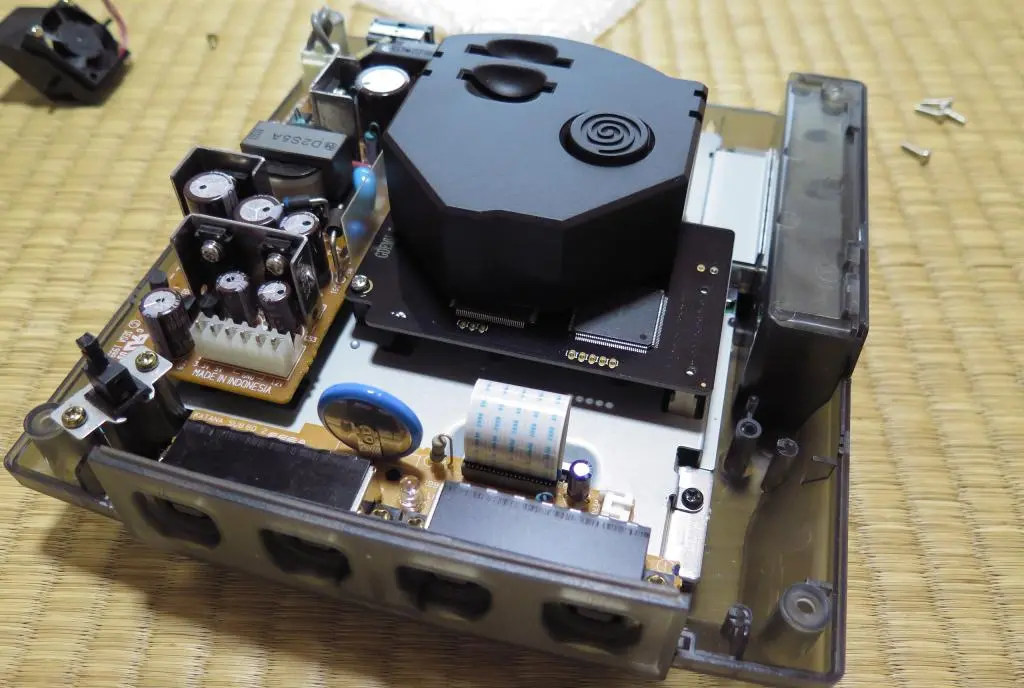
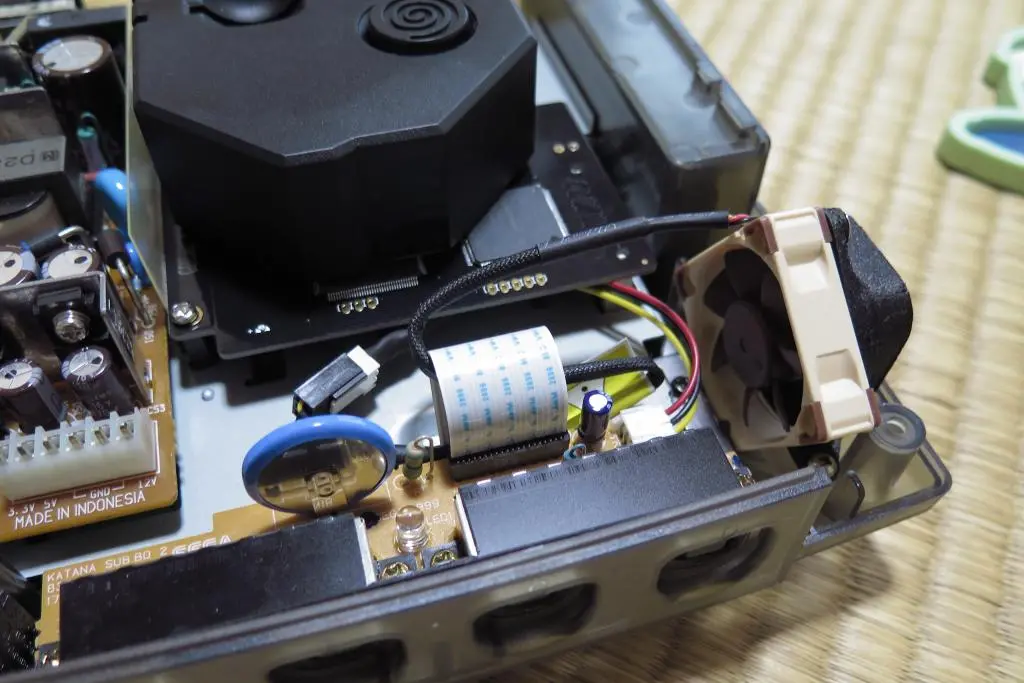
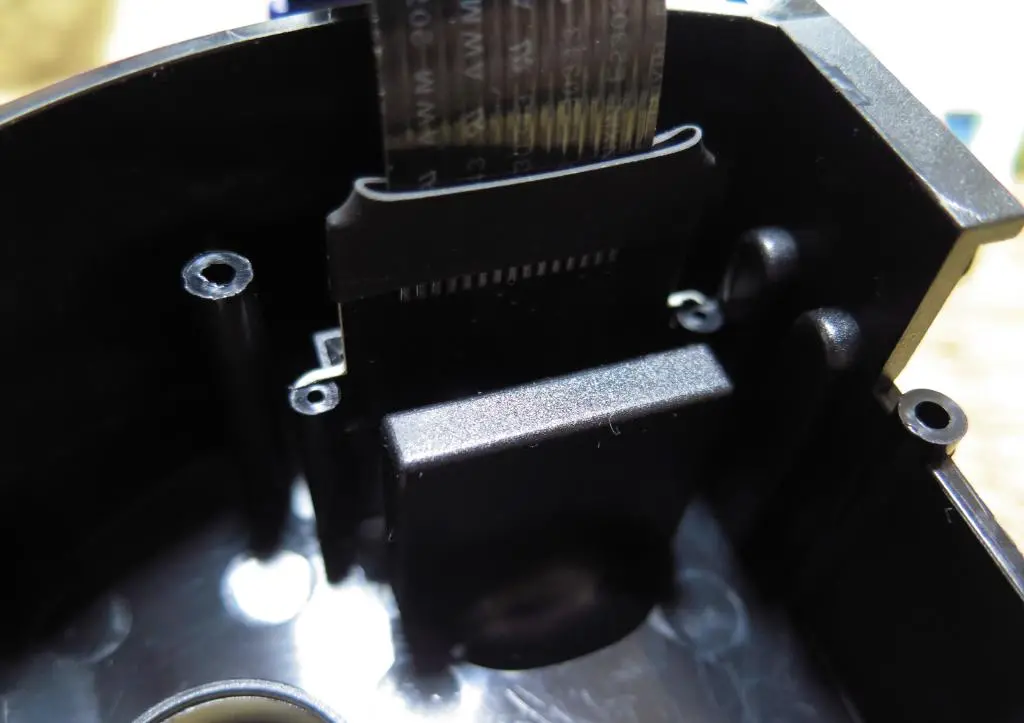
The GD reader is the large piece in the middle. We'll replace that with the GDemu unit later. The left component is the power supply. The on/off switch in the front left is plugged into it. The controller port assembly is the component in the front. It has a battery that manages the internal clock. It also gives power to the fan on the right. Everything sits on top of a metal shield. The Dreamcast motherboard is between this shield and another one on the very bottom.
The first component to remove is the GD reader. Mine was attached using 2 screws, even though there were holes for 3 screws. Maybe I lost one while I was messing around in 2007. Be sure to pull it out as an entire unit with the metal plate on the bottom. You don't need to disassemble the reader itself.
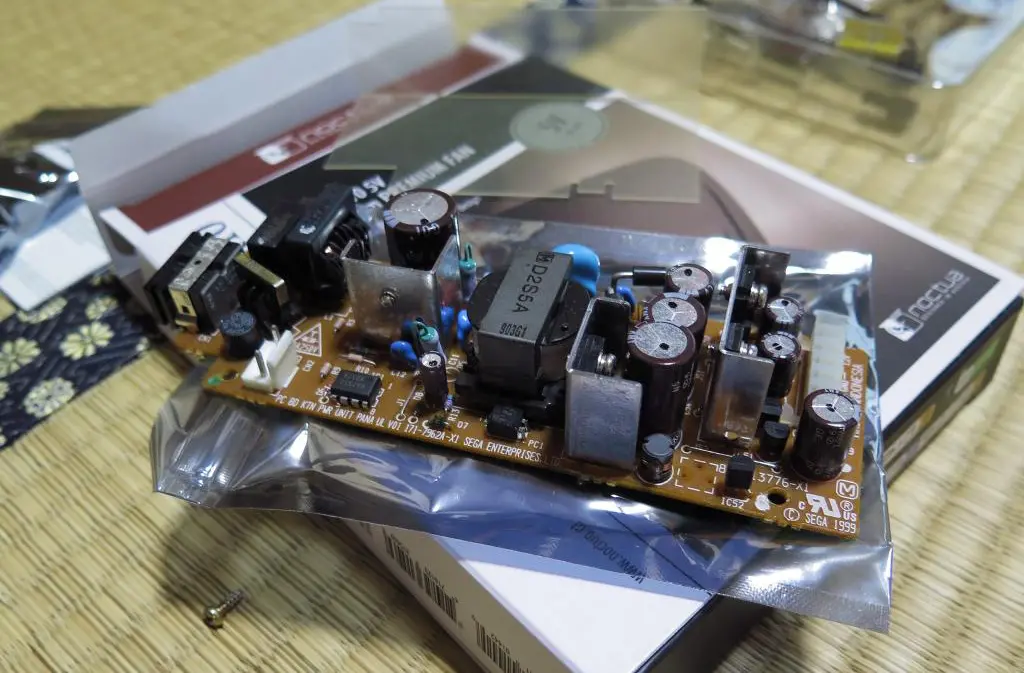
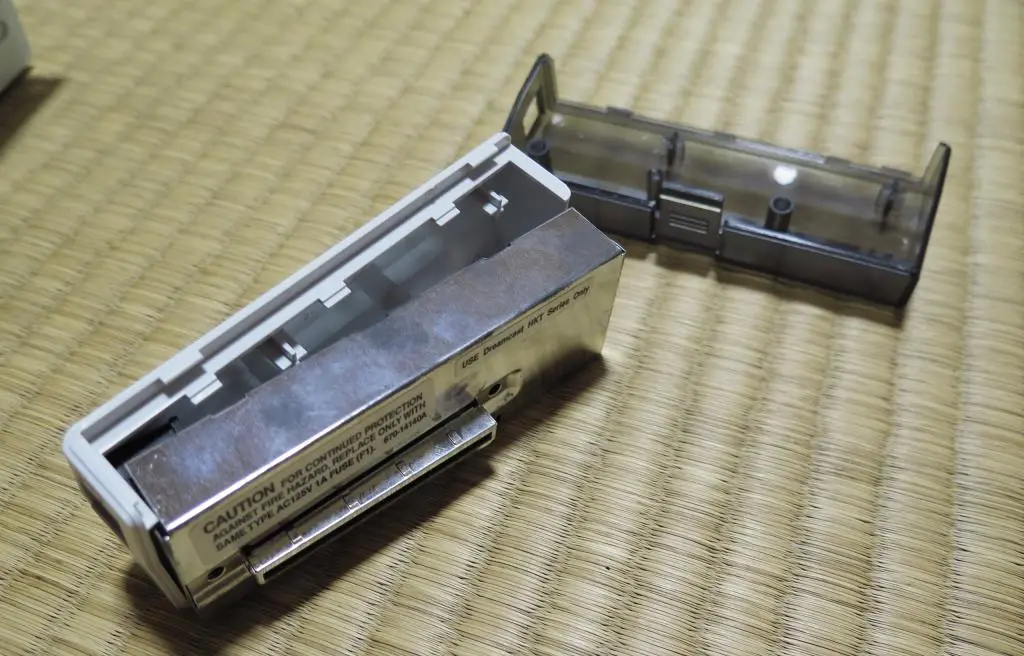
Next is the power supply. The power supply is held in place by 2 screws and its connection to the motherboard. First, unplug the on/off switch connected in the back and then remove the screws. The motherboard connection is really strong, so it can be difficult to pull it off with finesse. I rocked mine back and forth a bit, but be careful not too do this too much as it could dislodge the connector from the motherboard.
The power supply has a plastic shield that sits between it and the surrounding components, so don't lose that.
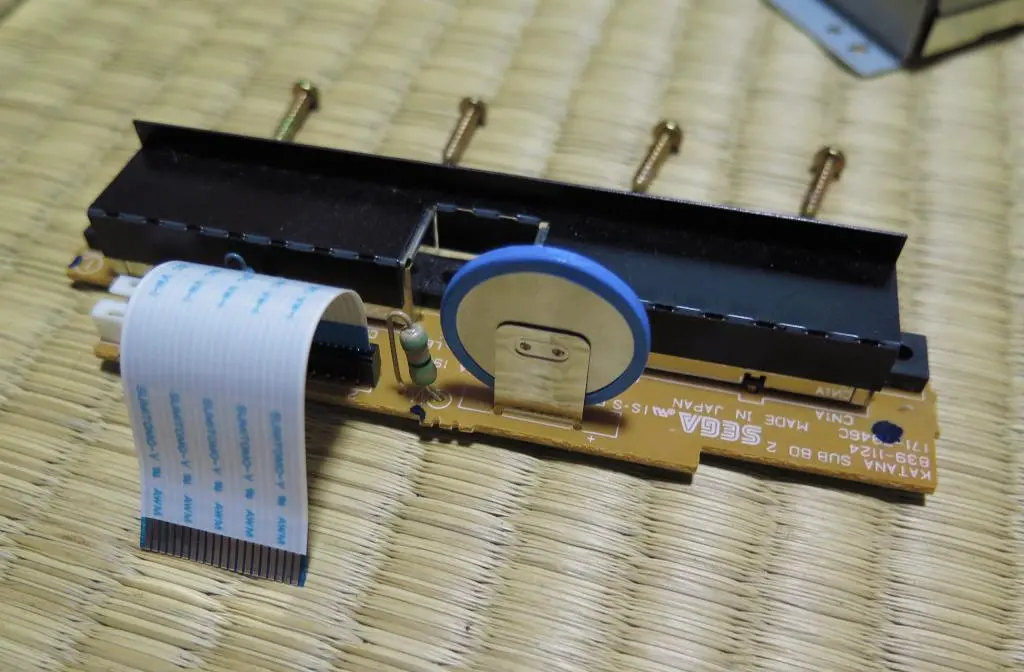
The next component to remove is the controller assembly in the front. You'll need to remove the power cable going to the fan and unplug the ribbon cable going to the motherboard. Both cables are removed pretty easily. Just gently rock them back and forth with a little bit of force and they'll come out. The component is held in place with 4 screws next to the controller ports.
At this point, there are only 3 more components to remove. The fan and the power button are only held in place with 2 screws each. Those are easy to remove. The direction they're installed is important, but it's easy to tell which was they go. We'll replace the fan later, so we don't need to worry about that one.
The final component is the motherboard, sandwiched between two metal shields, screwed to the bottom of the shell with 8 screws. After removing the screws, the upper metal shield is still attached to the motherboard with a few plastic pins. Removing them is unnecessary, so leave them alone. You can remove the upper shield and motherboard together as a single piece. The video plugs are set into the shell, so it takes a bit of movement to find the right angle, but eventually you can pull the motherboard out.
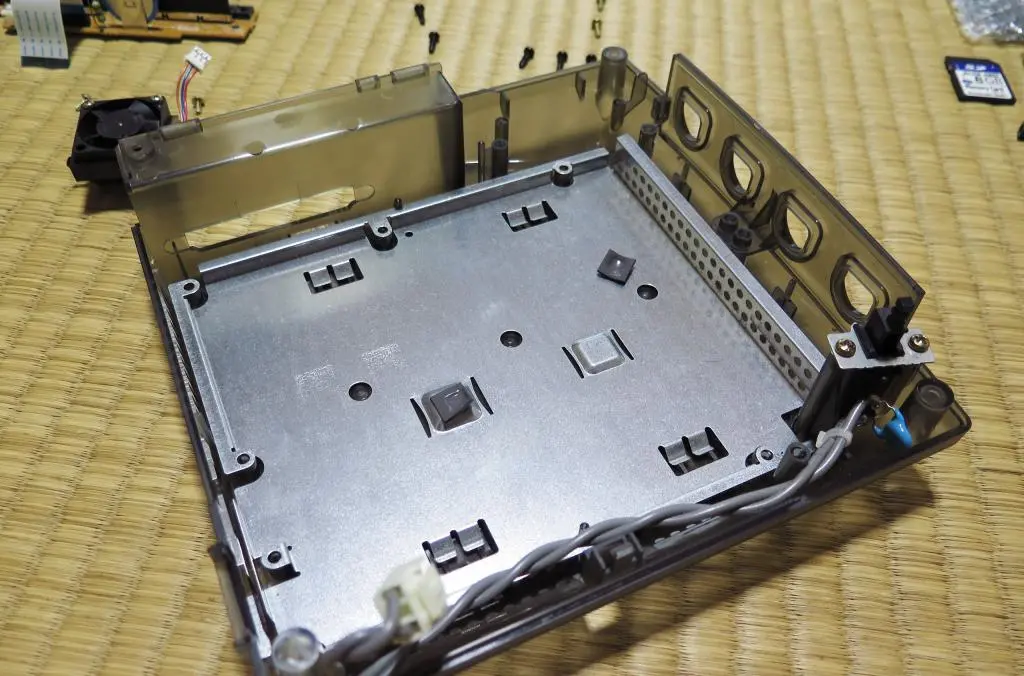
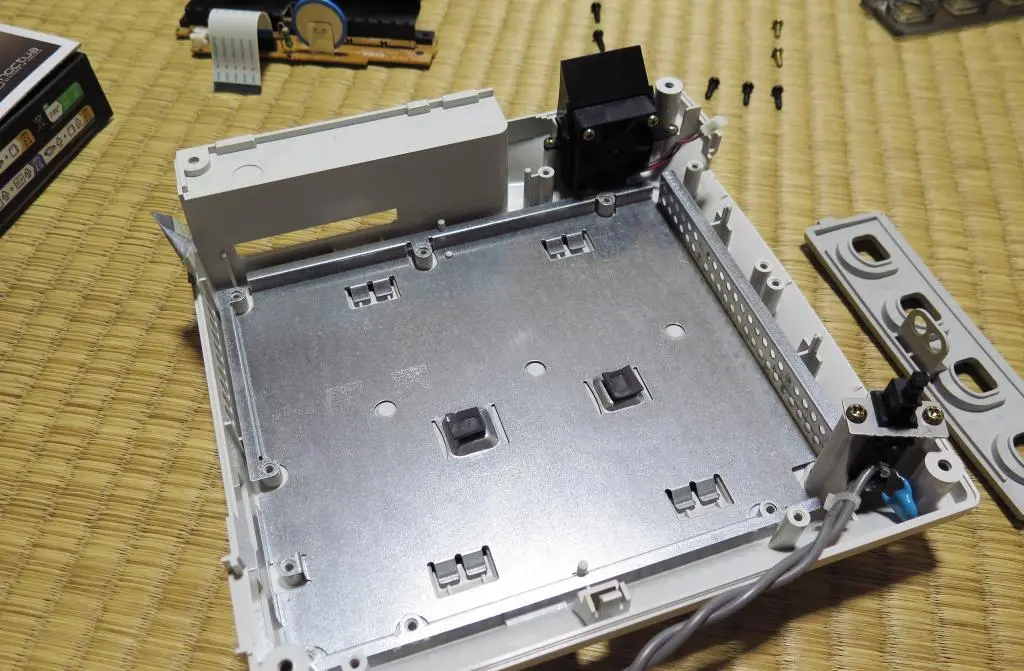
All that remains is the bottom shield with two termal pads. Nothing is holding this in place, so it's easy to pull out.
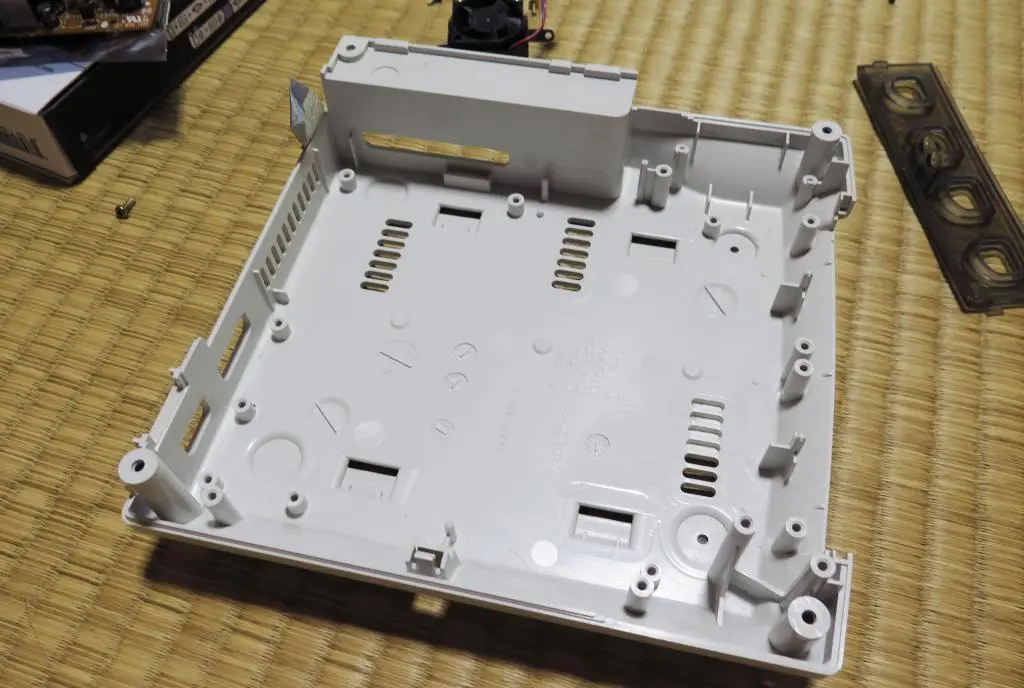
Gutted.
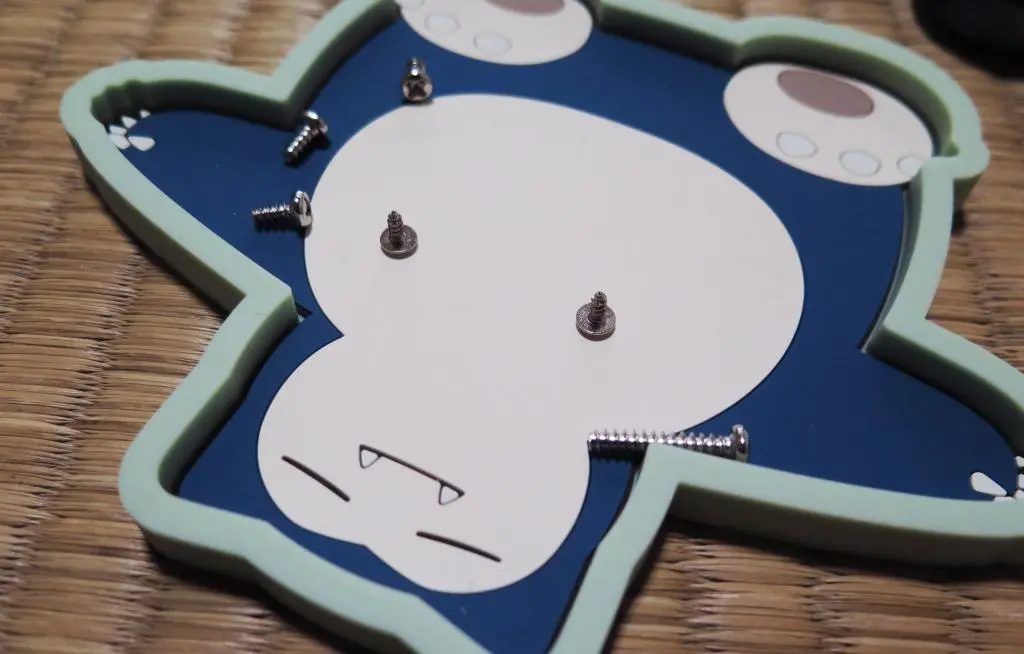
As I removed each component, I laid the screws next to them so I could remember which screws were used in which positions. Only a few components will be replaced, but these components rely on reusing the original screws.
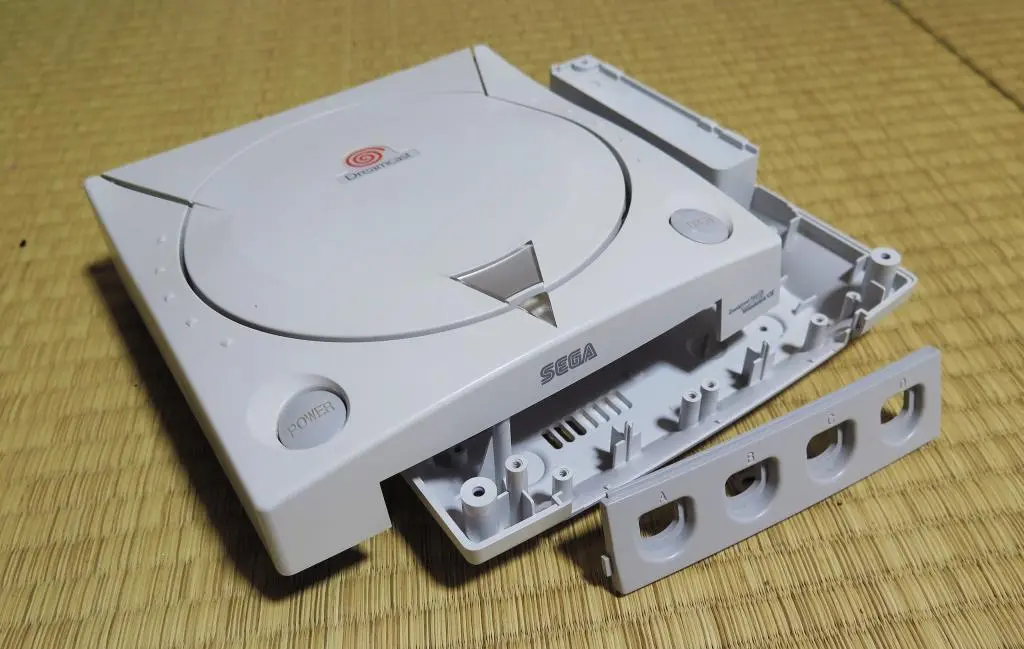
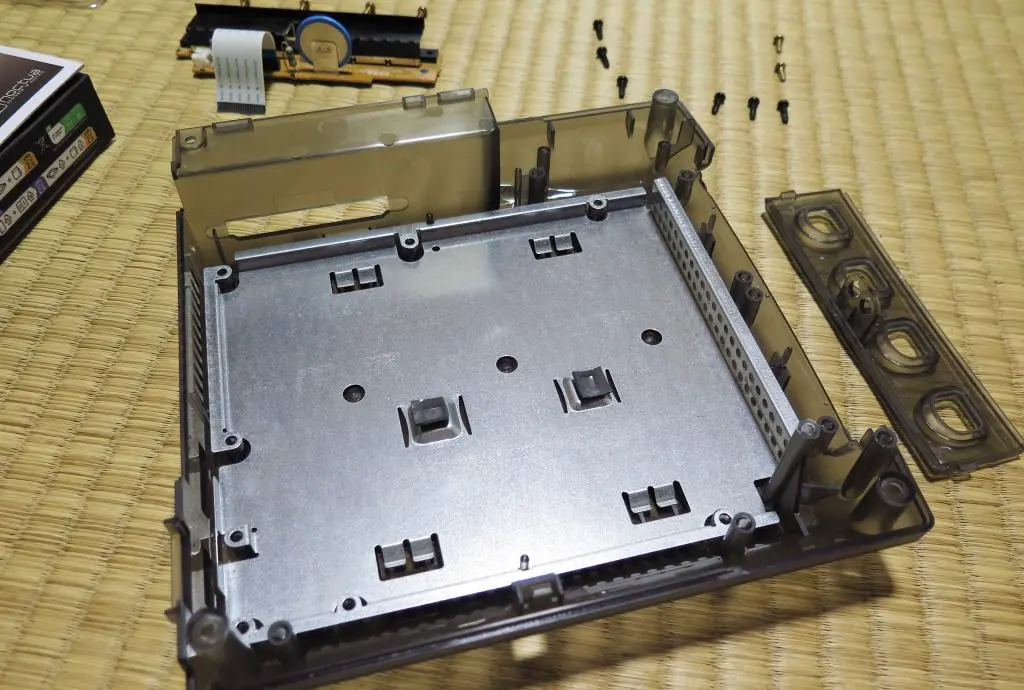
In the new shell, first I placed the bottom thermal shield. Then, I screwed in the power button. It's important to note that the front plastic controller port panel must be set in place before putting the motherboard in. Also, VERY IMPORTANT, make sure the termal pads are in the correct position on the bottom plate before putting the motherboard in.
One small problem with my reassembly was a single screw being misaligned. All other points of the motherboard were perfect except for this small spot. I'm not sure why this happened, but I decided to proceed rather than remove everything and solve the problem. The screws only held the board in place and it was very secure without this screw.
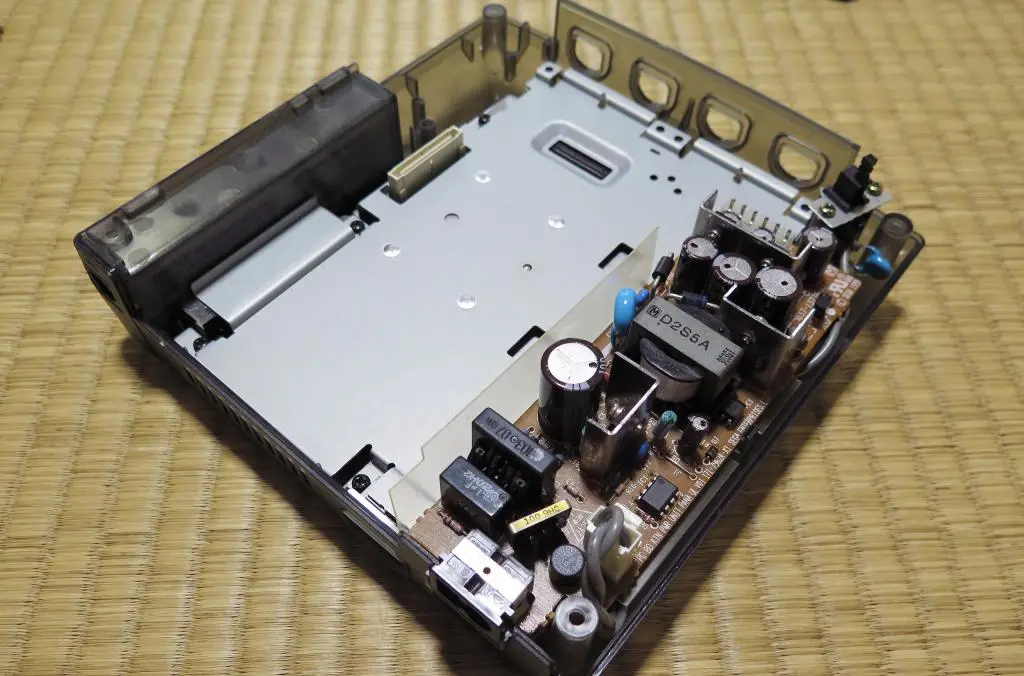
After the motherboard was secure, I put the power supply back into place, and made sure to put the plastic shield in the correct position. Make sure the power button cable moves underneath the component like it did before. Push the board into its connector, screw it in with the 2 screws, and connect the power button. The power plug in the back should be flush with the shell.
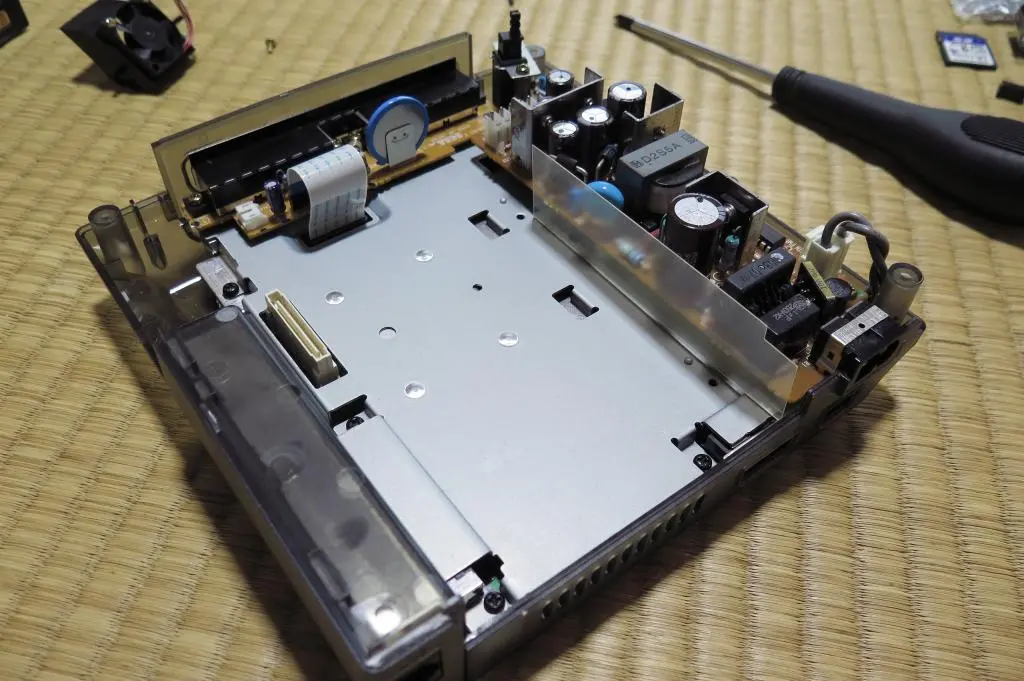
In the front, angle the controller port into the shell, then use the 4 screws to attach it to the build. Then plug in the ribbon cable.
So far, everything should be pretty smooth, and we have only the fan and the GDemu left.
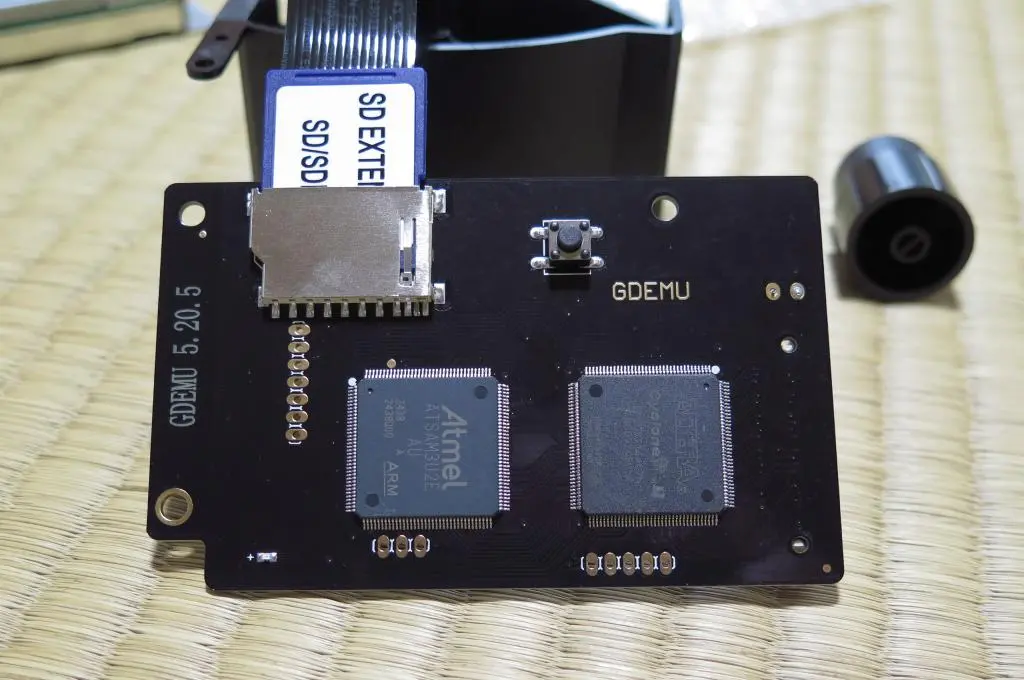
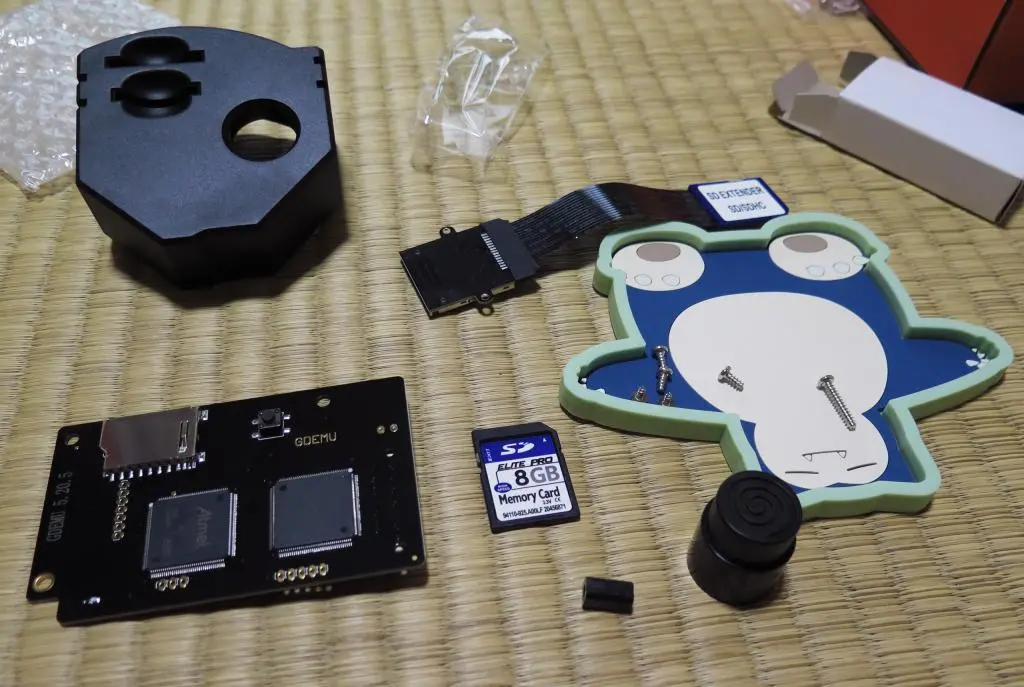
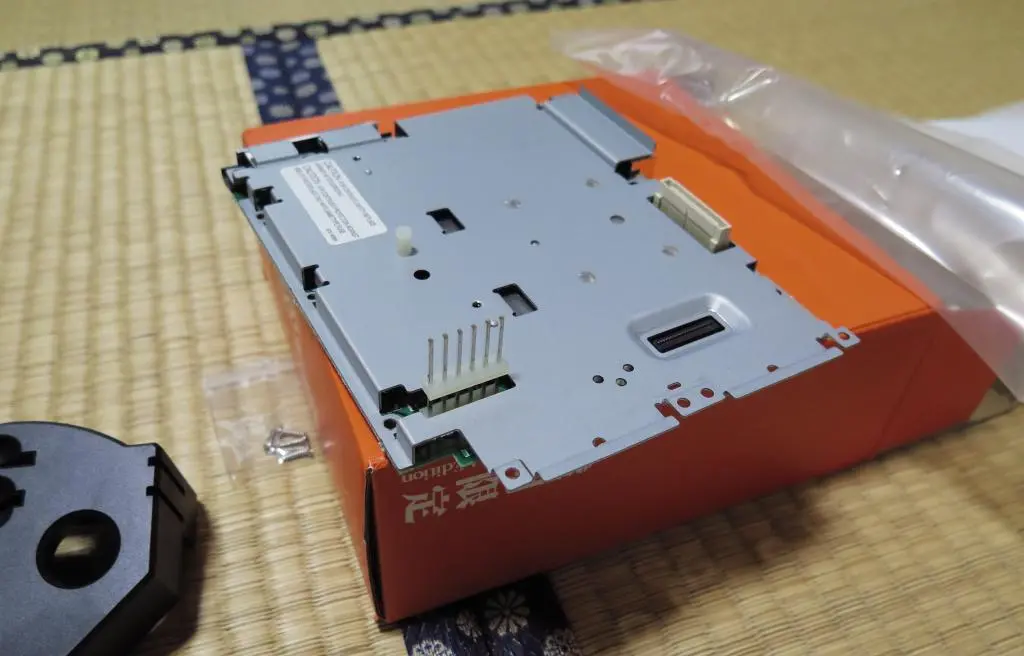
The GDemu is a PCB with an SD card slot and a button. It plugs into the motherboard in the exact position as the GD reader and acts as an emulator. Here's the GDemu board.
Just as the GD reader reads the discs and gives data to the motherboard, the GDemu also sends game data. You fill up the SD card with a bunch of games, and the GDemu reads the currently selected "disc" and sends the data to the board. The SD card needs to be in a specific format, but I did that preparation back in January.
On the SD card, each disc is stored in a specific numbered position, so the GDemu ultimately acts like a disc changer. The first CD in the list is the default disc loaded when the Dreamcast is turned on. This is where the GDemu menu application is stored. From the menu, you can choose any game you installed. Additionally, you can switch games/discs using the button. Pushing the button loads the next disc in the list. This is really only useful for multi-disc games, though.
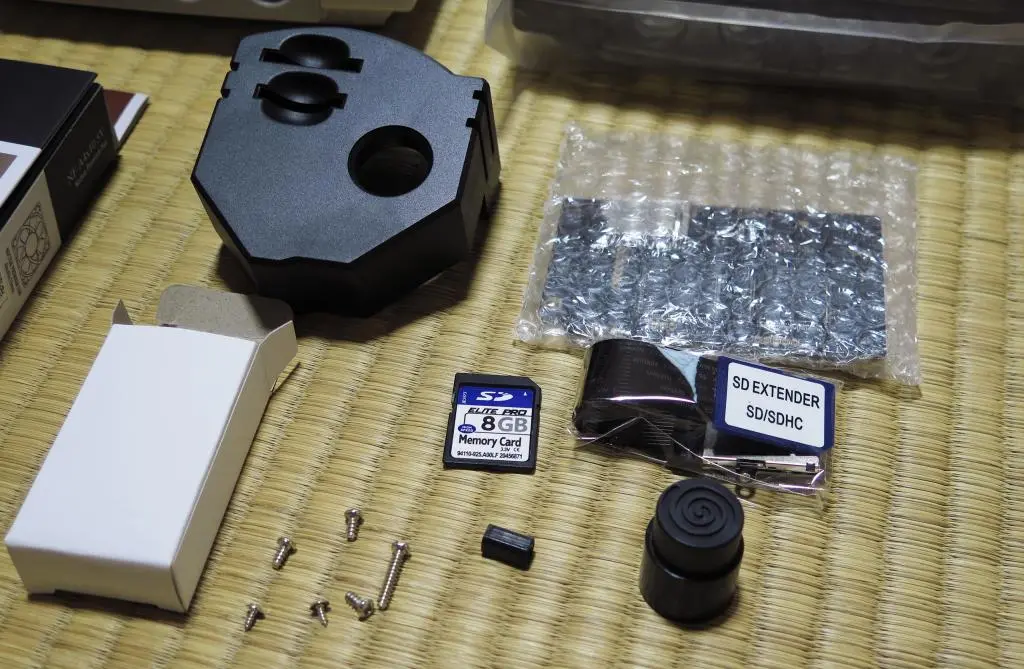
The GDemu package came with everything you see here: the GDemu PCB, SD card extender, an 8gb SD card, some plastic pieces, and some screws.
It did not come with any instructions, so I was supposed to figure out how everything went together on my own. It's not too difficult to understand, but there are a few things that aren't so obvious. I found this YouTube video of a guy putting together nearly the same thing, which helped me out.
Technically, you don't need any of the plastic parts to connect the GDemu. You can plug the GDemu into the motherboard directly and be done with it. However, the purpose of the plastic pieces is to seel the internal components from the outside and allow the fan to do its job of efficiently venting hot air. Whether or not the fan actually does this is a different question, but its best to try and help the Dreamcast accomplish this original goal.
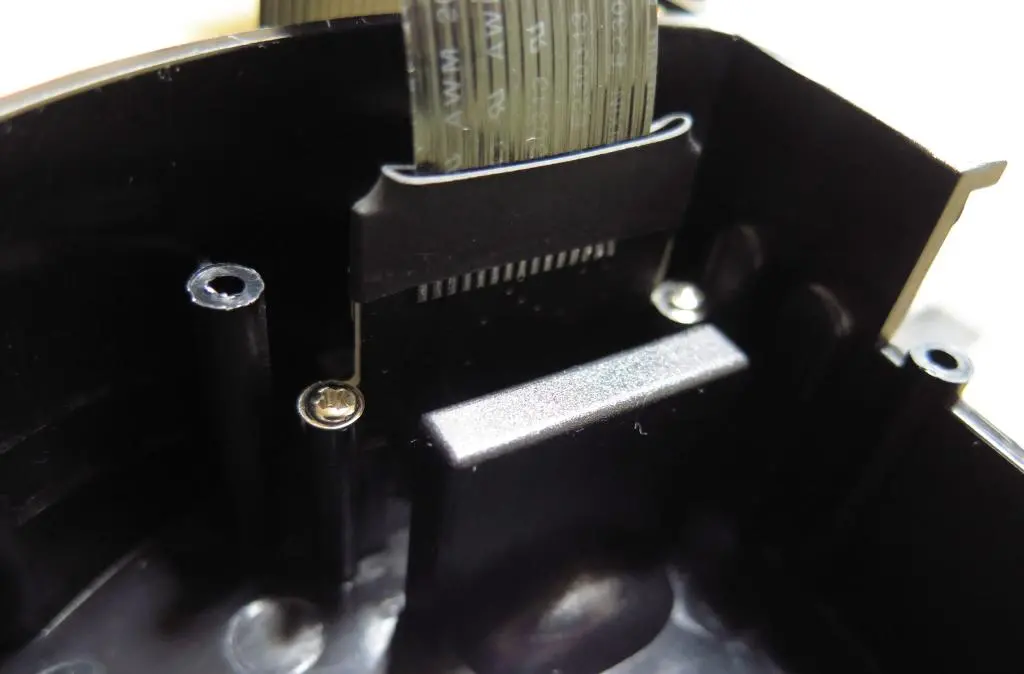
The first step in assembly is attaching the SD card extender to the large plastic cover. There are 2 tiny screws used to do this. (I had to use a smaller Phillips screwdriver to accomplish this.) With the SD card extender in position, the tiny screws don't screw into it. They screw into the post beside it, and hold the extender in place.
That YouTube video was very helpful for understanding that.
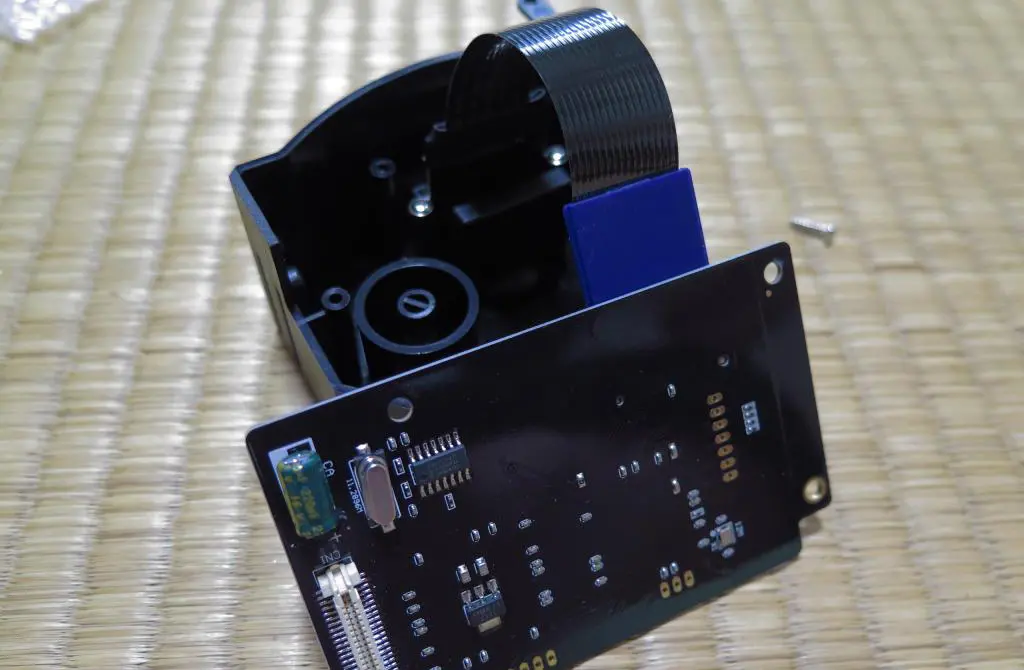
The next step is screwing the GDemu board into the same plastic assembly. Connect the SD card extender into the SD card on the GDemu board. The ribbon cable is too long, but it's okay to have the extra length spill out of the back. There's nothing behind it that is harmful. You may be able to fold the cable inside of the plastic piece, too.
The board attaches with two screws. Be sure to put the button into the plastic shell before screwing in the board. Also, be sure not to screw the board too tight. The bigger plastic button needs some clearance so it can click the board's button easily.
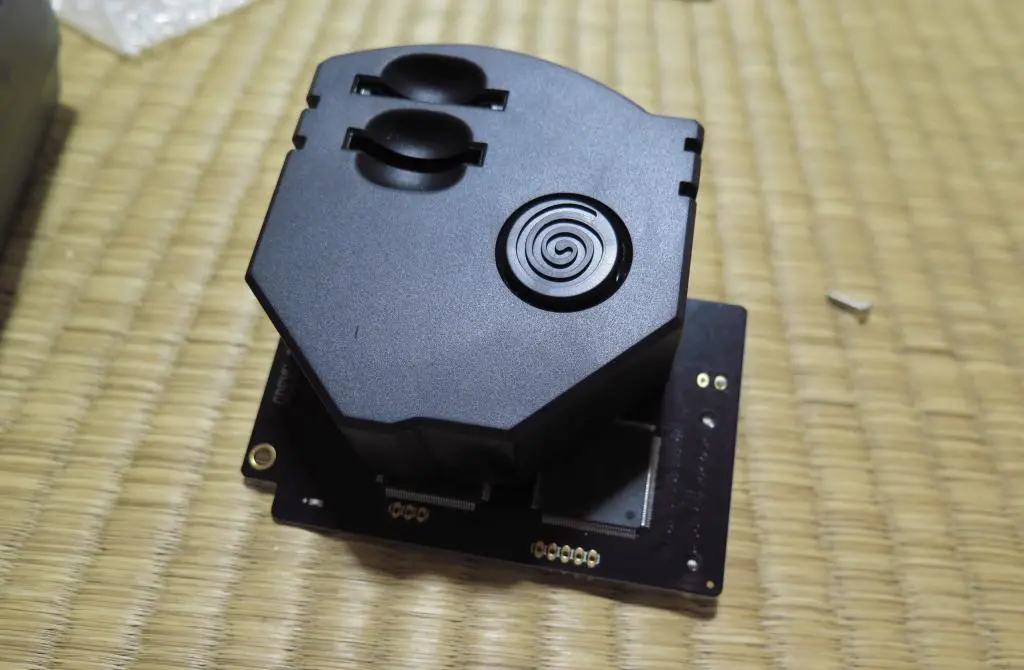
Now there should be one long screw, one short screw, and one more plastic tube piece left. After plugging the GDemu into the motherboard, it becomes obvious where these pieces go. The back end of the plastic cover lines up perfectly with one of the GD reader screw holes. This is for the short screw. The front edge of the GDemu board hovers over another screw hole. The plastic tube props up the board and allows the screw to pass through into the base.
With everything assembled and screwed into place, the GDemu board should be held above the metal shield. It looks pretty good!
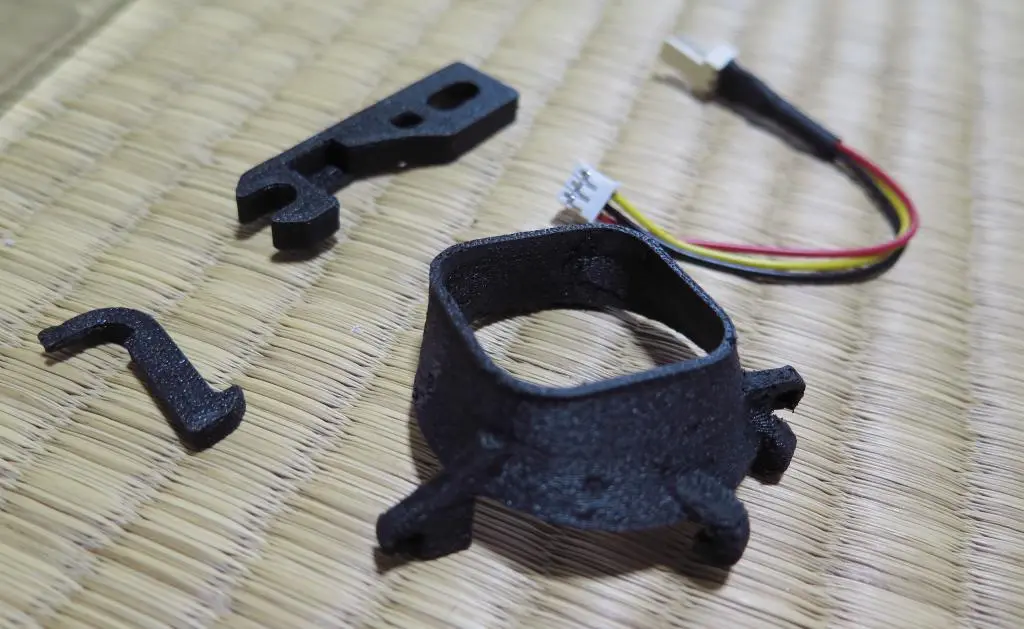
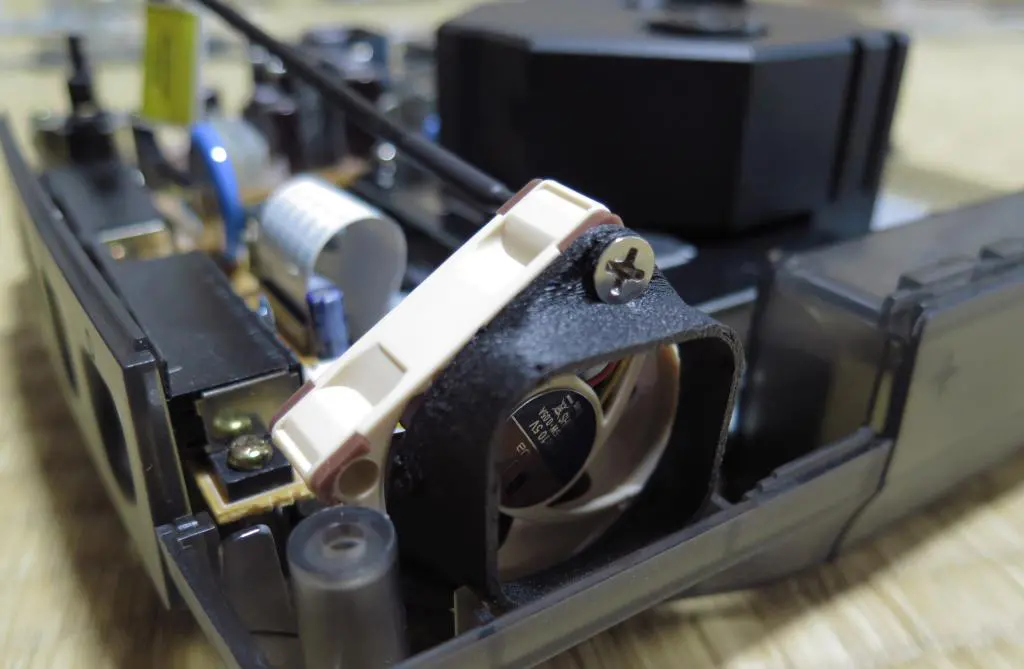
The final bit to install is the Noctua Fan. My order included the full fan kit, and a few extras. We only need the fan and a single screw from the full kit. The extras where some 3D printed brackets, and a conversion cable from the fan to the Dreamcast.
The 3D printed pieces were so cheap. I'm no 3D printing expert, by the overall quality looked like they used a 1st gen 3D printer to make them? What creates that rough unfinished imprecise surface? Is that from using poor materials? Or not properly calibrating your machine? Or not steadying the model on the surface pad while printing? They look so ugly, but they're internal components, so who cares.
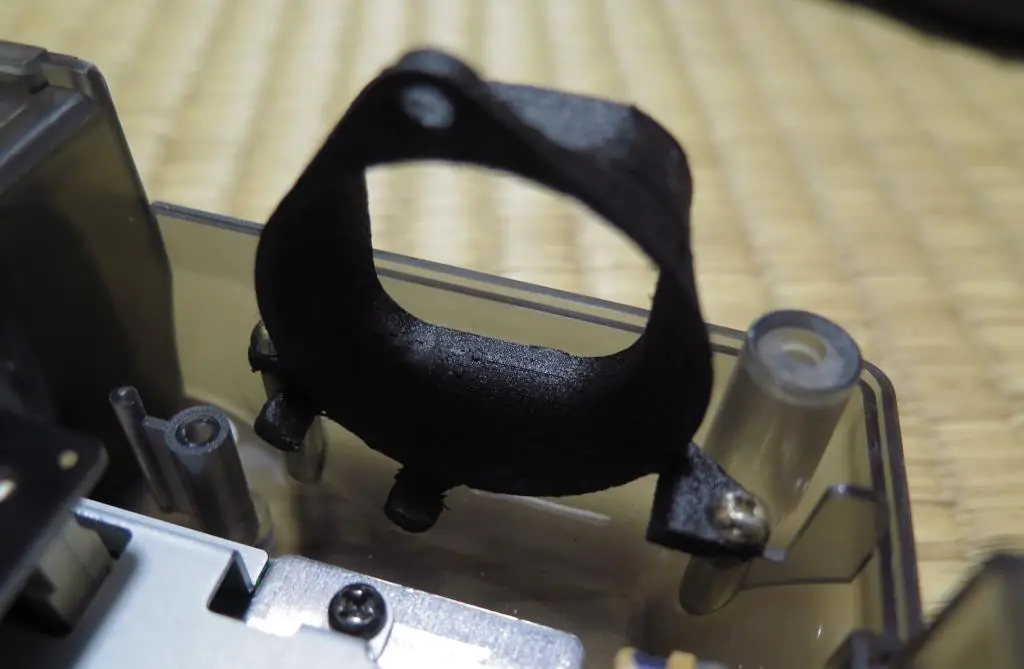
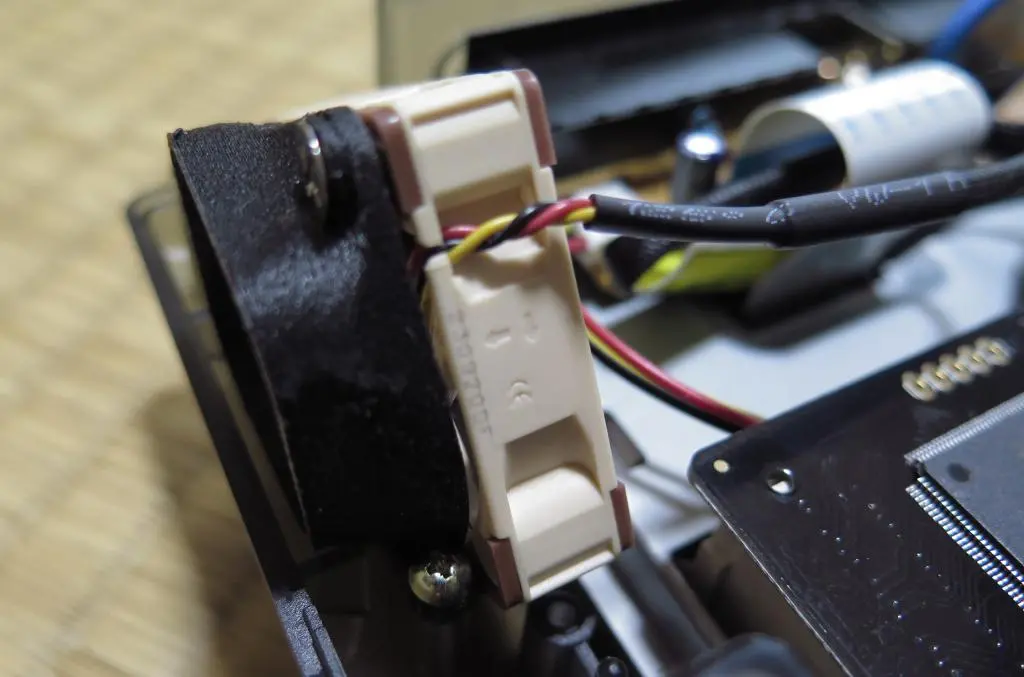
Reusing the screws from the original Dreamcast fan, I attached the new fan hood to the shell. Then using one of the included screws in the kit, I attached the fan to the hood. Make sure the direction of the fan is going outward. There's a small arrow on the fan indicating its direction.
After plugging the fan cable into the controller port board, I scrinched the cables under the controller port ribbon cable to keep them secure in a position away from touching something else.
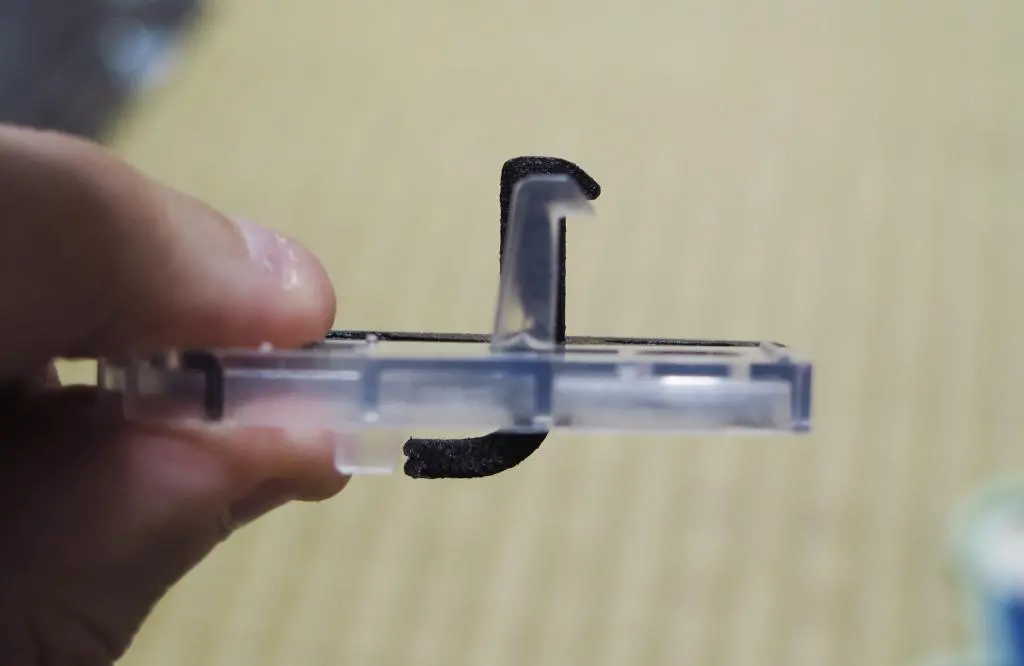
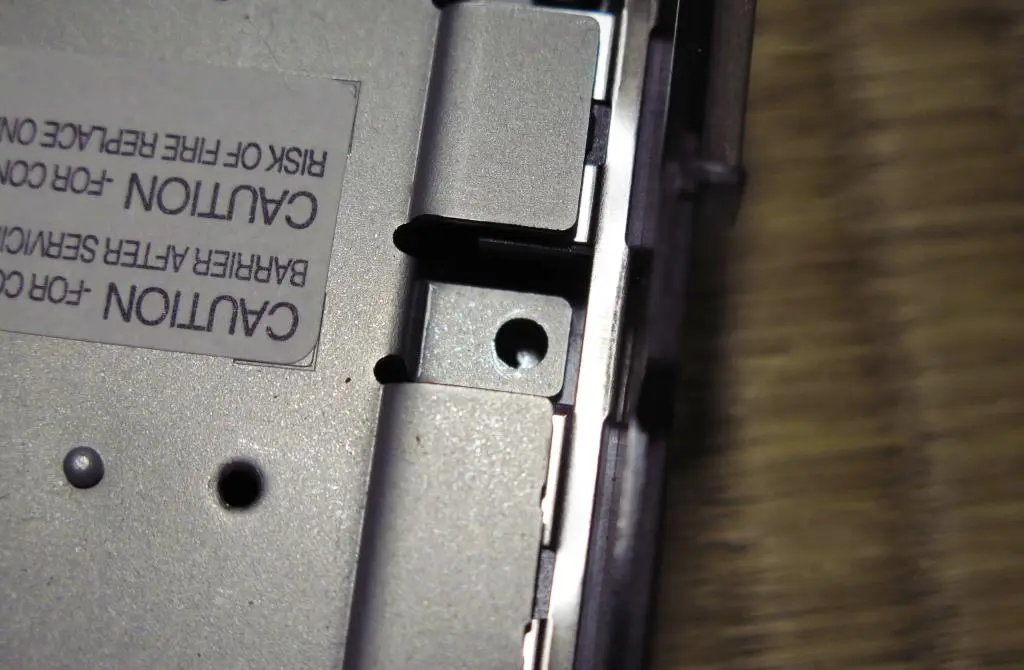
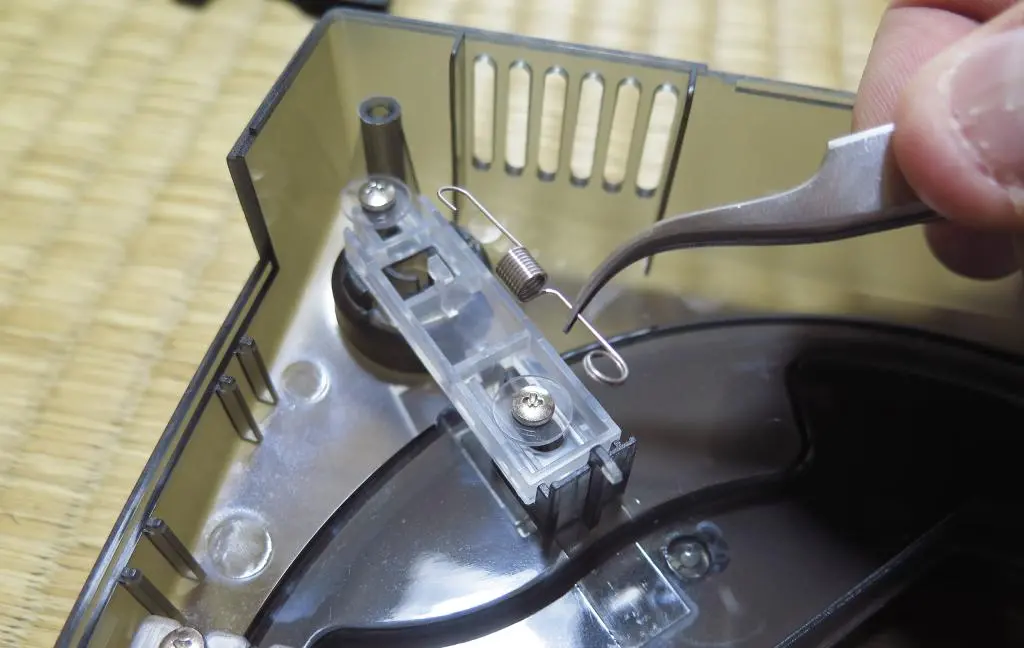
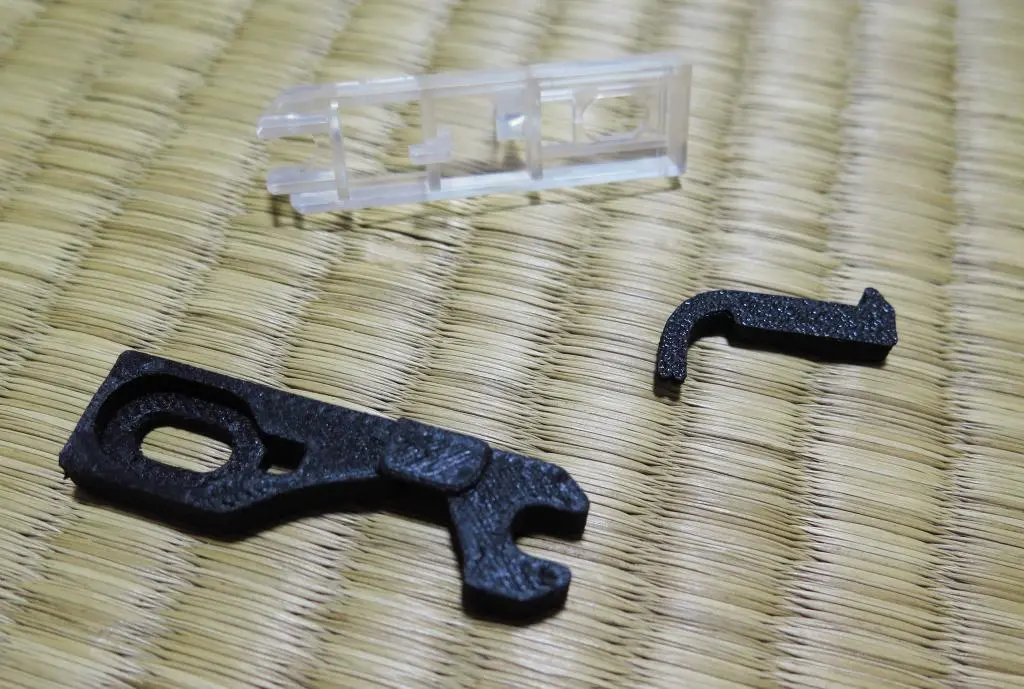
There's one final modification left. The Noctua fan takes up more space inside the Dreamcast and it interferes with the lid hatch. The mechanical component is a full squared piece and a section of it needs to be removed. Because of this, we've given those other two printed pieces as a lid hatch replacement.
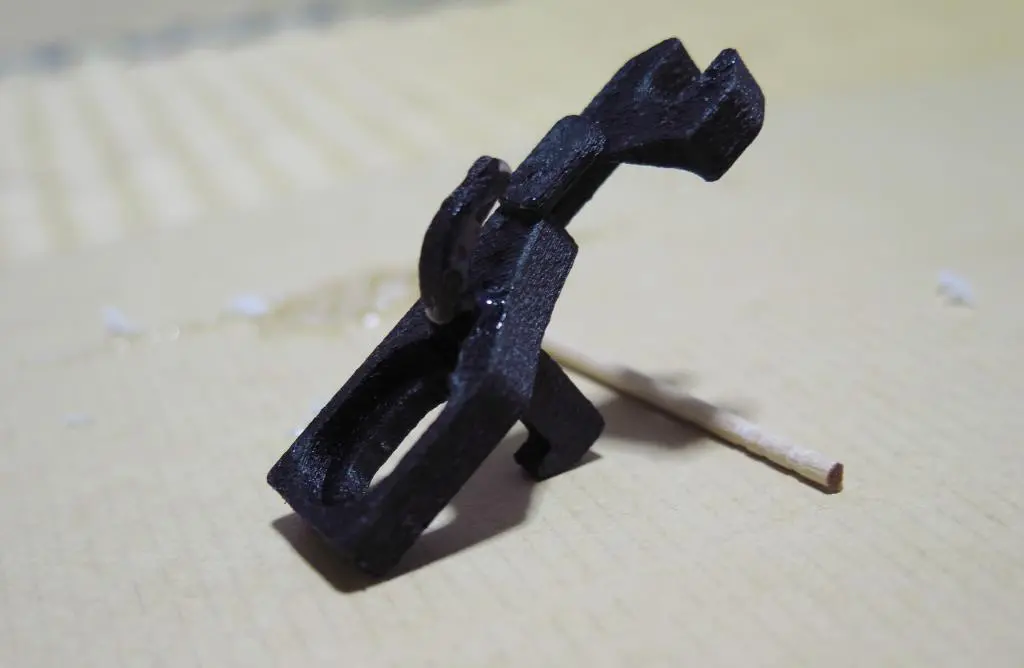
This is where the terrible print quailty of the components caused troubles. The inner peg is meant to be shoved through the larger peg and create the lid hatch. My inner peg was too fat, or the hole was too thin, so when pushing the peg through the hole it didn't go all the way.
The peg was about 2mm longer, which meant the whole piece couldn't fit into the lid flushly. I tried shoving the peg in further and wiggling it into place, but it was still too long. I used a nail file to make the piece a little thinner and that worked. Although, not really. Now the piece was too loose so when the Open Tray button was pressed, the lid latch wouldn't go back into its extended position, so the lid couldn't be closed.
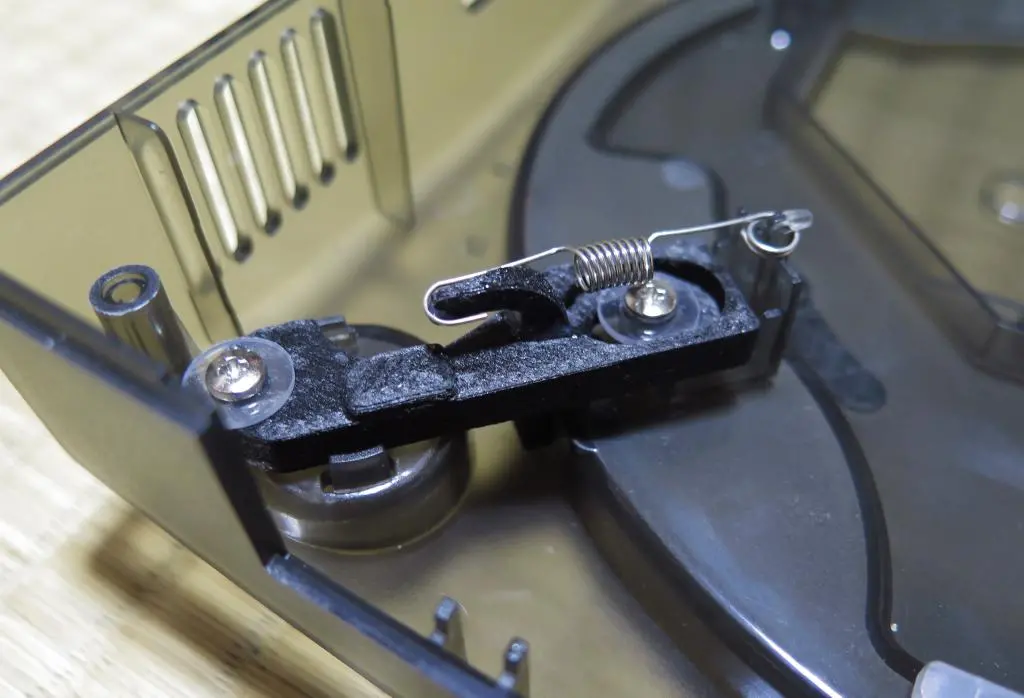
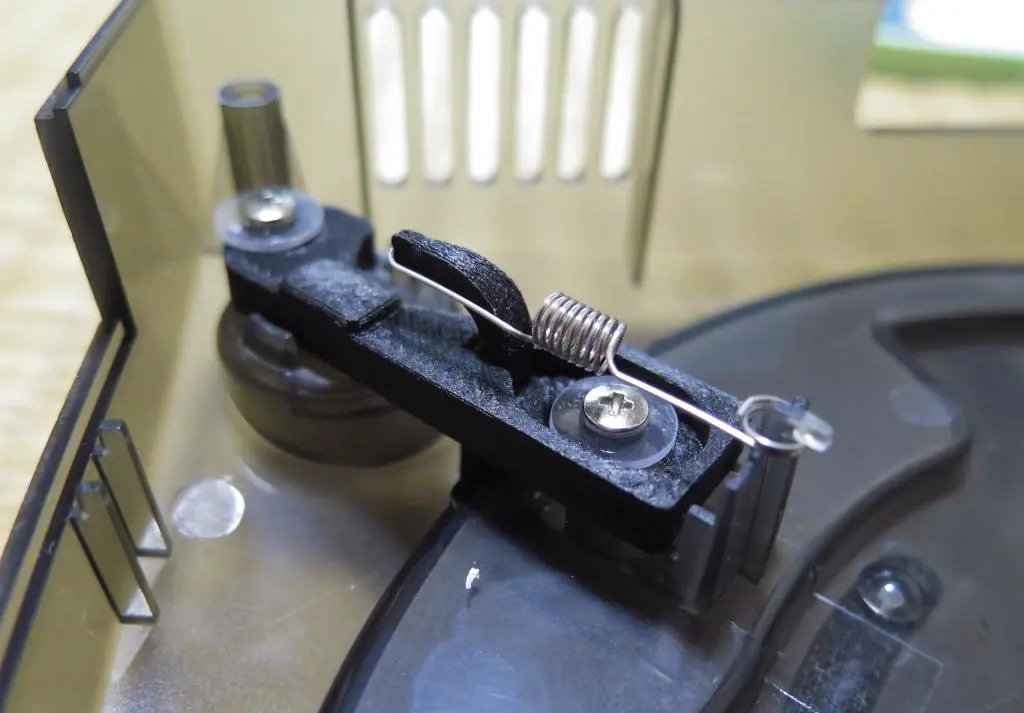
The lid latch component is very delicate. It needs to be loose enough to freely move back and forth between the two screw posts. When the button is pressed, it moves one way, then the spring brings it back to its original position. So, the two pieces also need to have a complete strong bond together so the spring doesn't pull the latch back on its own. Using the nail file, the middle piece was now too loose. Why did they print this as two pieces?
I still had some epoxy from an earlier project, so I glued the two pieces together. The cheapness of the material probably helped fuse the two pieces together even better than usual.
Even so, the piece was still too rigid in the lid. I used my screwdriver head to widen the holes even more, and the piece finally moved smoothly. Much like the button component, these screws should not be too tight. They should be just tight enough to hold the piece into position and allow it to move freely back and forth. The lid finally opened and closed like it was supposed to after all this work. (This was the longest part of the physical build.)
With all the pieces of the puzzle finally put into place, I secured the top part of the shell on to the base, tightened the outer 4 screws, and the build was complete.
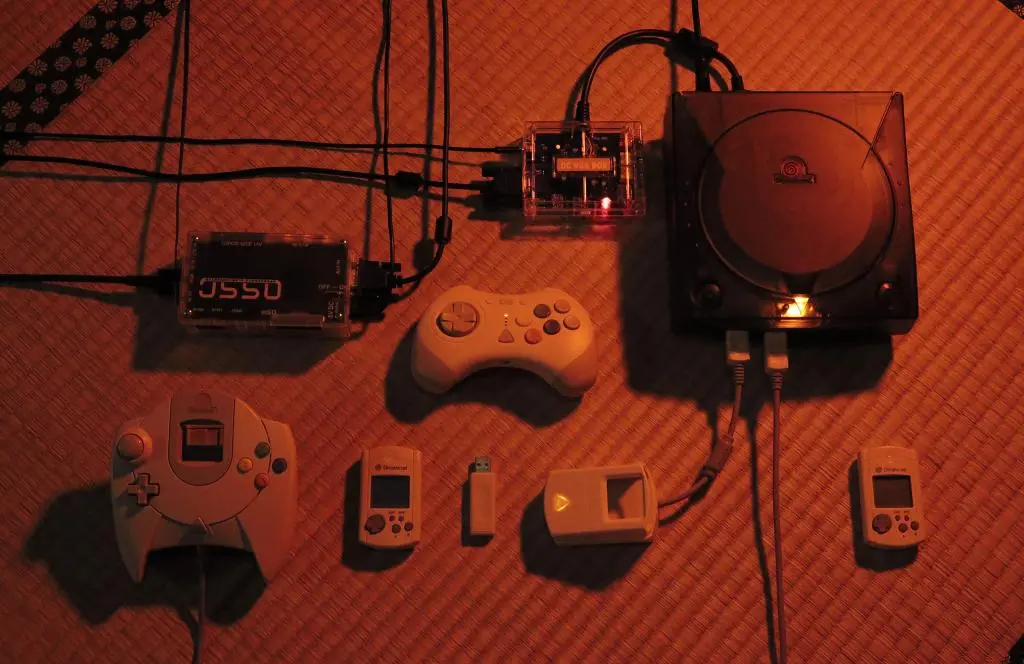
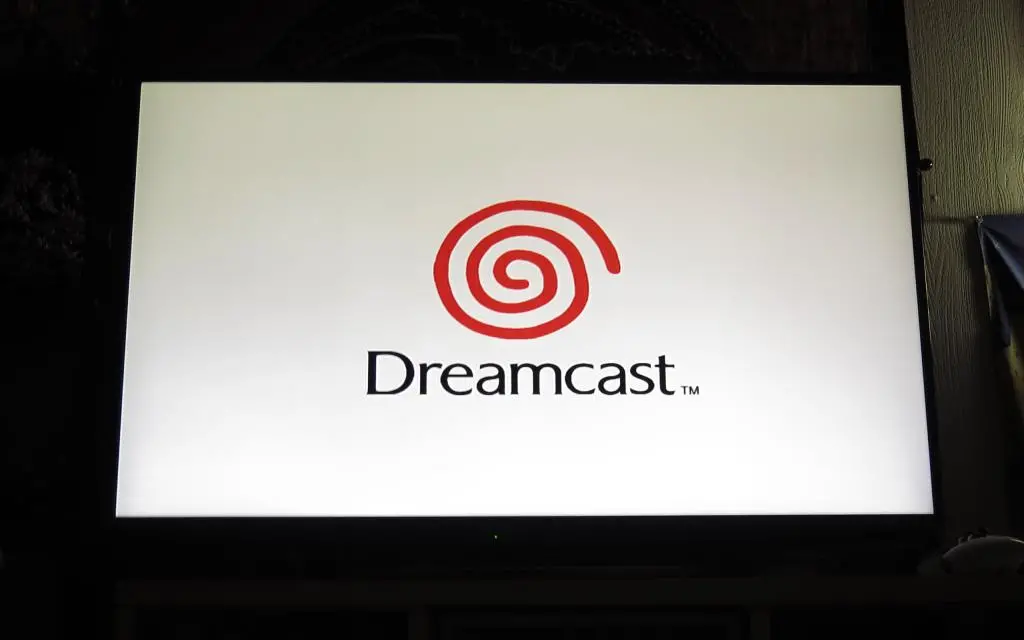
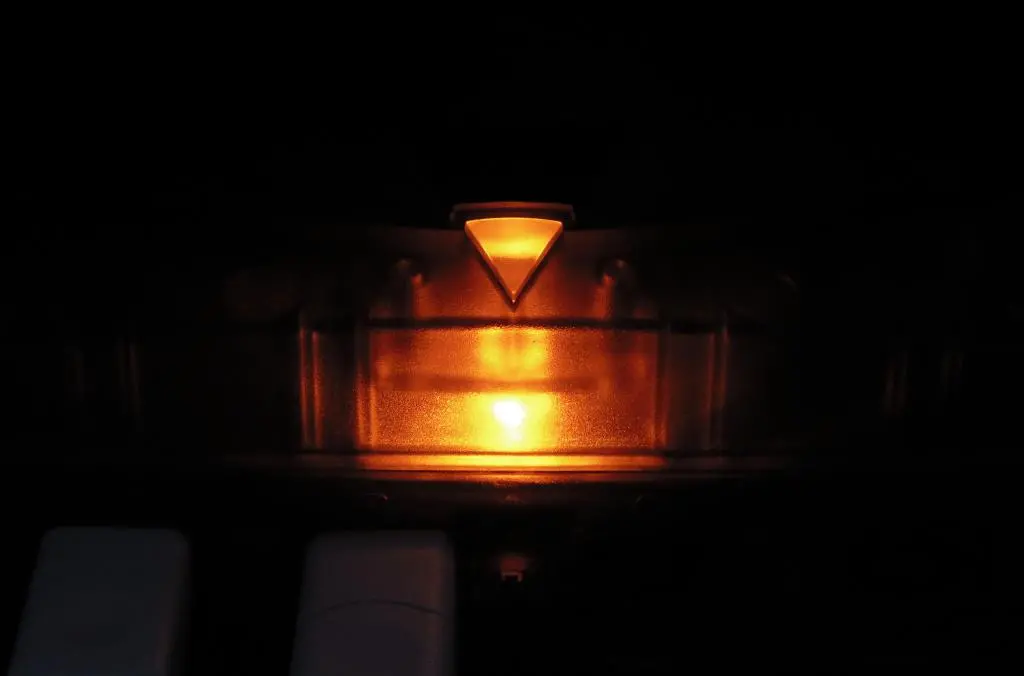
I plugged the VGA box into my OSSC, plugged video and power in to the Dreamcast, turned it on, and it worked perfectly the first time. That beautiful Dreamcast opening filled the room with its ambience, and the GDemu menu popped up showing all the games that I had added back in January.
My Dreamcast is using the VGA Box that I purchased decades ago to send its video signal into the OSSC. The OSSC translates that into an HDMI signal which I'm plugging into my TV. Even though I just bought a new TV, my TV doesn't really like 480p signals and it really doesn't like 960p signals.
FirebrandX had created the "perfect" timings for the Dreamcast a couple years ago with the following settings:
Sync opt. >
    Analog sync LDF = Off
Output opt. >
    480p/576p proc = Line2x
Sampling opt. >
    Sampling phase = 45 deg
    480p in sampler = DTV 480p
    Allow upsample2x = off
< Adv. timing > 480p:
    H. samplerate = 858
    H. Synclen = 62
    H. backporch = 111
    H. active = 640
    V. synclen = 6
    V. backporch = 34
    V. active = 480
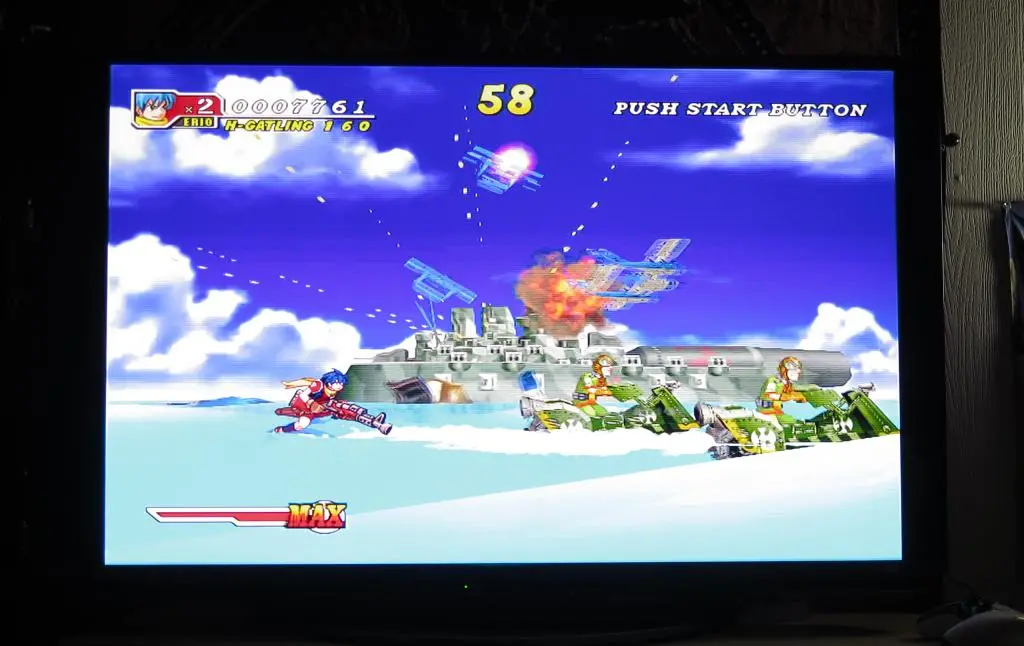
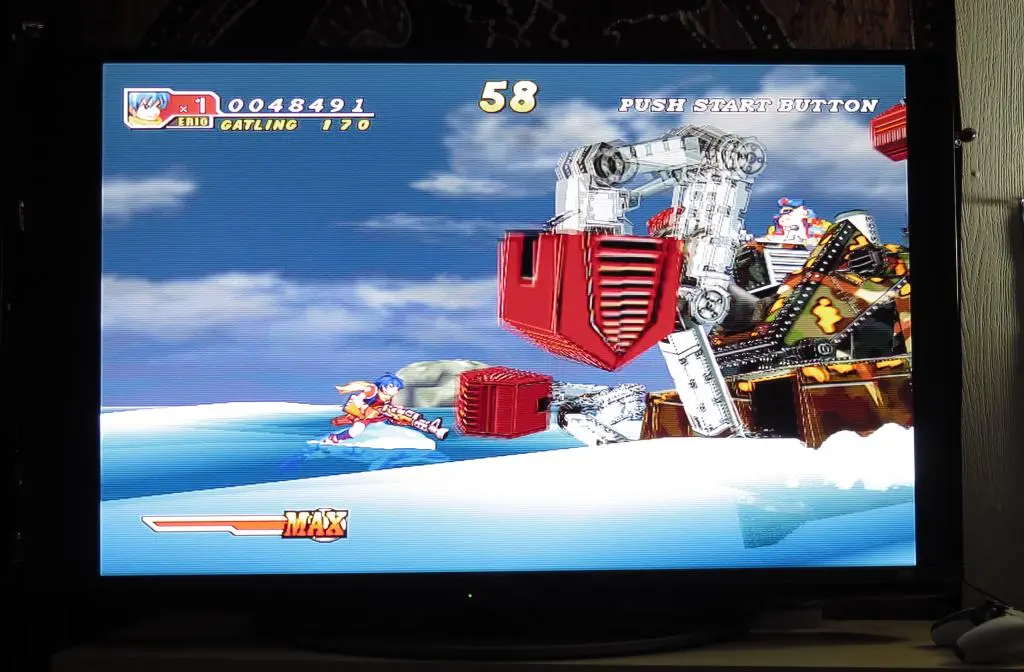
This causes a black screen for me because my TV doesn't like 960p signals. Turning the output option back to PassThru also creates a black screen with these settings. If I leave all these values at default, I get a very beautiful image, but unfortunately it's stretched to the 16:9 ratio as shown above. My TV doesn't have a 4:3 option, so I would need another box that converts 480p or 960p to a 1080p signal and allows 4:3 to be forced.
Using the Bitfunx HDMI converter does force 4:3 and gives a clean image, but there are no video options at all. You can't do scanlines or change the fuzziness of model edges. I dunno... it doesn't look right to me.
So, between choosing an imperfect toolbox or a single use hammer, I think I'll stick with the toolbox. If I somehow can afford a RetroTink4k in the future, then that's probably the best path for me and my TV.
When I built my setup for the Playstation 2, I also bought an 8bitdo Retro Receiver so I could use a modern wireless controller with the old games. Wanting to do the same with the Dreamcast, I looked around for options. I decided to purchase the D6 controller from RetroFighters, which is unconventional.
I love this controller a lot, although I don't think it's for everyone. I wrote a review in a separate post.
Yet to be released, 8BitMods is in the final stages of completing its VMU Pro. The VMU Pro is a high-end game device that manages all of your Dreamcast save files, but goes further with a full color LCD screen and allows its own custom software to be run. In particular, they have shown video of running 8-bit emulators for GameBoy, GameBoy color, Master System, and the NES.
It's being billed as the original ultimate vision of the Dreamcast VMU finally coming true. Preorders began back in May and it should finally ship in November. I will make a post about it after I've had long enough to use it.
I am very happy with how well this whole project came together. Installing all the mods was very simple. Managing games and details is also very simple. And there is still more to come with the VMU Pro.
While playing pirated games on the Dreamcast has been available since its release, it's amazing how much the tech has matured over the years, and how much stuff is still being released for it.
If you have a Dreamcast in storage, I would suggest giving these mods a try. You'll be able to relive all those old memories again, and make some new ones with unique games you never had a chance to try.
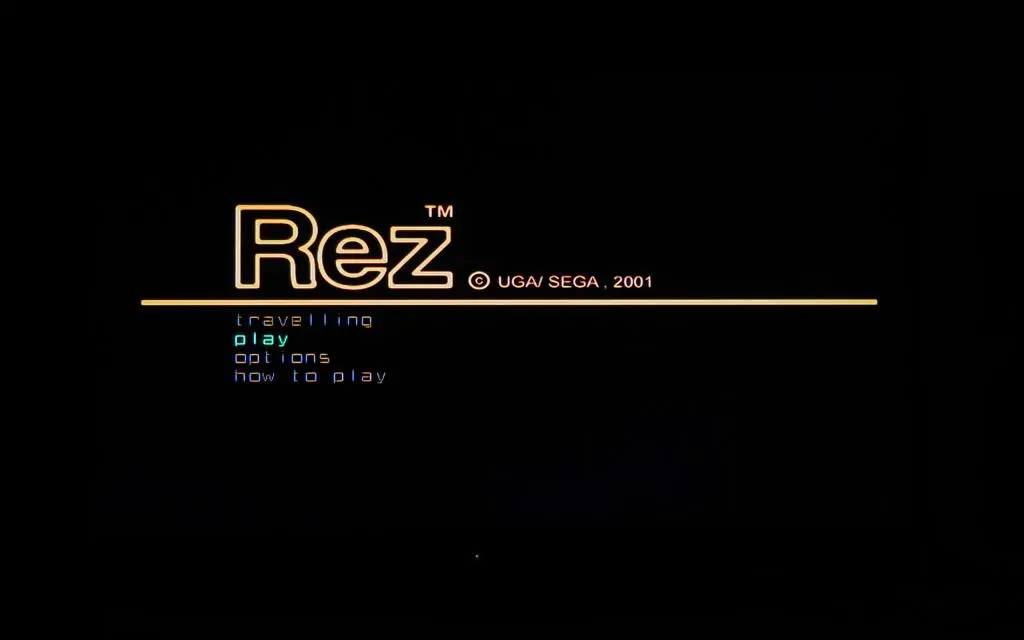
One of my favorite games of all time, Rez, originated on the Dreamcast. These days, there are other modern ways of playing with a few more options. But, there's a debug version of Rez which allows you to mess with performance, enemies variance, and also have a free camera! (More on this in the future, maybe)
My Modded Console Game Inventory page has been updated with all the games I plan on giving a try. Take a look and see if having a Dreamcast library immediately available to play on your TV sounds right for you. :)
