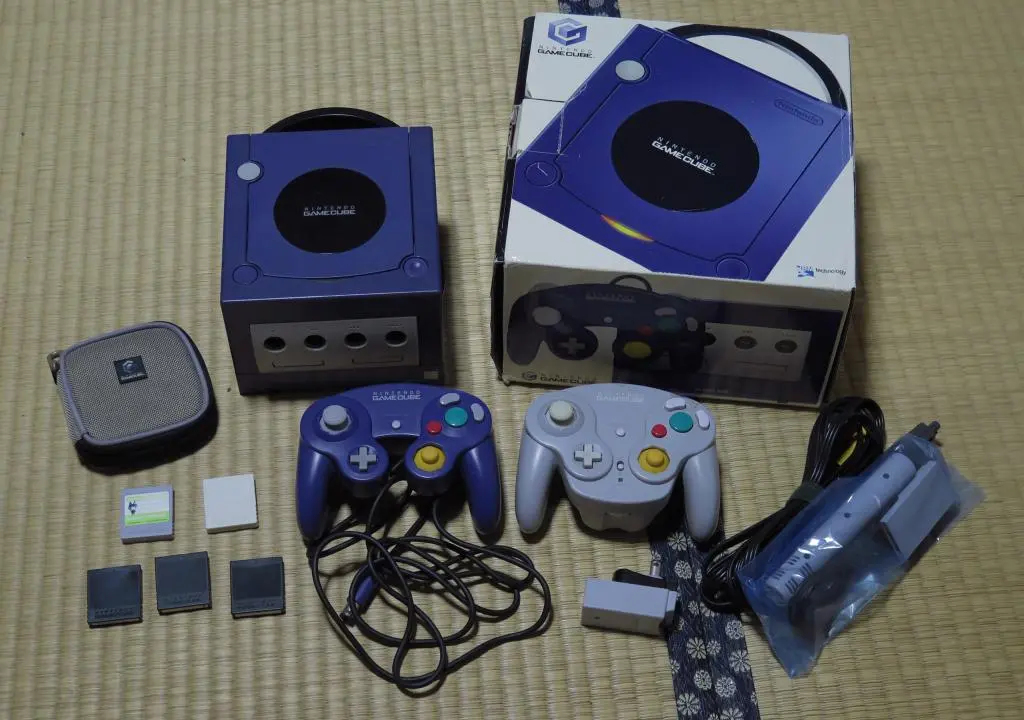
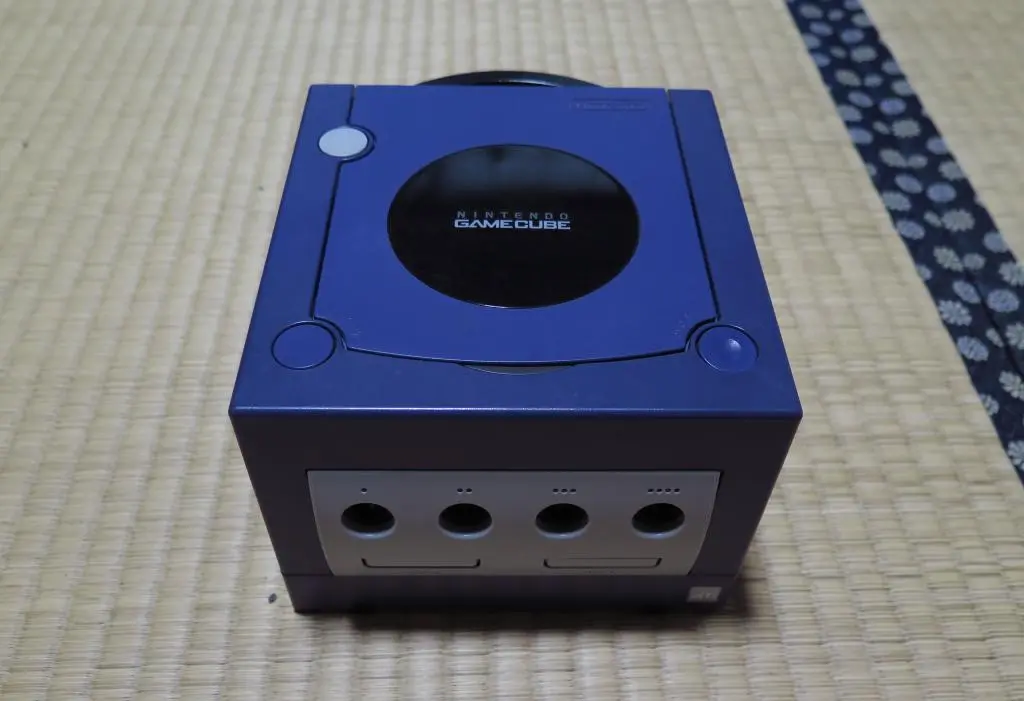
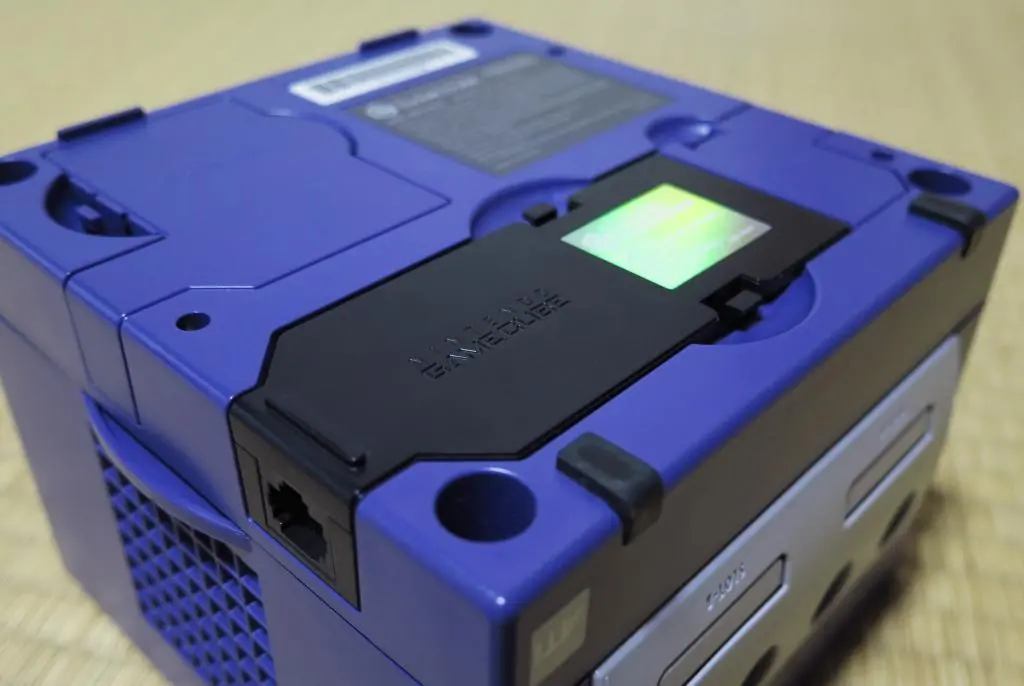
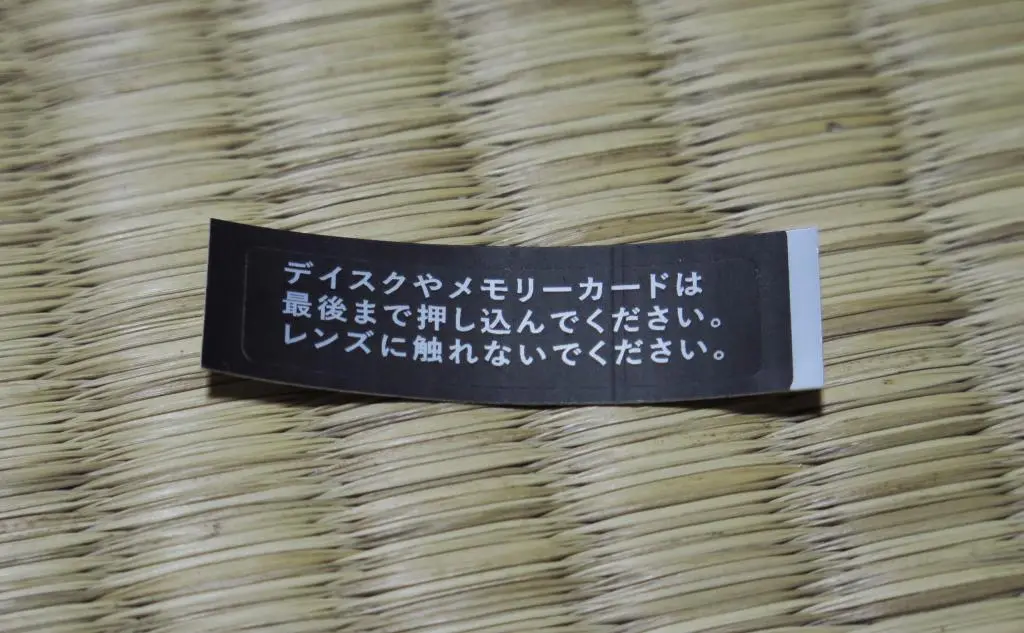
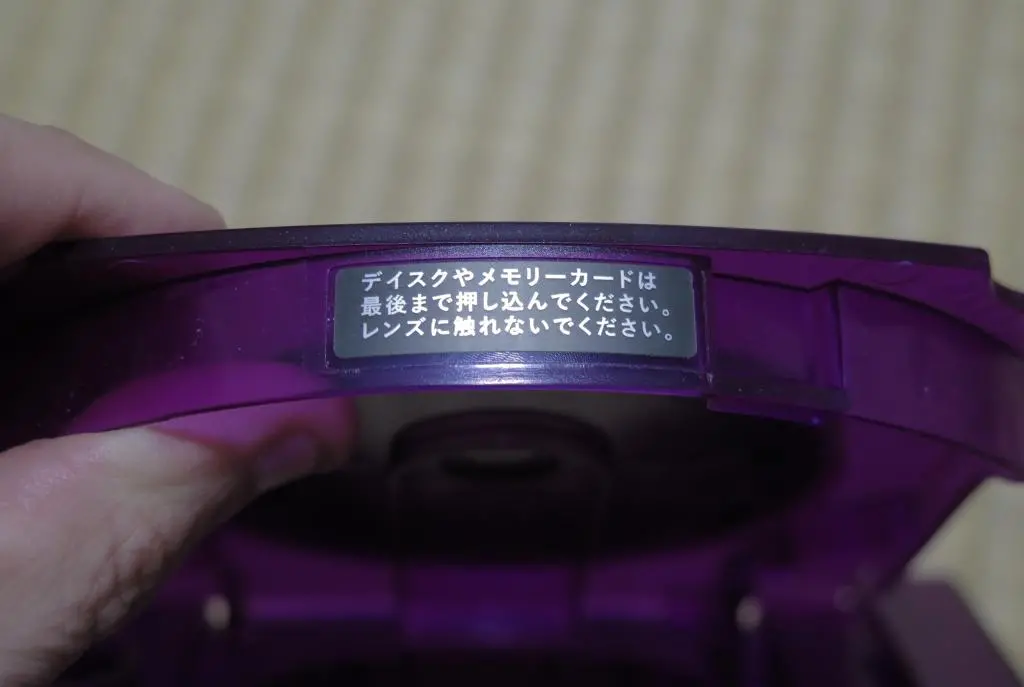
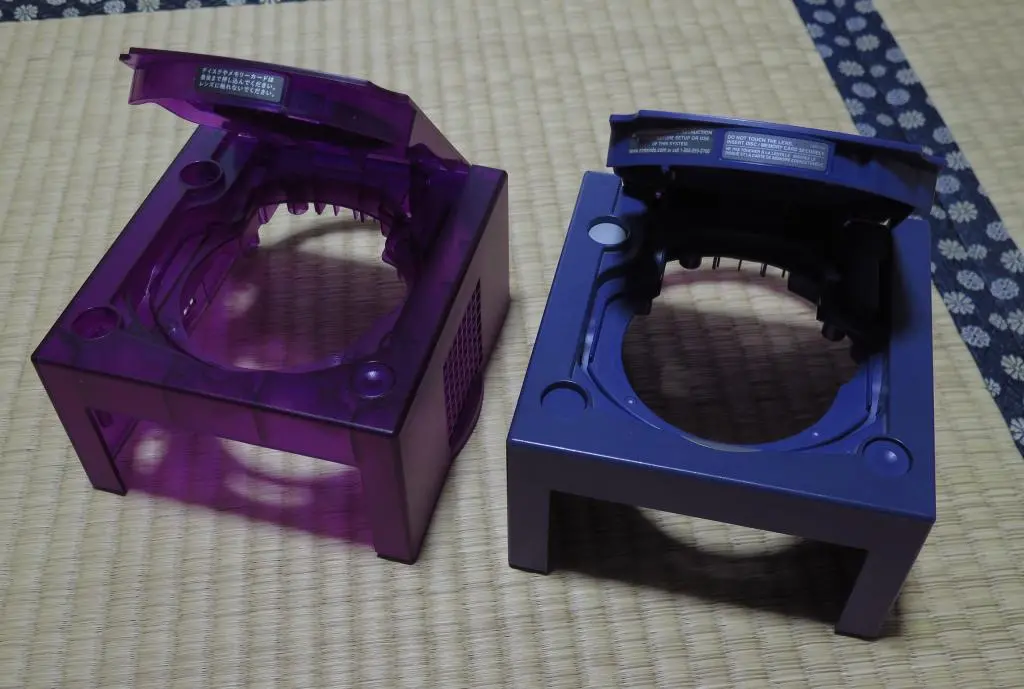
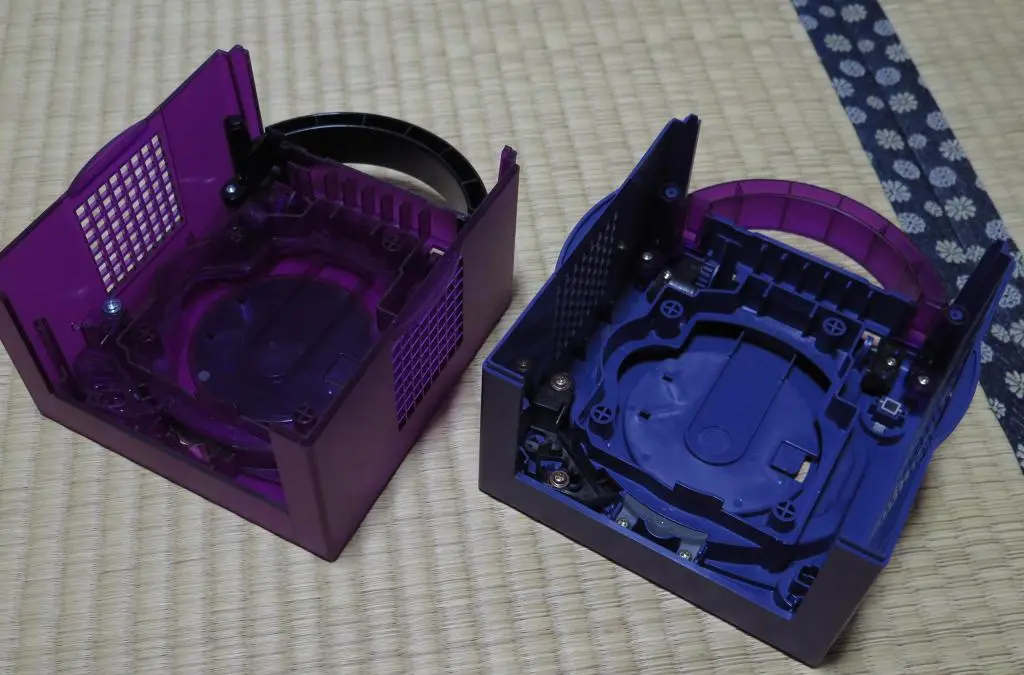
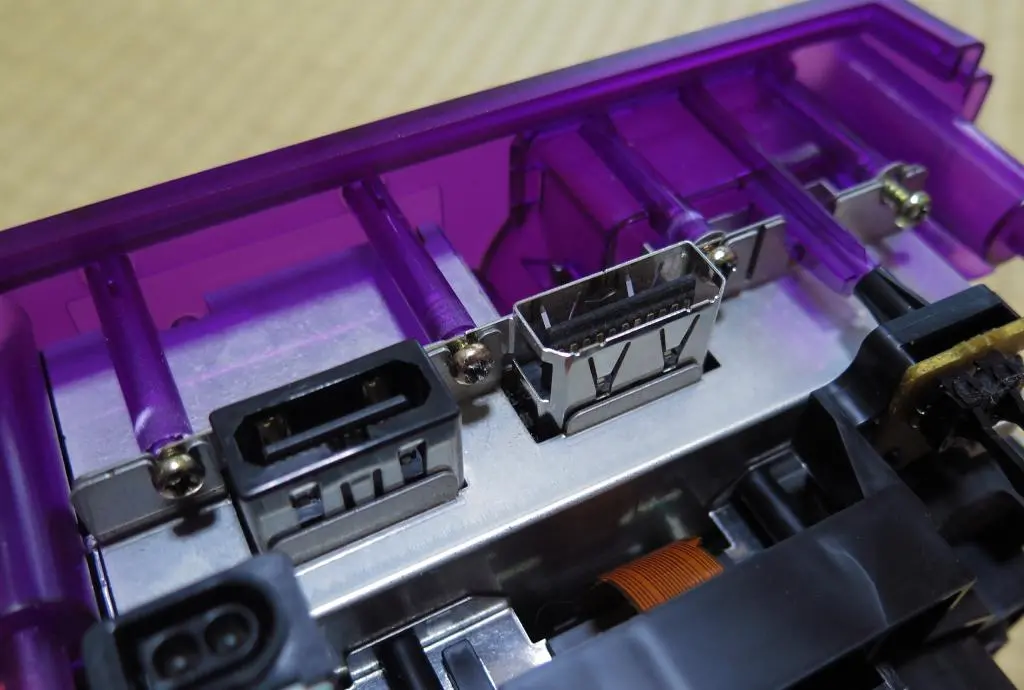
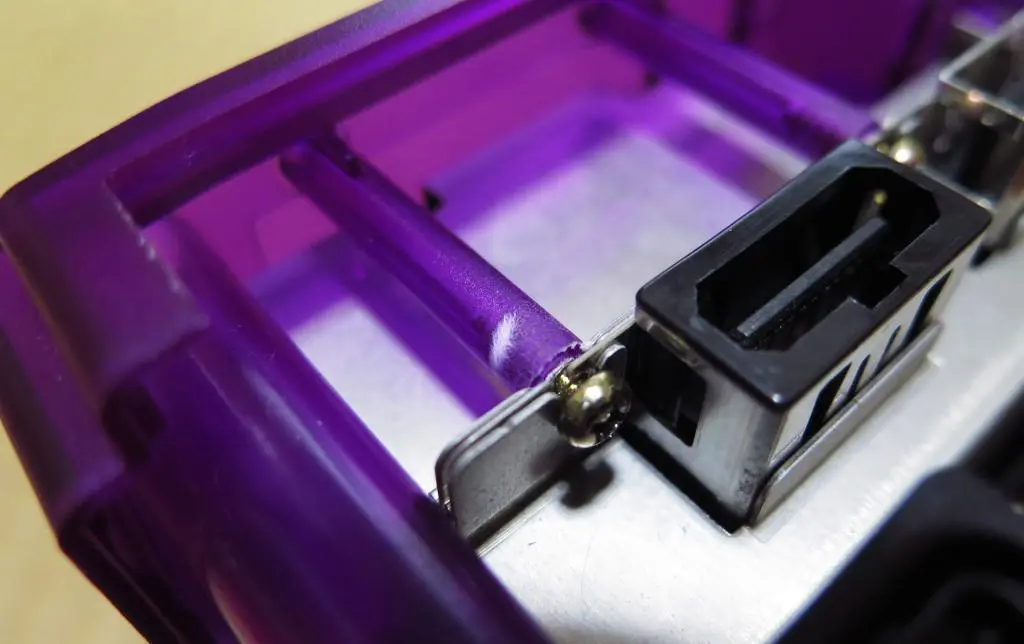
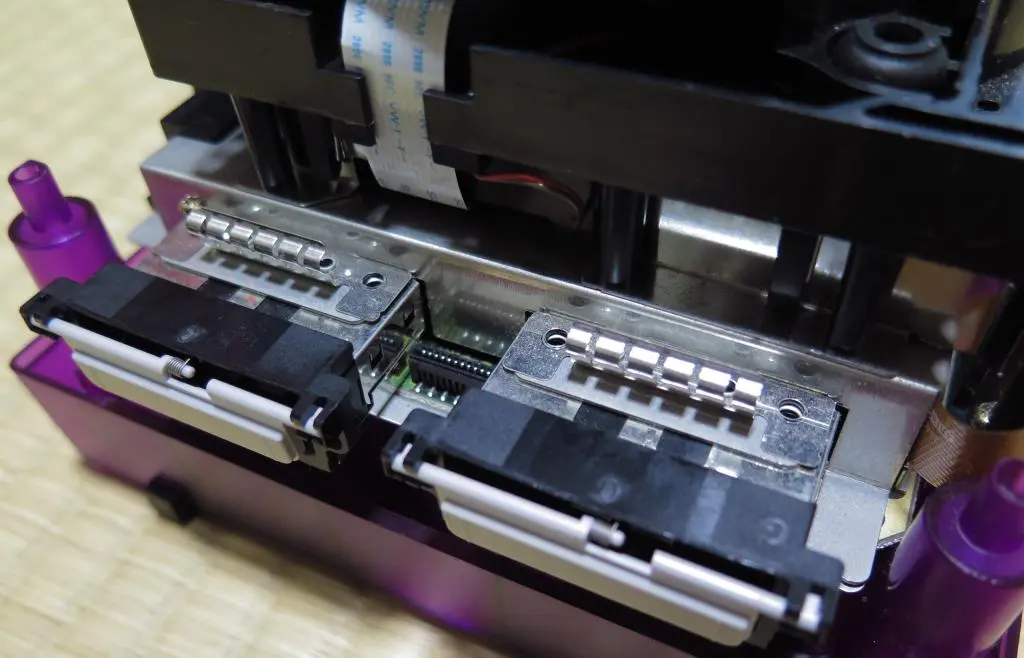
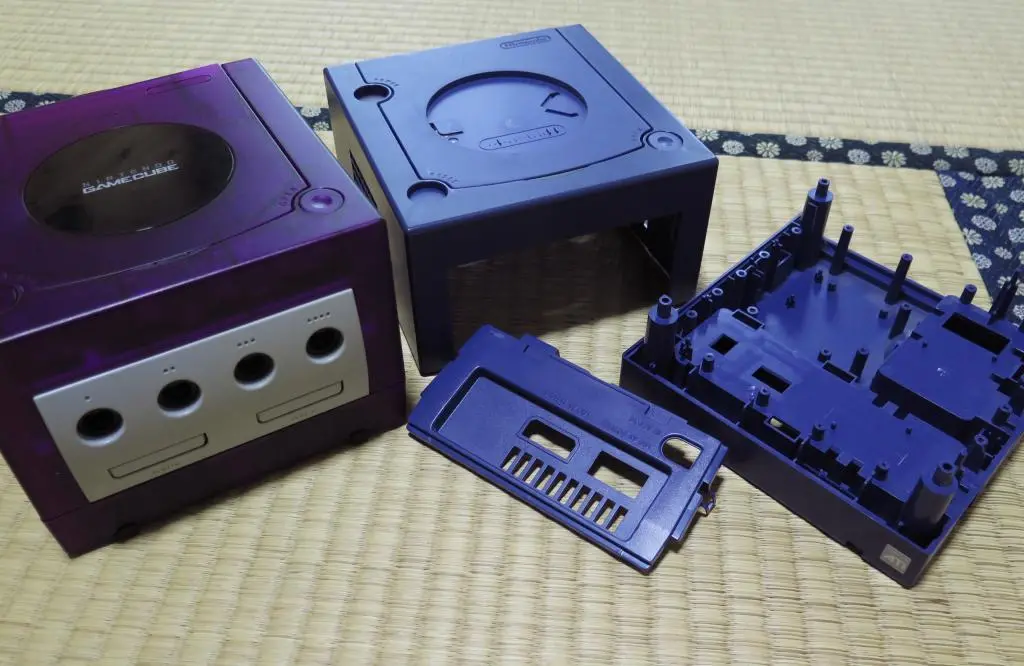
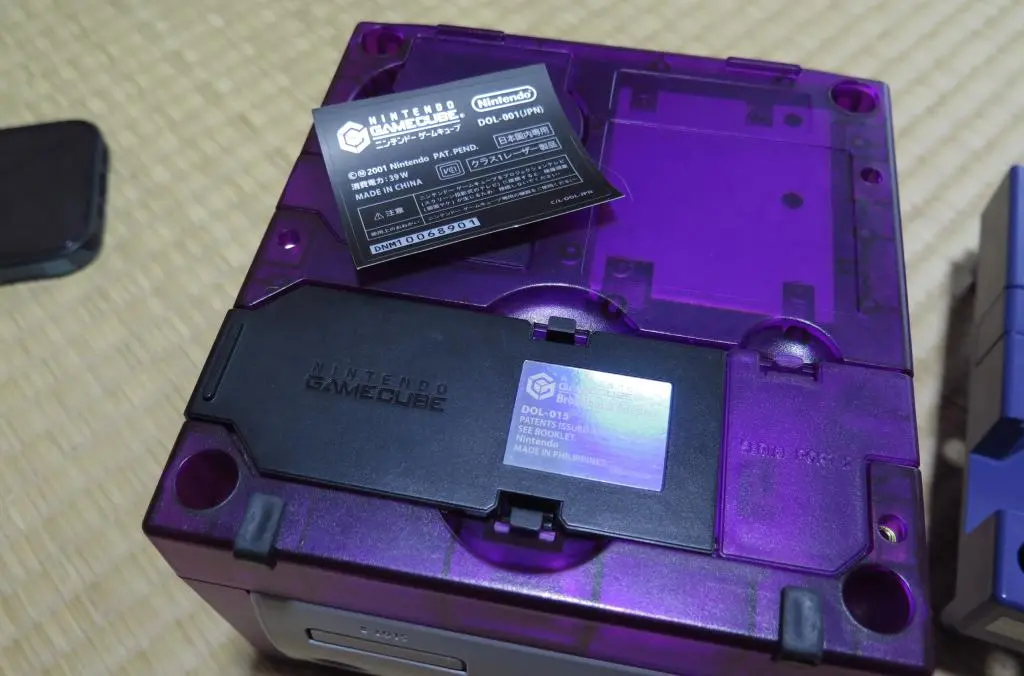
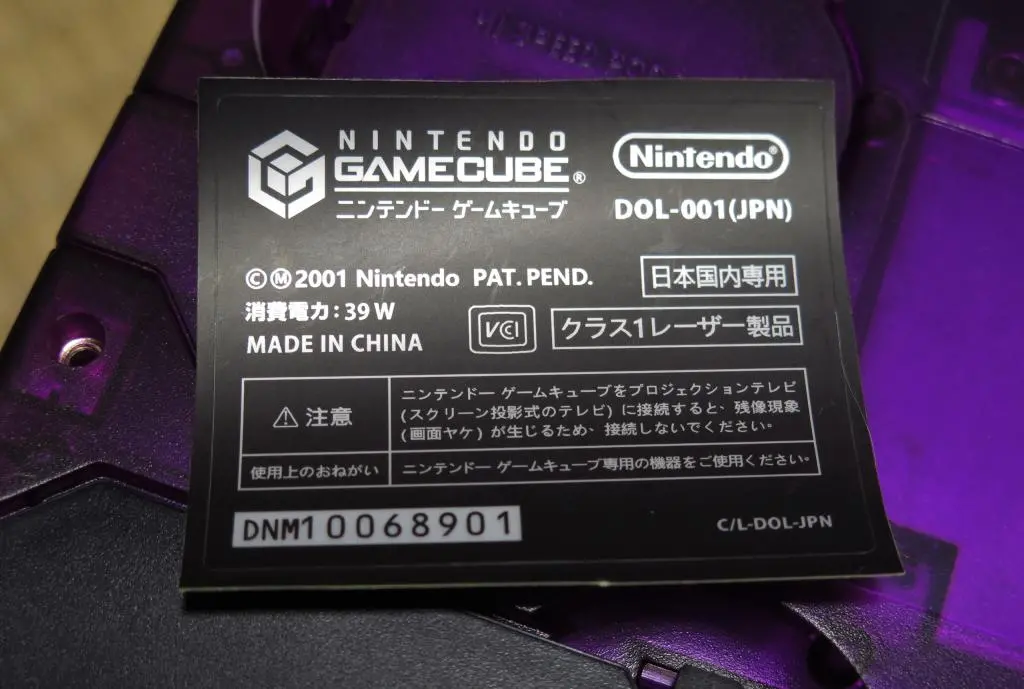
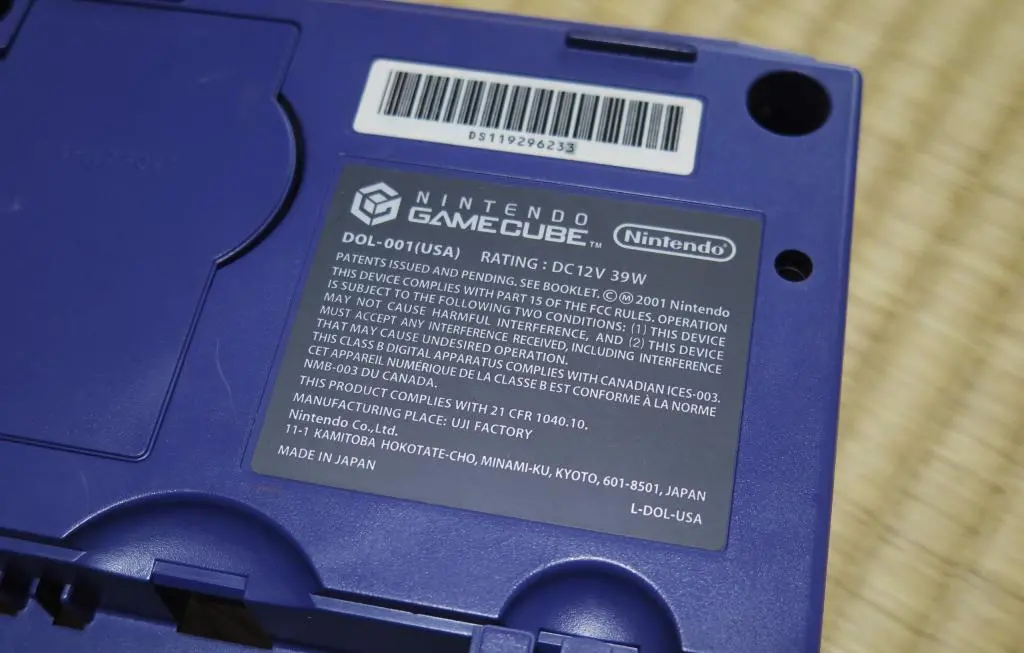
Completing my collection of millenium modded Japanese consoles, I turn to the Gamecube. Overall, it was a solid piece of hardware that had a lot of interesting games and peripherals. There's not a whole lot of bad things you can say about it, except for a slight lack of games. Many publishers were still burnt from the N64 and didn't return. Also, the Playstation 2 was getting huge expansive RPGs that never appeared on this platform.
However, there are several unique and incredible experiences that became exclusive to the Gamecube. Many of these were from Nintendo themselves, but Capcom, Namco, and Sega helped out. Animal Crossing, Pikmin, Monkey Ball, F-Zero GX, Viewtiful Joe, Baten Kaitos, Resident Evil series revival, Resident Evil 4, and two incredible Legend of Zelda games. Also, Square finally put Final Fantasy back on Nintendo with Crystal Chronicles. It seemed like the curse of the N64 may have been broken, but Playstation 2's shadow was too vast to escape from.
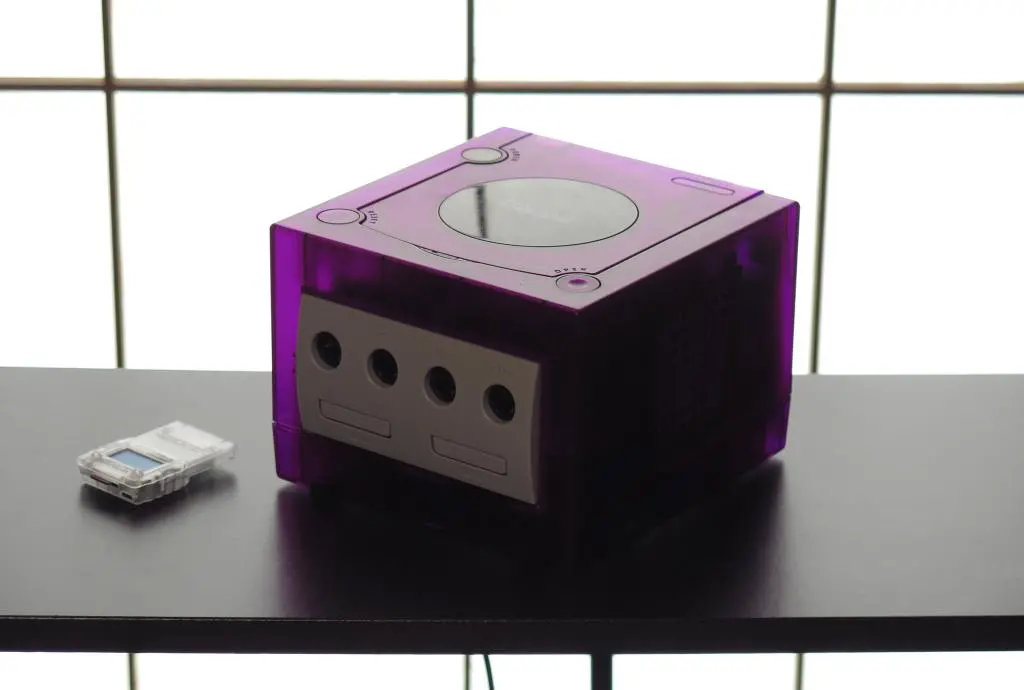
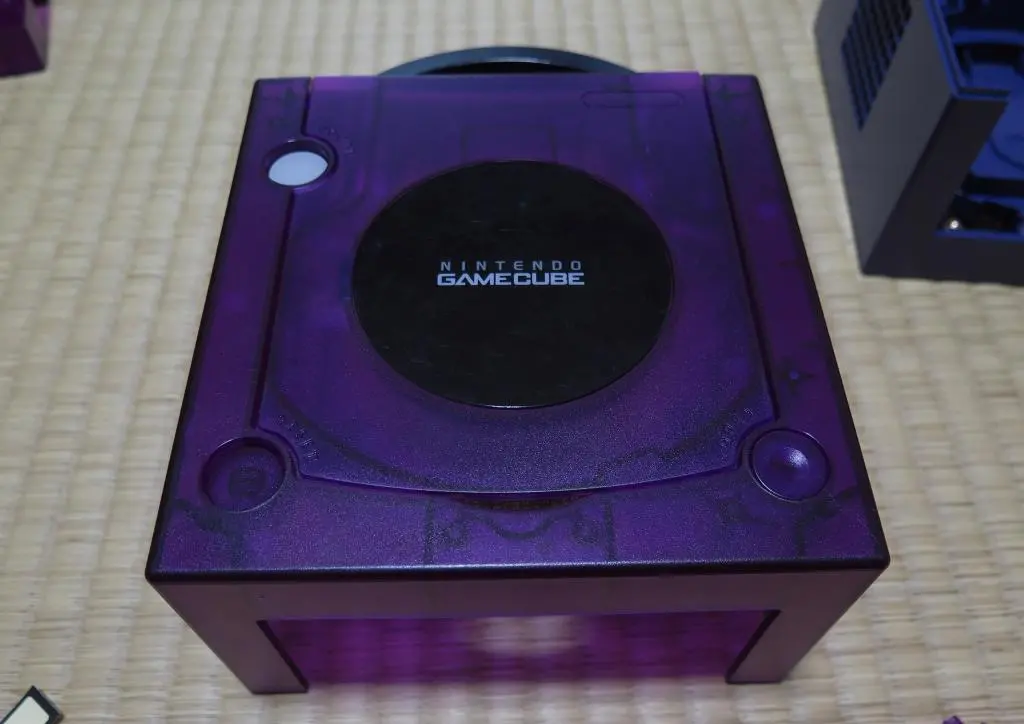
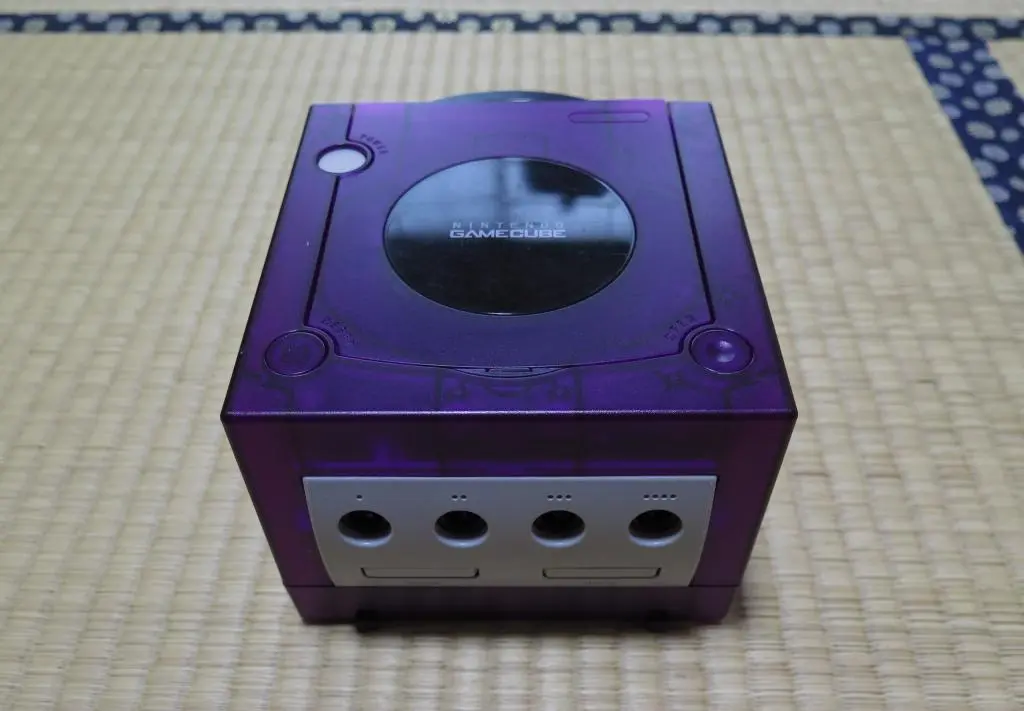
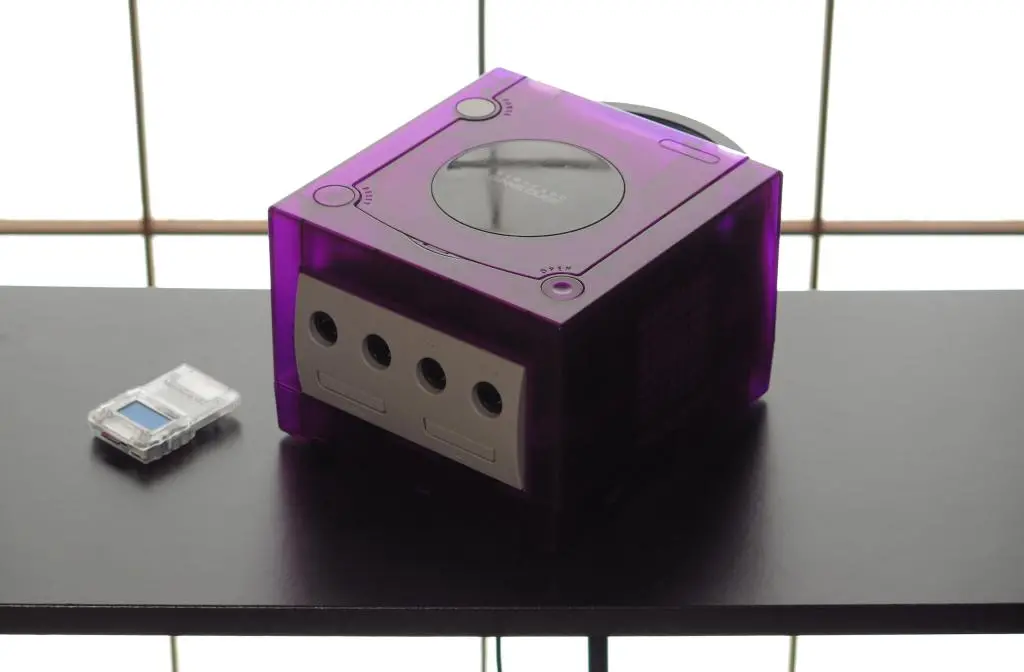
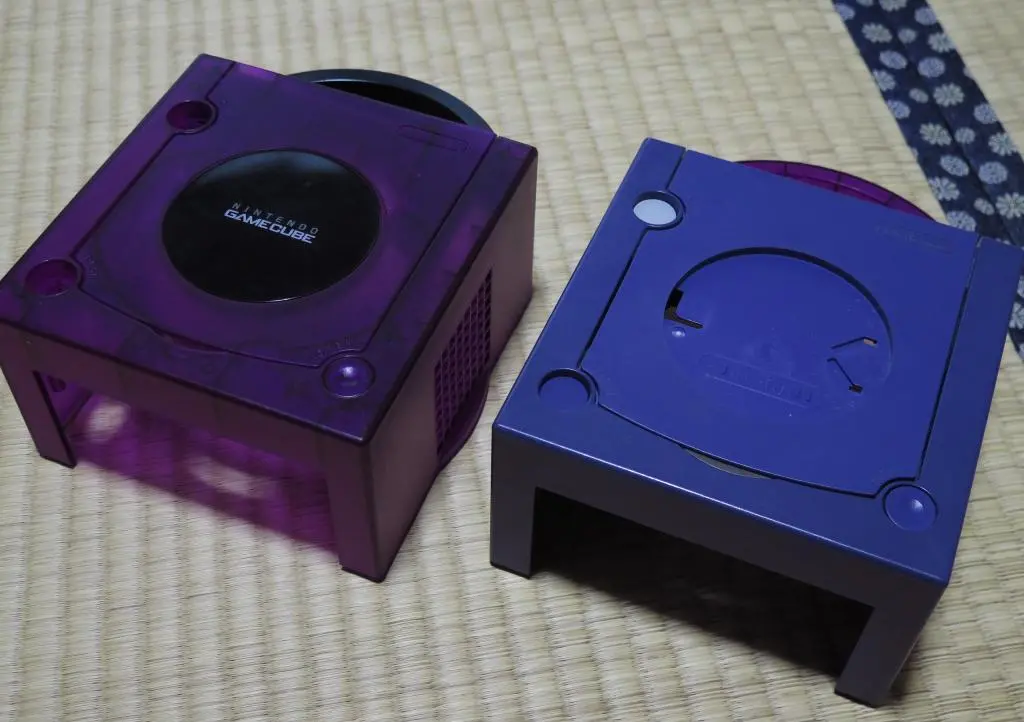
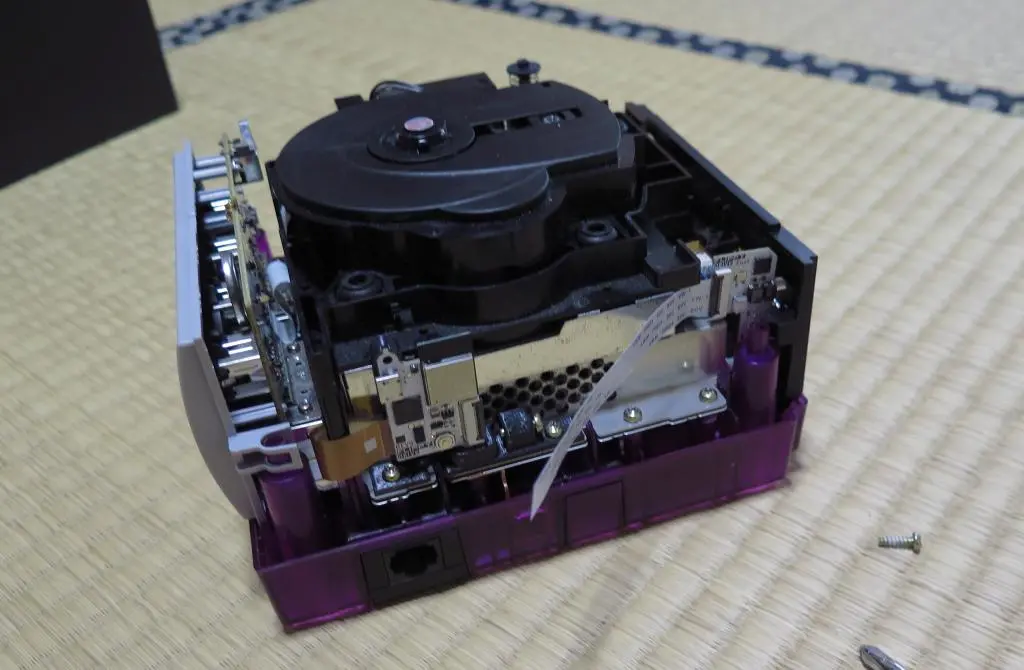
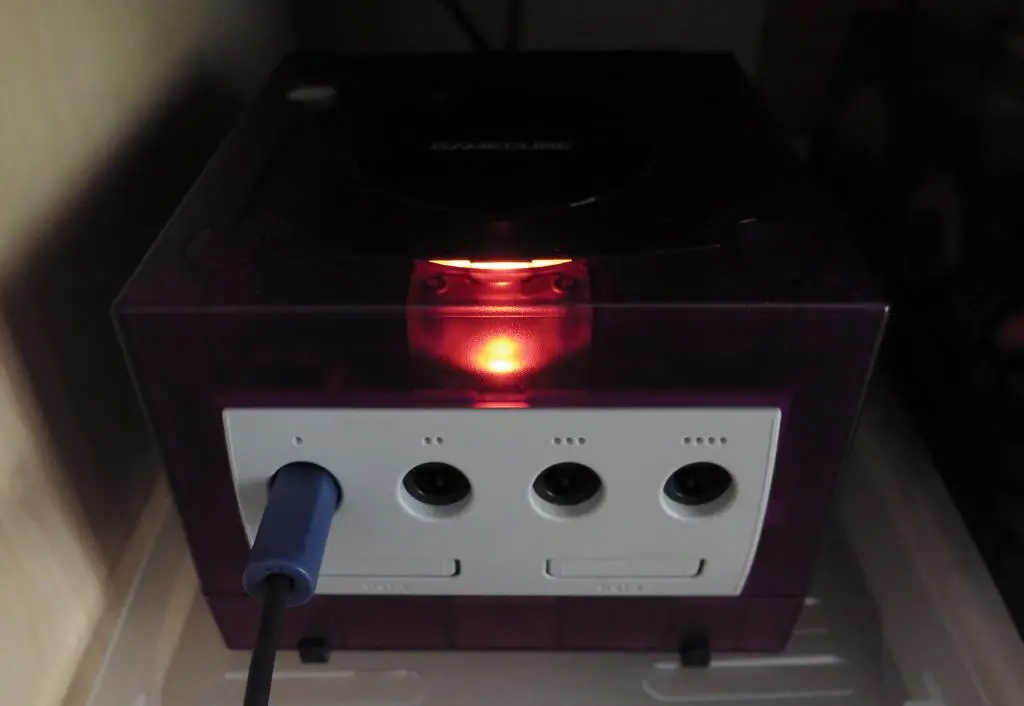
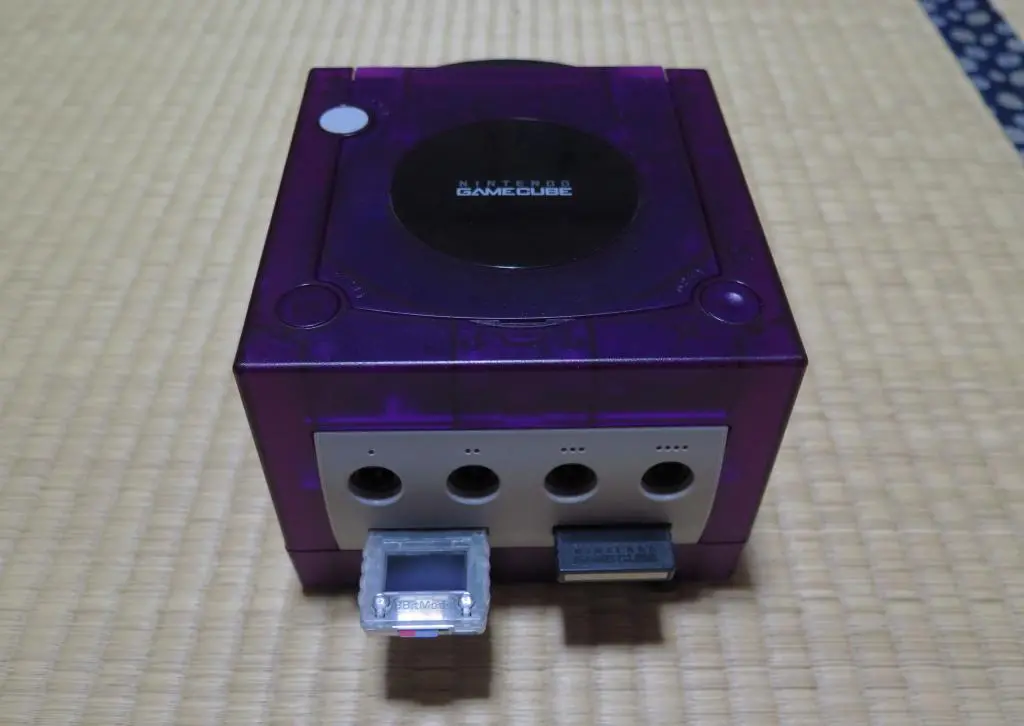
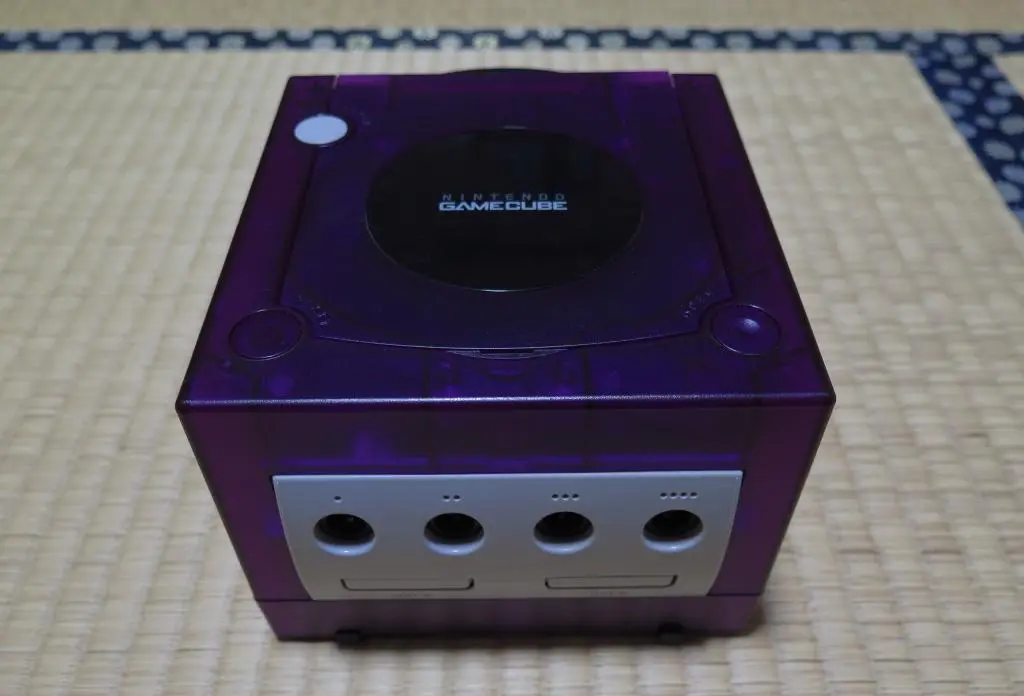
I have modded the Playstation 2 and the Dreamcast, so I thought I would do the same with the Gamecube. And here it is:
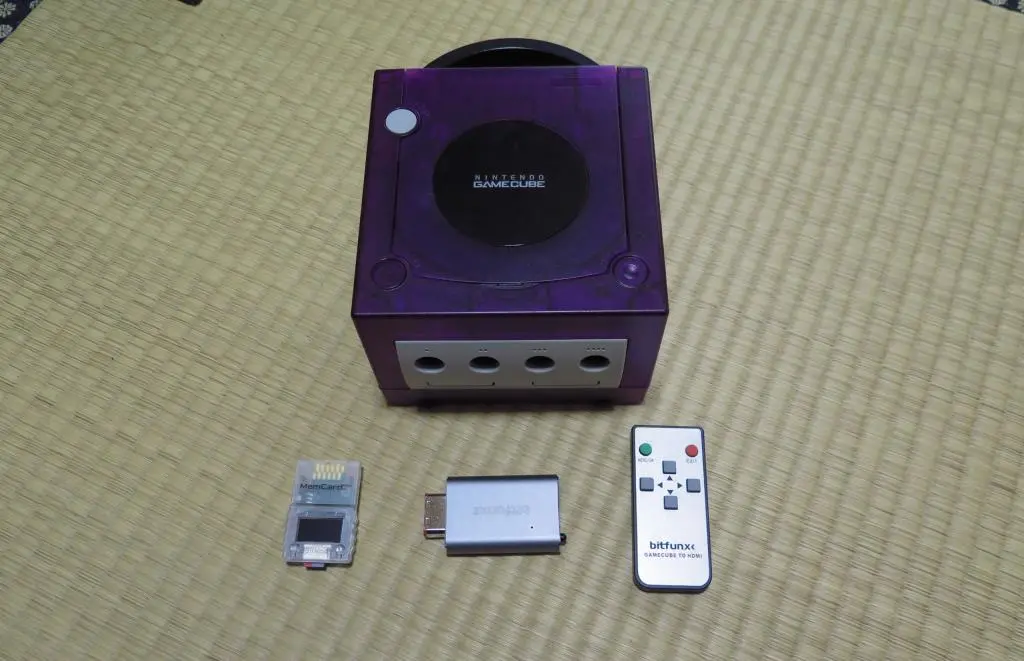
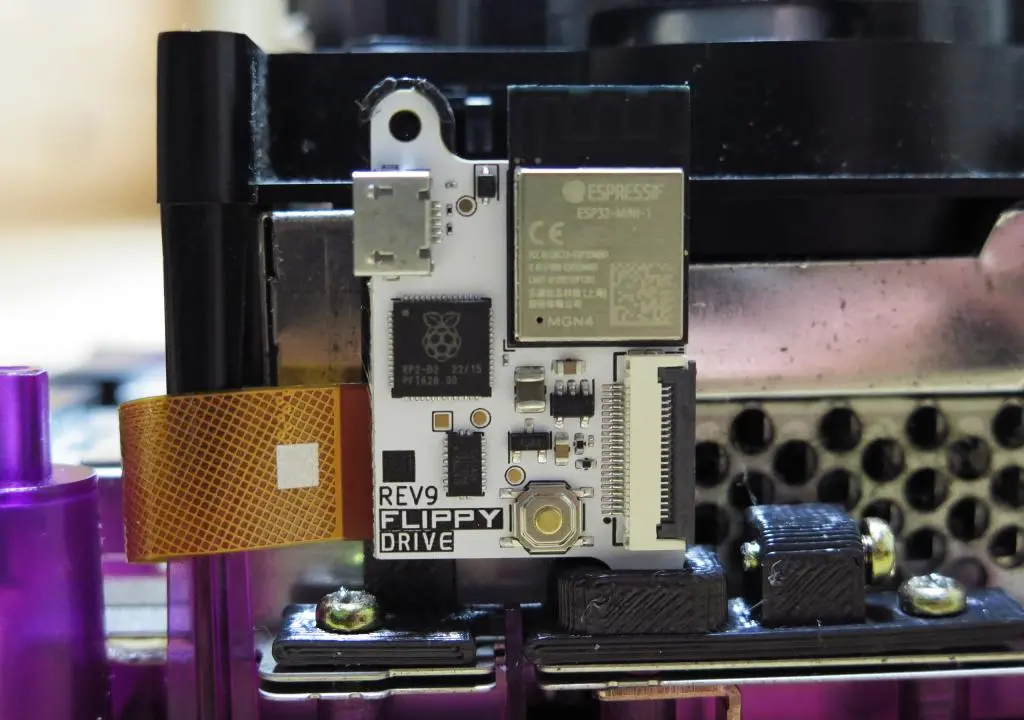
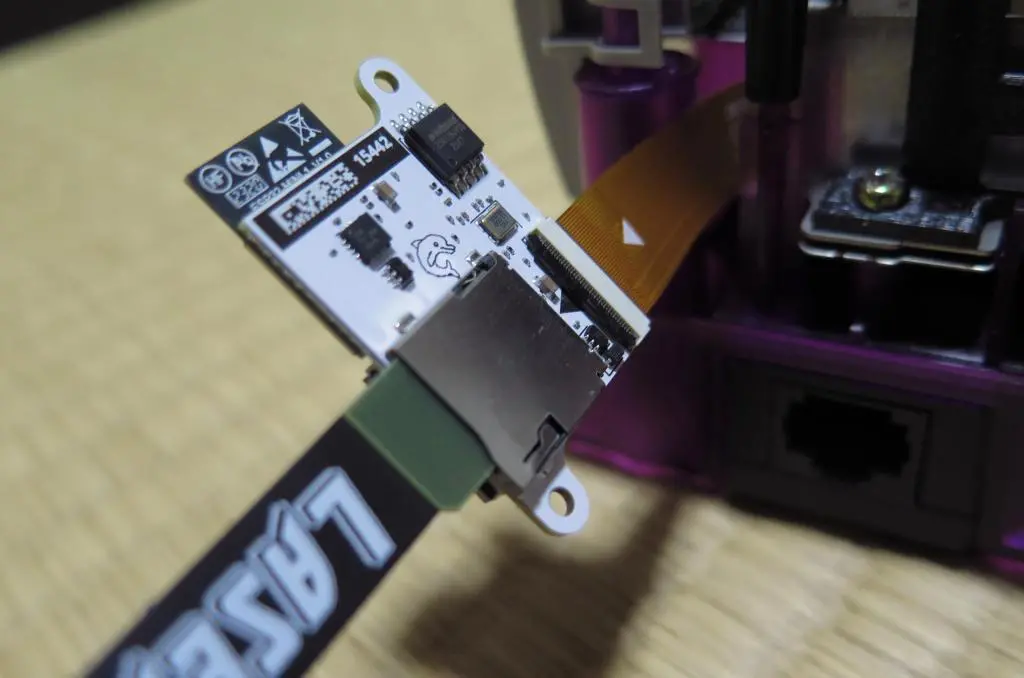
There were a few hiccups along the way, but it works flawlessly and I'm able to use and manage my 20-year-old saves, too. The main hardware mod that drives my Gamecube is the FlippyDrive on the inside paired with a MemcardPro and the Bitfunx HDMI adapter on the outside.
I was introduced to the FlippyDrive from yet another one of Tito's MachoNacho videos on YouTube. After completing my Playstation 2 set up, the idea of modding consoles no longer seemed impossible to me. The FlippyDrive was an internal mod, but it required no soldering and no damage to the original console. Plus, it was a disc reader bypass, so you could still use game discs as normal. Additionally, it was cheap at only $45.
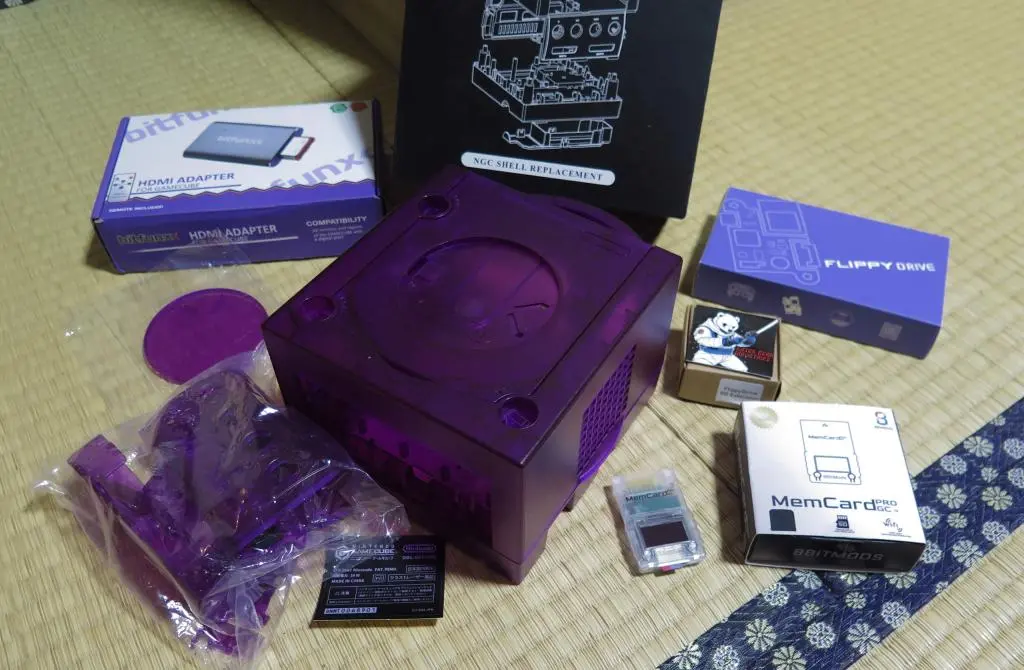
FlippyDrive was being funded through CrowdSupply and the campaign was still going at the time, so I purchased a deluxe kit on September 9th 2024. It eventually shipped almost exactly a year later on September 11th 2025. In preparation, I purchased several other things to complement the mod:
My full parts list is as follows:
- FlippyDrive Deluxe Kit with Ethernet Adapter and Back Plate
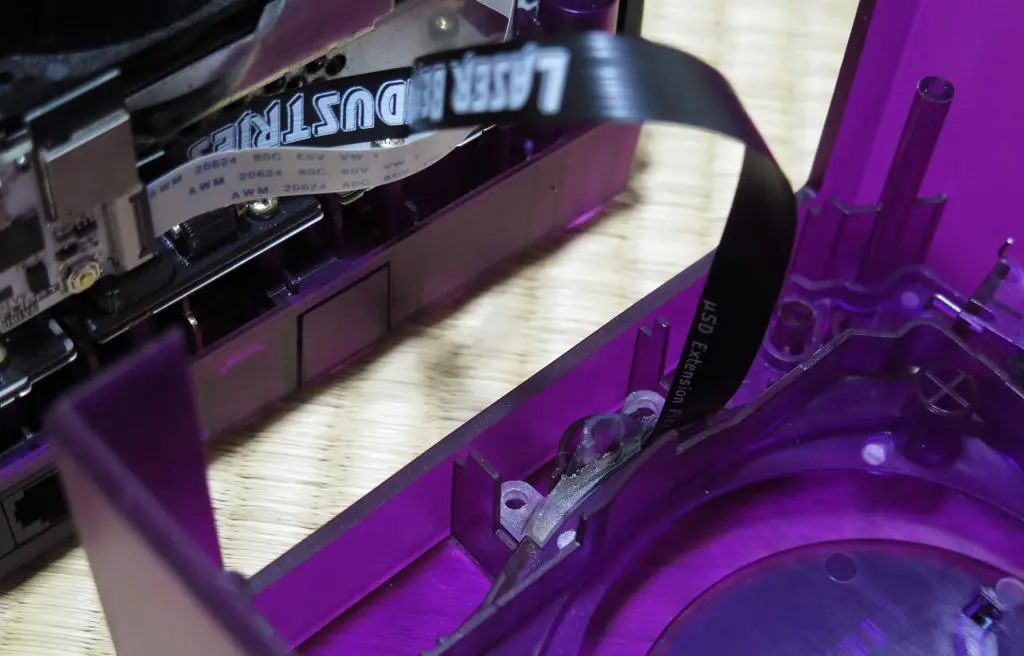
- FlippyDrive SD Card Extension (from Laser Bear)
- MemCardPro GC (from 8BitMods)
- HDMI Adapter (from Bitfunx / Aliexpress)
- Shell Replaement - Grape Translucent (from Aliexpress)
- ...and later, I bought an SD2SP2 adapter from Amazon
Using all components required THREE SD cards. I'm using a 64gb for the MemCard, a 128gb for the SD2SP2, and a 512gb card for the FlippDrive to hold all the games.
Set up for the MemCard Pro was a bit messier than I originally thought, so I have detailed that journey in a separate post. This post will focus on the Gamecube mods themselves.
The FlippyDrive is a new mod for the Gamecube amongst a community of already established mods. Its selling point is ease of installation, a more native-looking UI, and a cheap price point. But because it is still so new, I had trouble finding information about how I should prepare the SD card. The Playstation 2 and Dreamcast had very esoteric file structures, so I assumed I had to do something weird here, too.
Not the case. You can keep the SD card in ExFat format, and just dump the Gamecube ISOs in the root directory. That's it. There's no specific naming format or folder structure. You can make folders if you want to organize some games, but that's unnecessary. Each Gamecube game is around 1.1gb or 1.4gb, so my 512gb SD card can hold everything I would ever want to play.
The Wiki has some details about SD card prep, but it's really nothing. Just format the card as ExFat and put in the ISOs. Note: it currently does not support RVZ files, which is the common Dolphin compressed format.
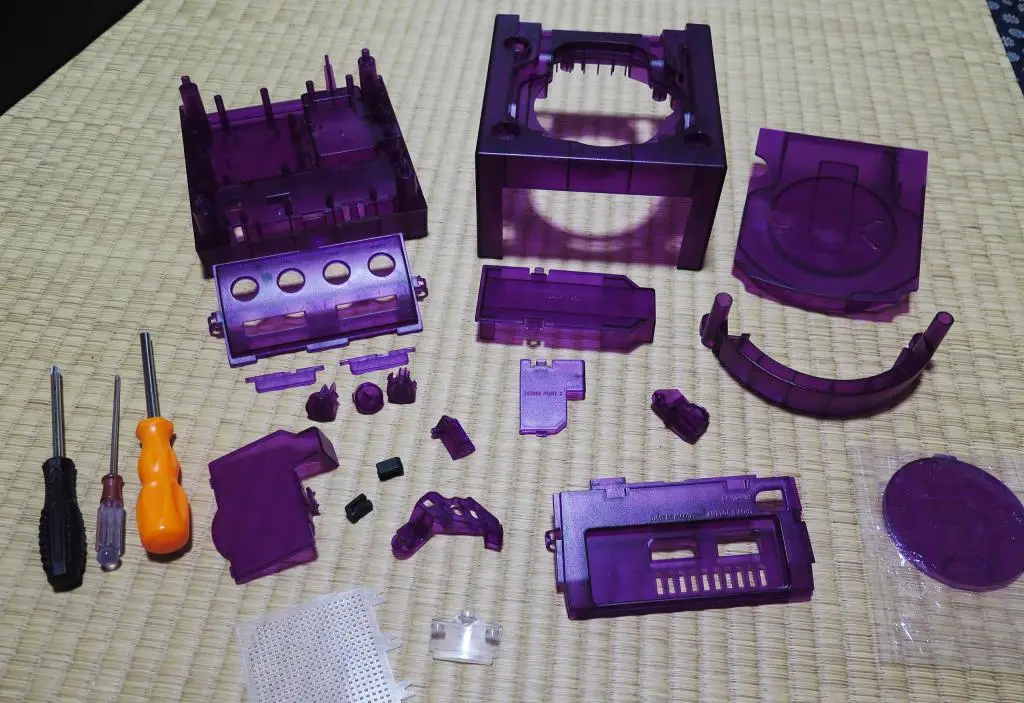
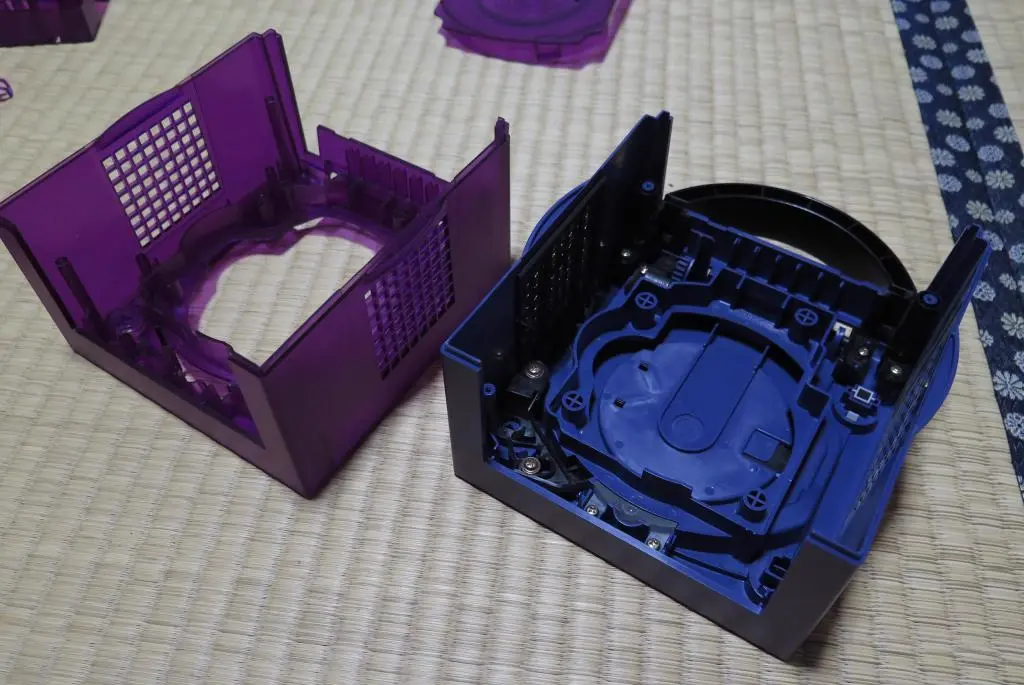
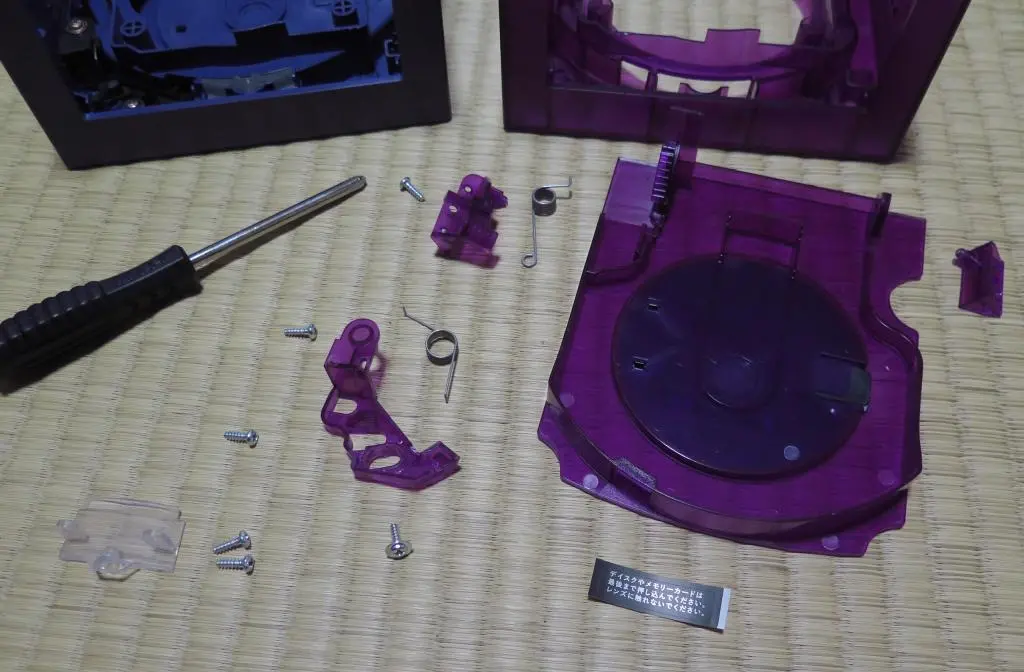
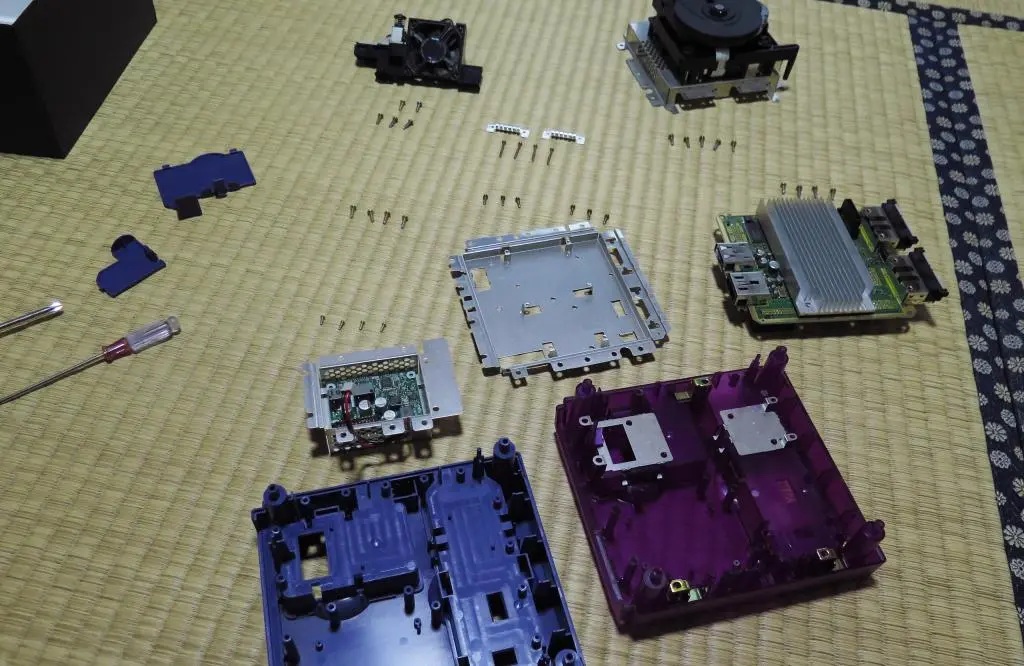
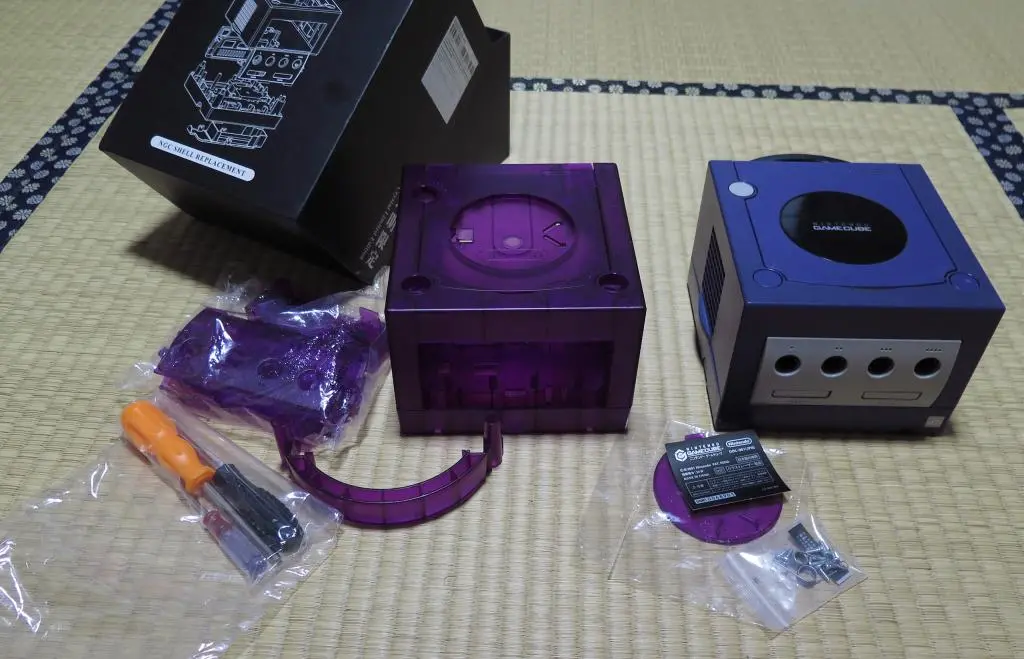
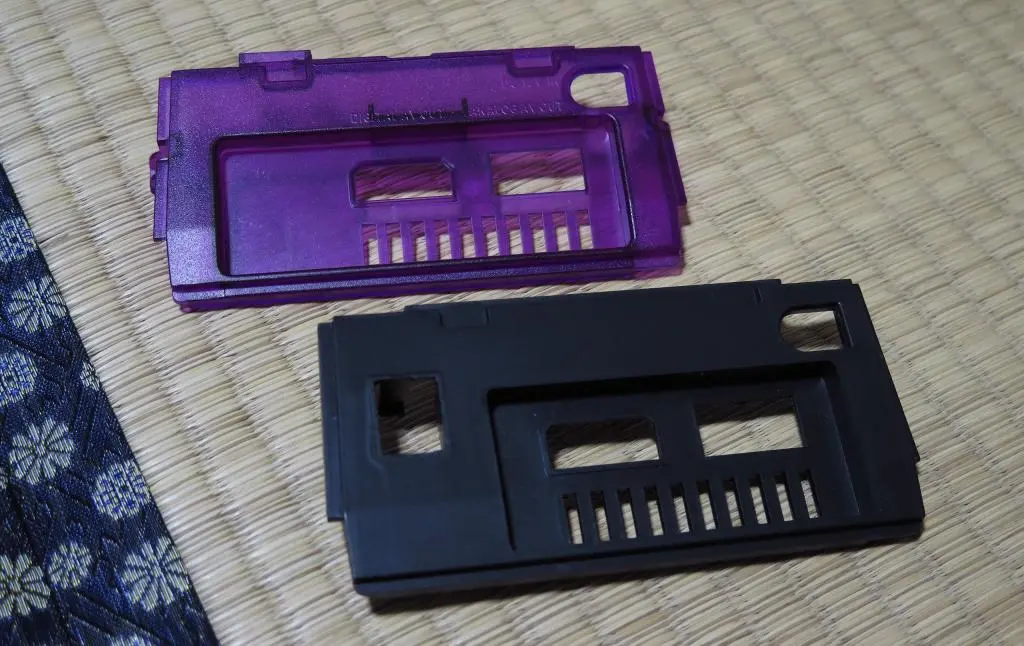
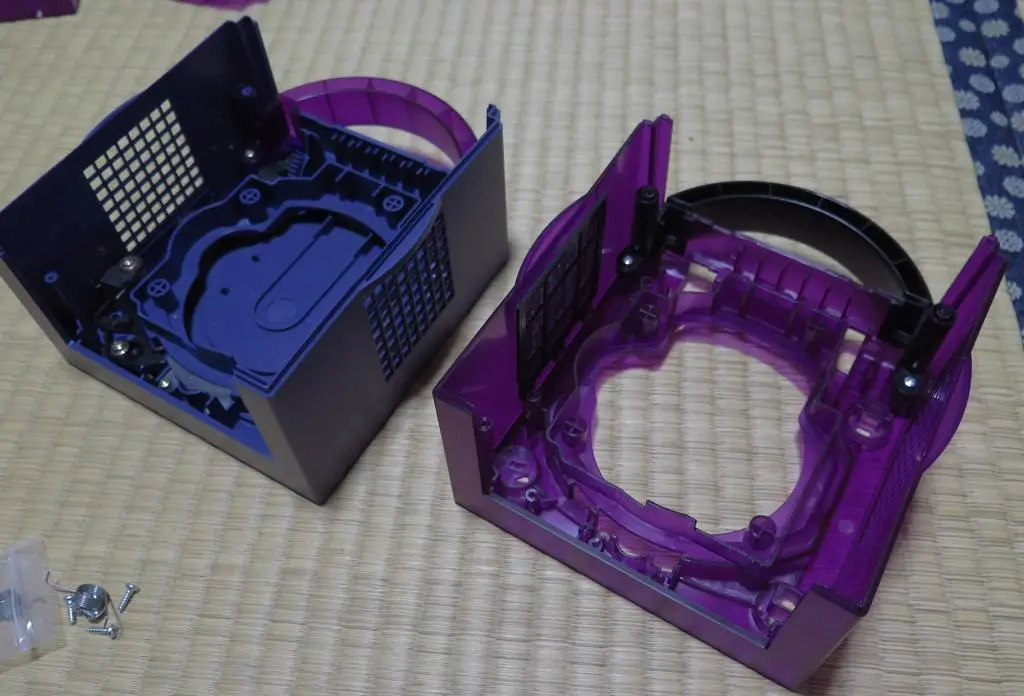
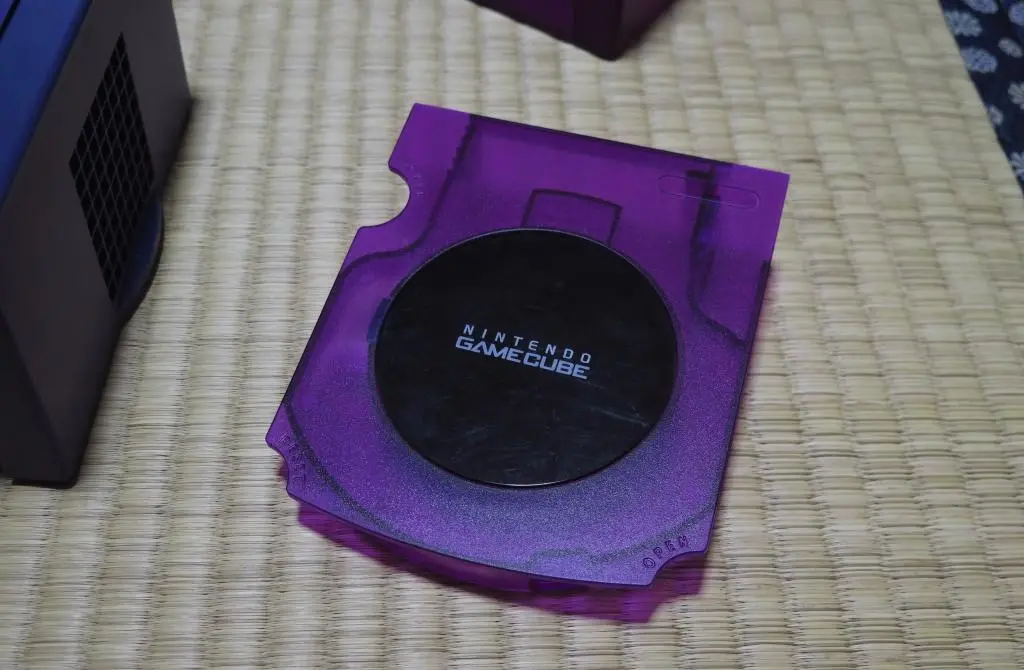
In addition to installing the FlippyDrive, I will be replacing almost all of the outer shell with this Grape Translucent one. Here are all the parts included in the box.
It came with the screwdrivers required for the teardown, and so many many parts. This was way more parts than those included with the Dreamcast replacement kit. (Although, the Dreamcast kit already had the upper shell preassembled.) The box did not come with any instructions, but by following the teardown of the Gamecube, it's not difficult to figure out where everything goes and how things fit together.
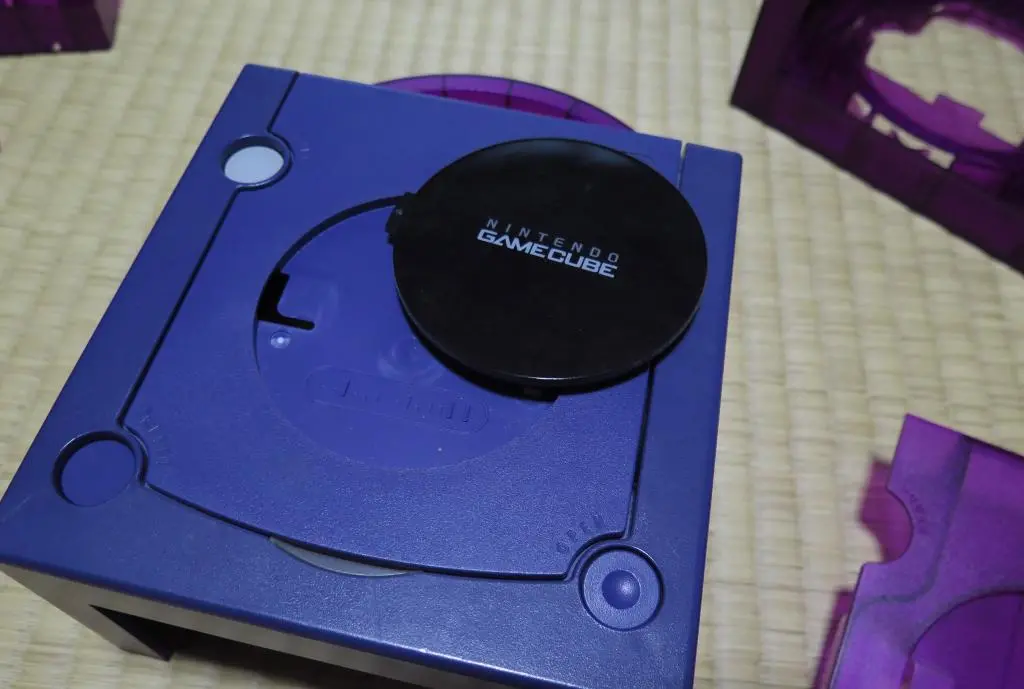
Also, with experience from the Dreamcast shell replacement, I made the decision to not completely replace everything. I wanted to keep the front gray controller plate, the Gamecube Logo plate on top, and maybe a few other things. I was already not going to use the back plate because I had a replacement for the ethernet port.
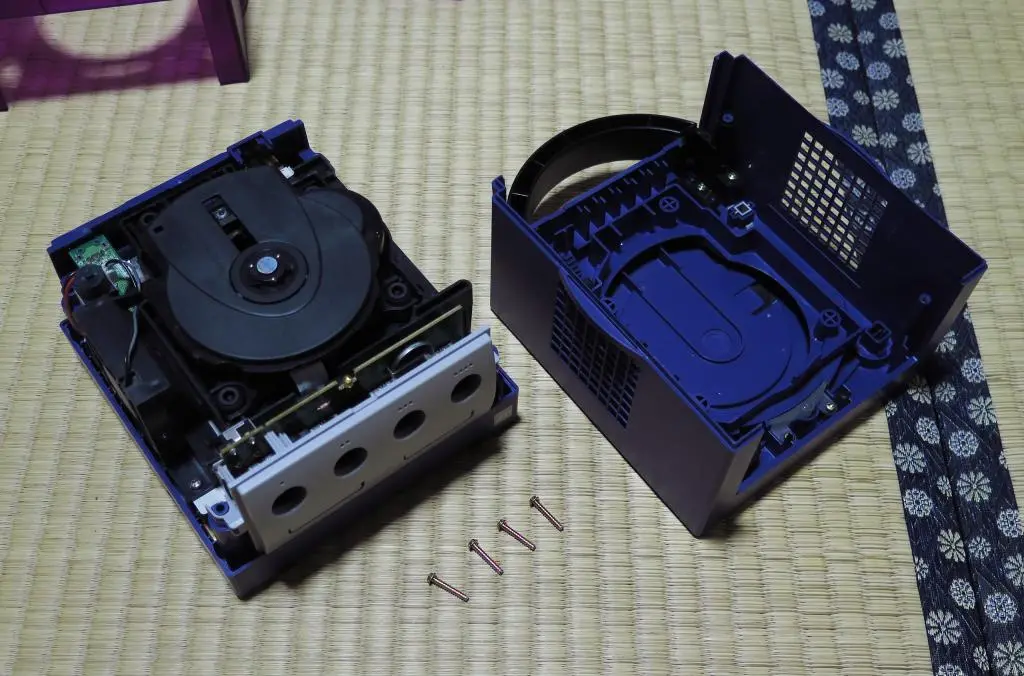
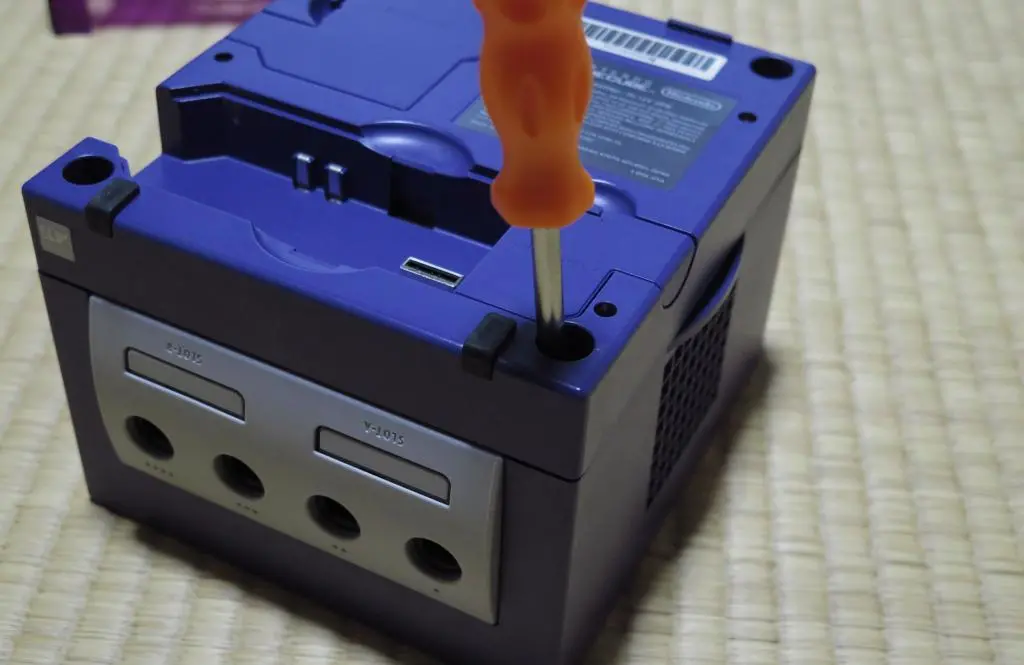
The Gamecube shell is held together with only four hexagonal screws. They are removed with the included orange-handled screw driver. These are the only weird screws in the console. All others are Phillips head screws.
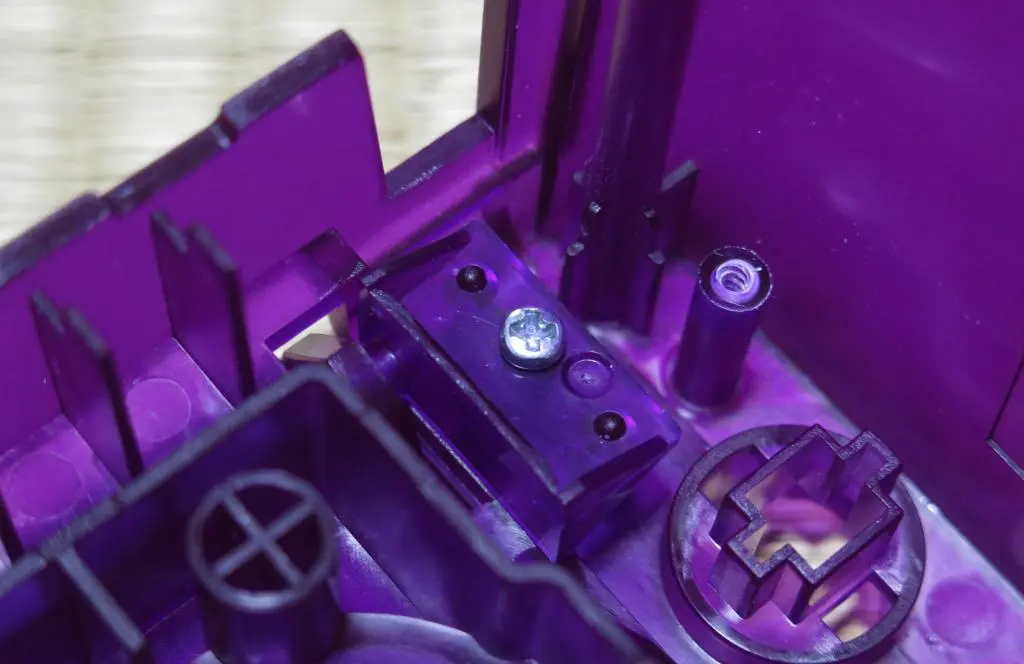
Immediately, I decided to start work on the upper shell before continuing with the teardown.
Again, there were no instructions, but it was easy to look at the factory assembled shell and figure out which pieces went where and how things fit together.
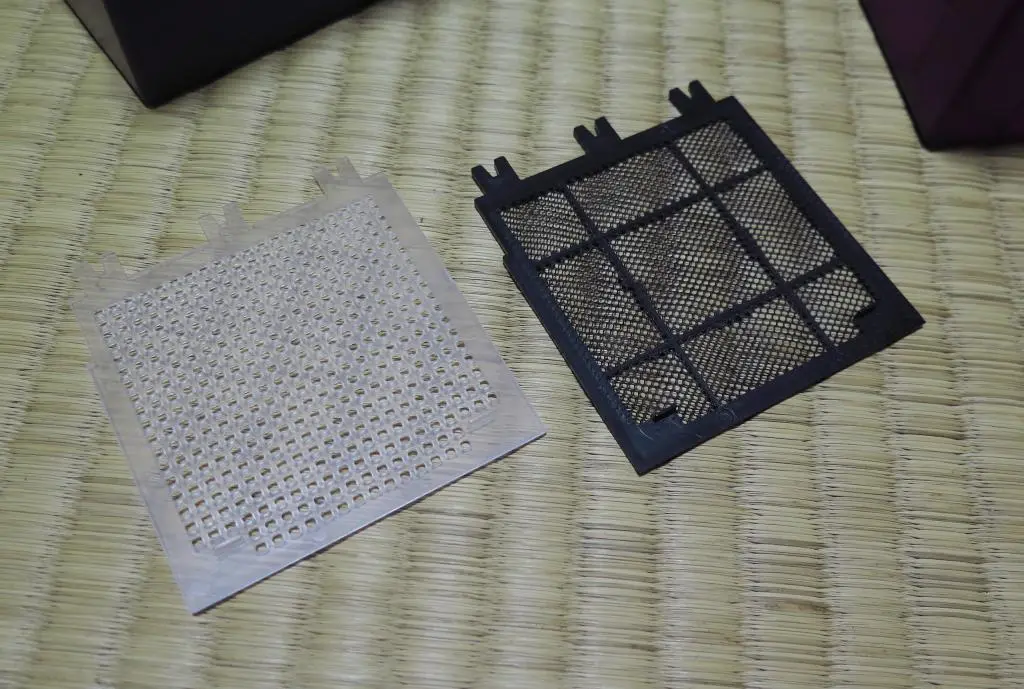
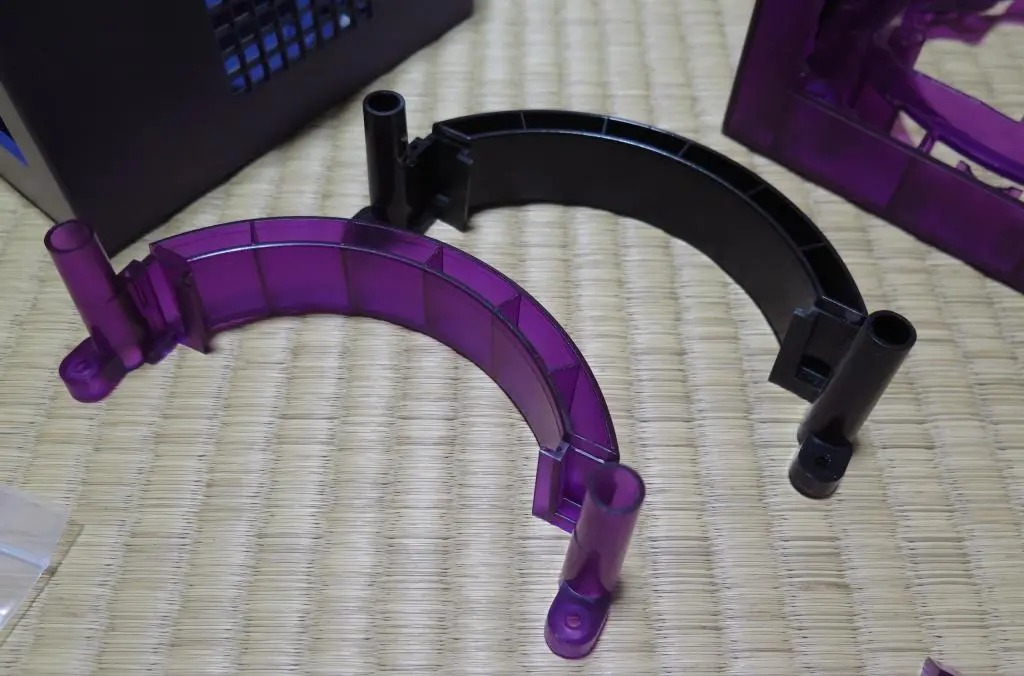
In addition to the black lid cover with the Gamecube logo, I decided that I wanted to use the black handle and the black vent cover in my build. I thought the black handle looked very attractive with the shell rather than having the shell be a complete single color. Also, the vent cover included in the kit was terrible. The original cover had a mesh screen for preventing dust from entering. The new cover was just a plastic piece.
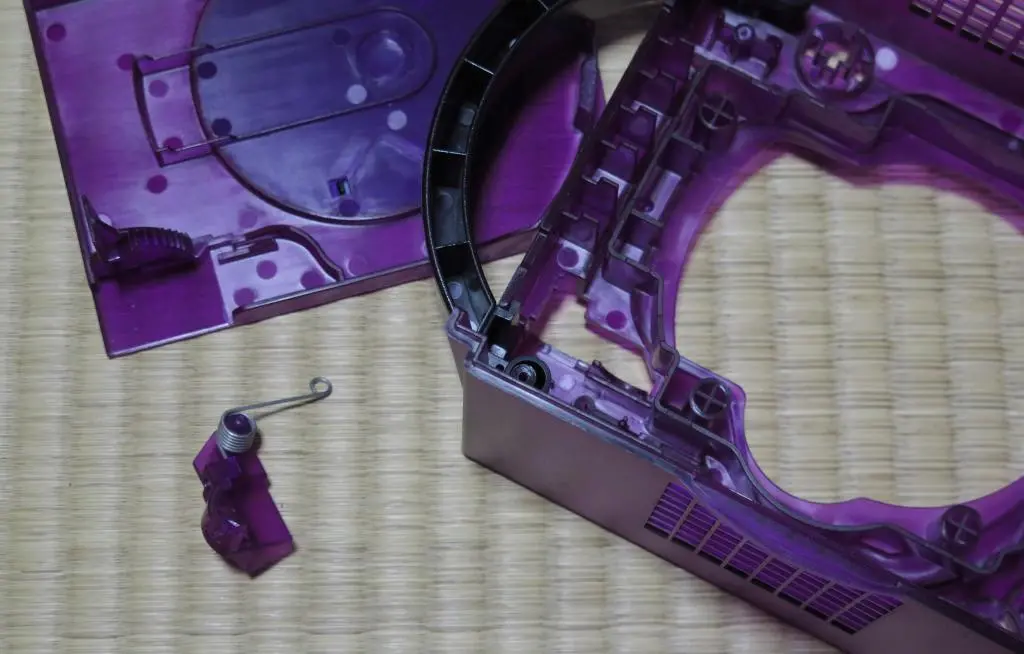
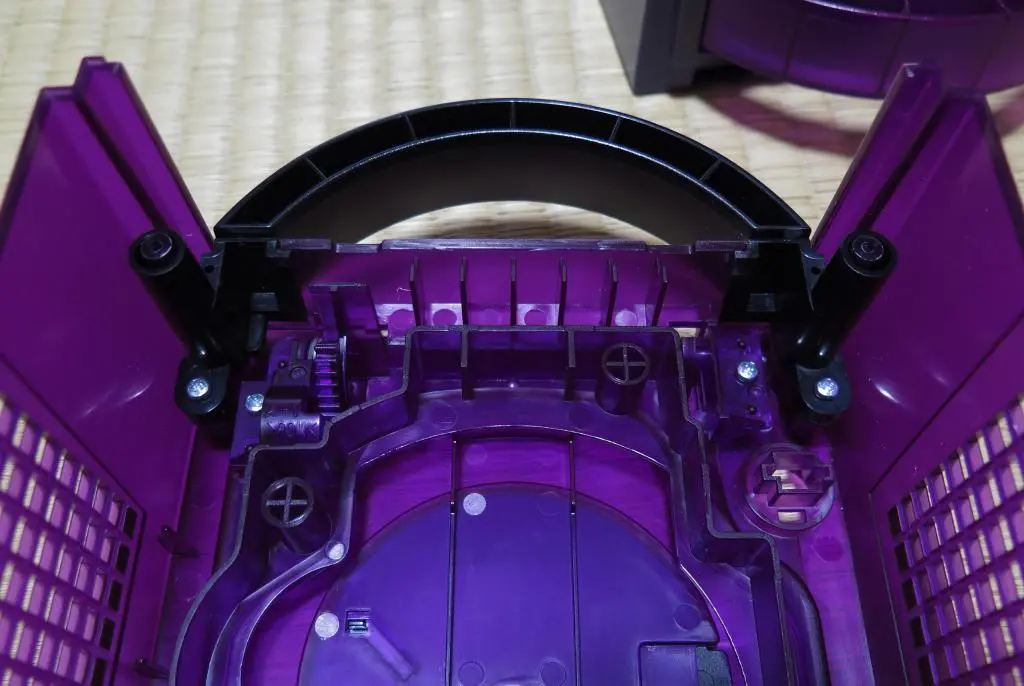
Assembling the lid took some acrobatics with the springs. Actually, attaching the handle on first blocked some of the components, so I had to remove it before proceding.
Eventually, I figured out that the spring must be connected to its bracket and then fitted into the hole from the inside at the same time as the tray is being fitted from the outside. These two pieces need to connect to each other through the hole, and then the bracket needs to be screwed into place before it falls apart.
It took a while, but eventually it got in there and I could screw it down. Then the bracket on the other side slips into place, and becomes secure with a screw. Finally, the handle goes on over both parts.
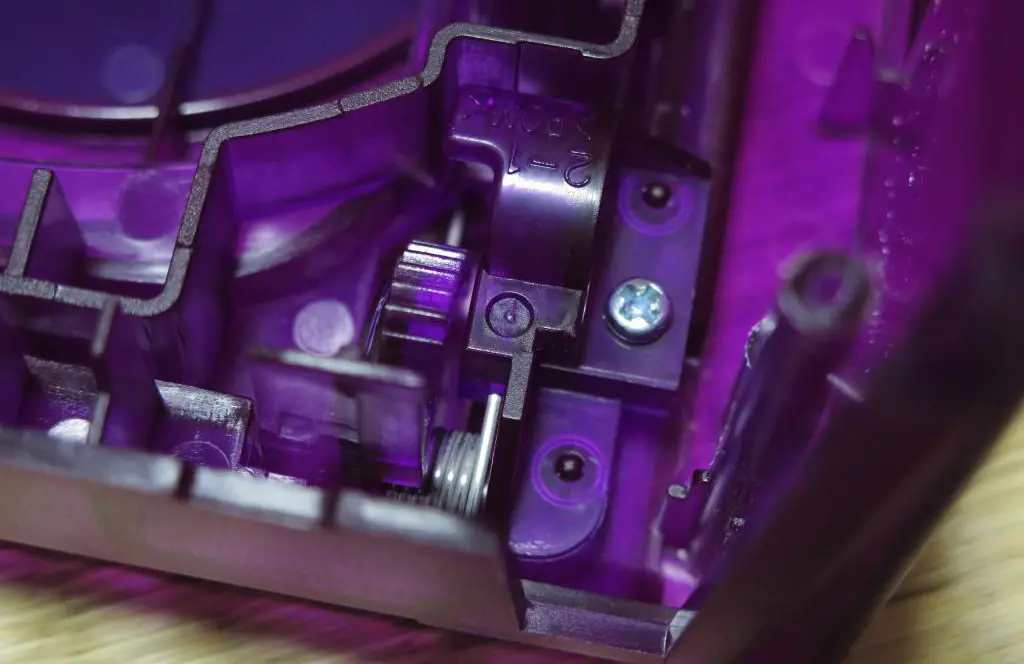
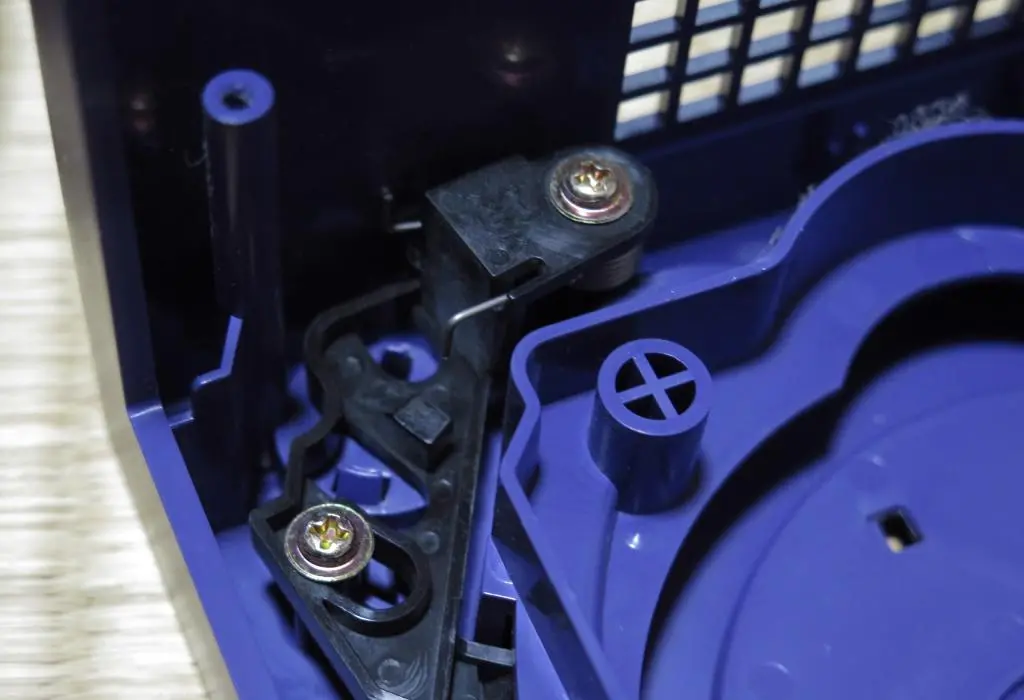
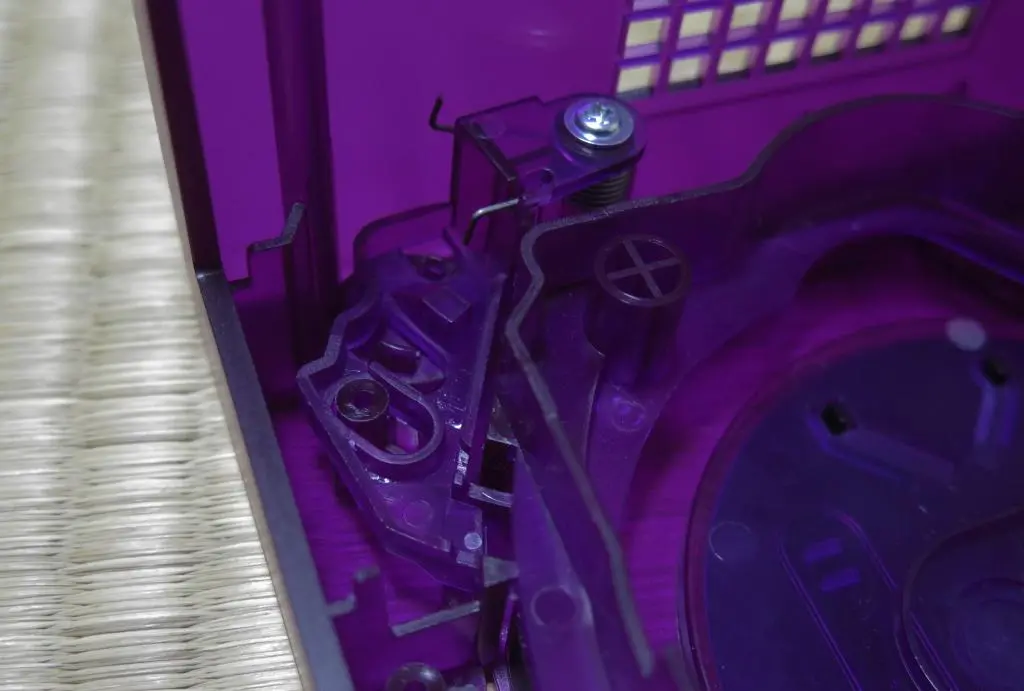
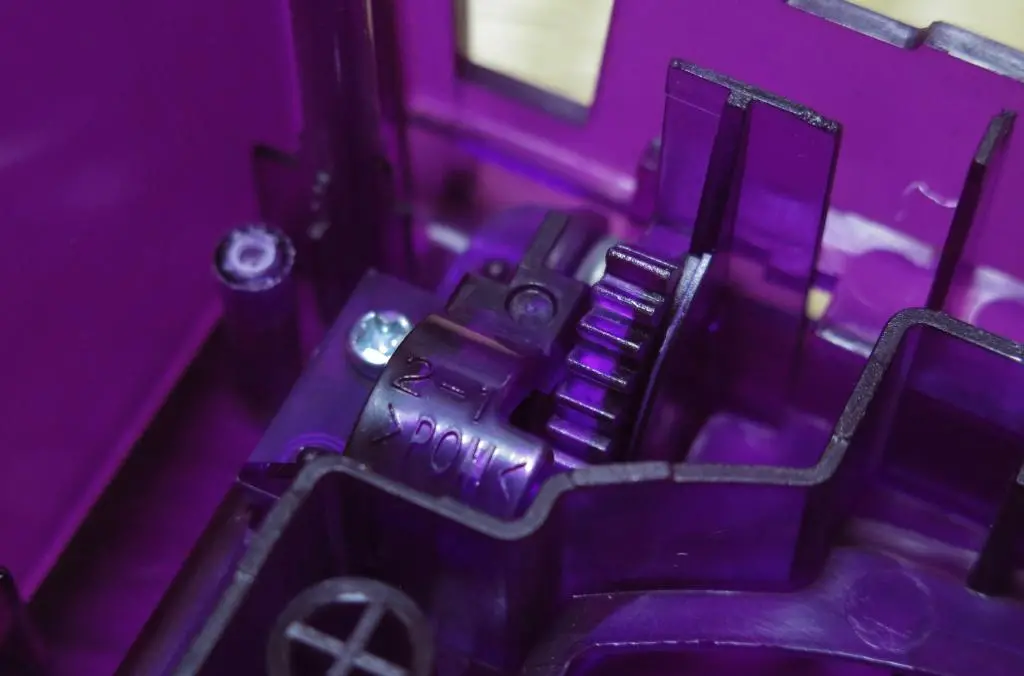
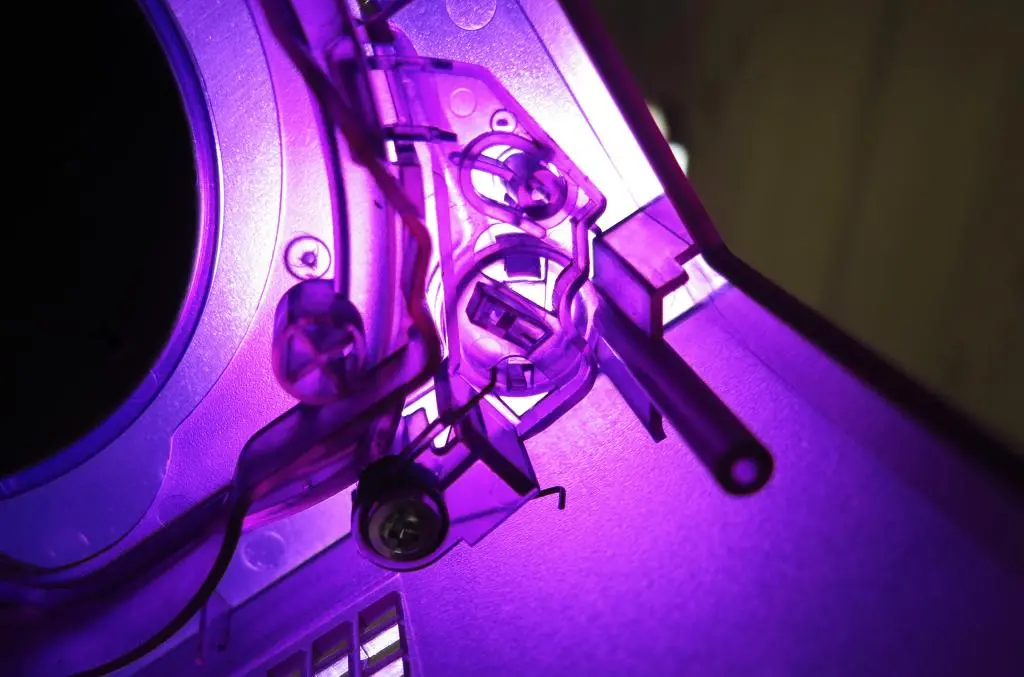
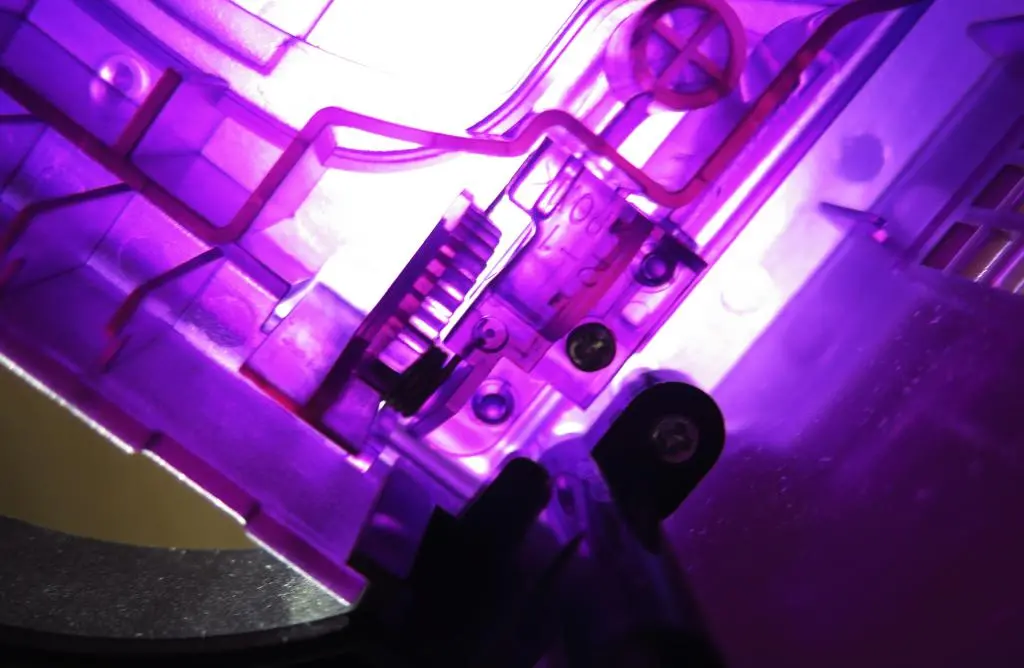
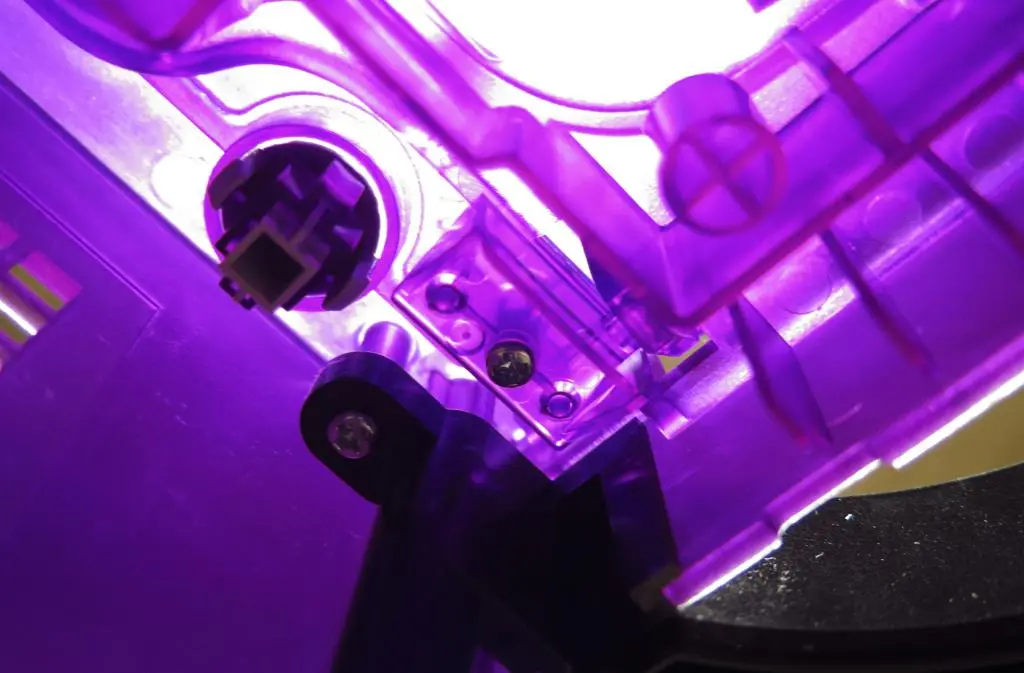
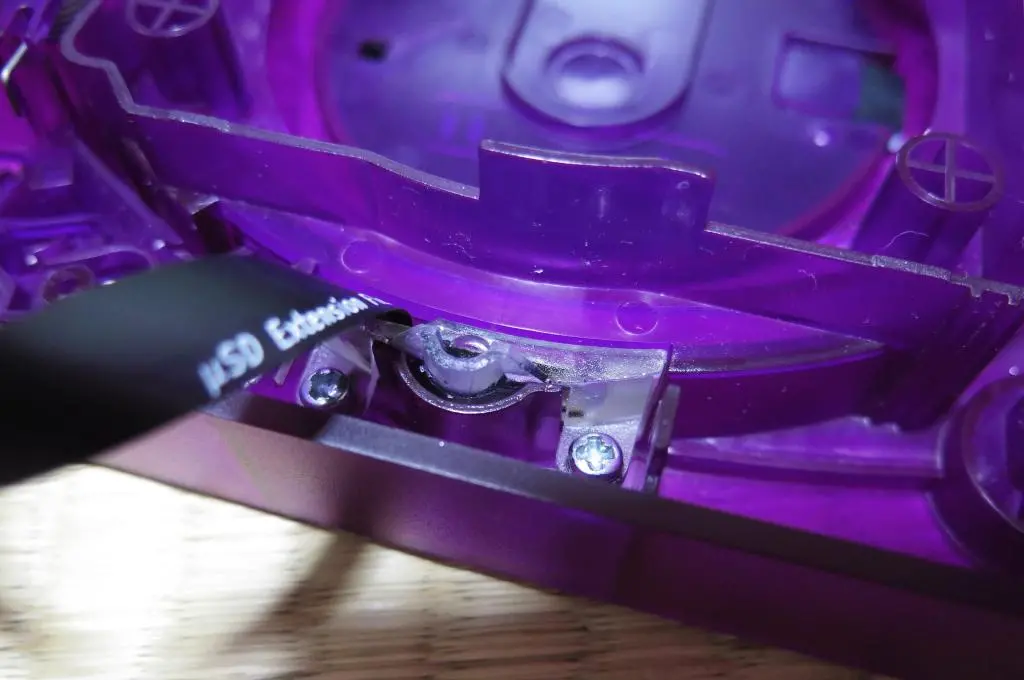
The lid latching mechanism was much less difficult to fit into place. When the Open Tray button is depressed, the mechanism rotates to release the tray, and the spring snaps it back into place. It is much stronger and fail-resistent compared with the Dreamcast lid hatching component.
For the new shell, I put the button in first and put the bracket on above it. I think you can do it in either order, though. For the bracket, I fit the spring into the raised side with part of the spring going through the hole. I pulled tension on the spring and fit it on the screw peg. The screw should not be screwed too tightly, as there needs to be enough freedom for the bracket to move back and forth.
My kit only came with one widened screw, but the component is so solid, that once the top screw is in place, it holds everything perfectly.
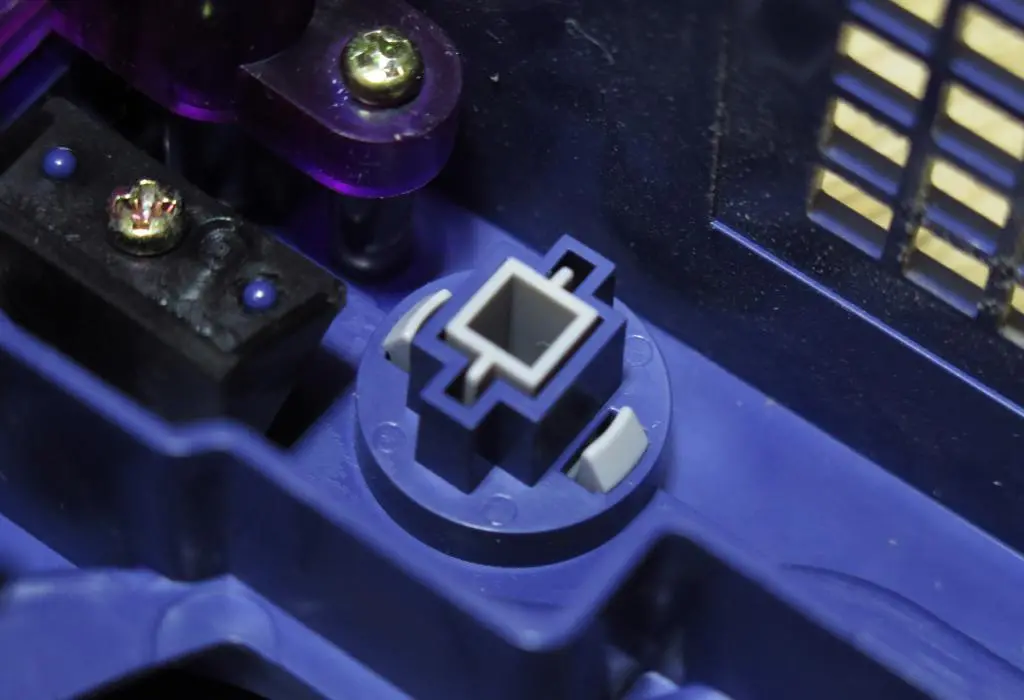
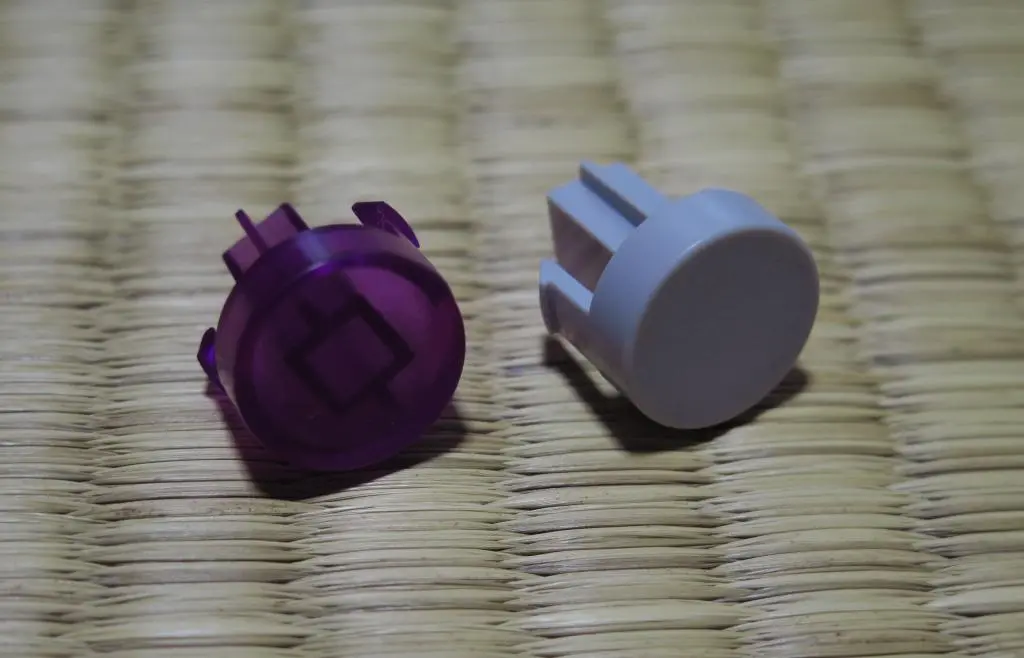
The final pieces of the upper shell are the buttons. The Power and Reset buttons are easily snapped into their holes. I decided to take the gray Power button from the original console and reuse it. It can easily be removed by pushing the pins from the inside.
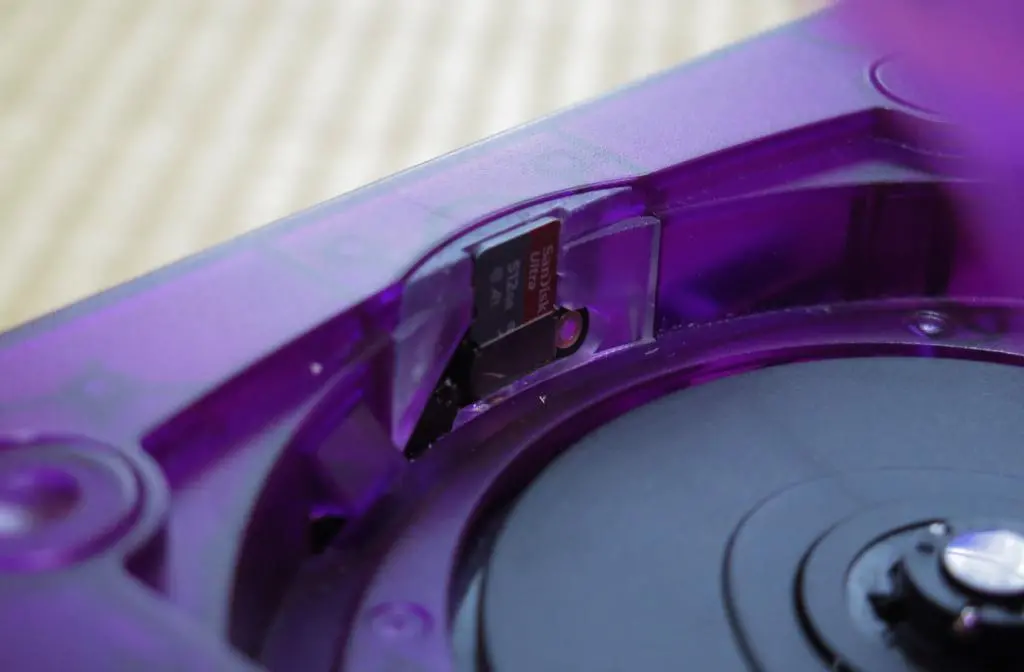
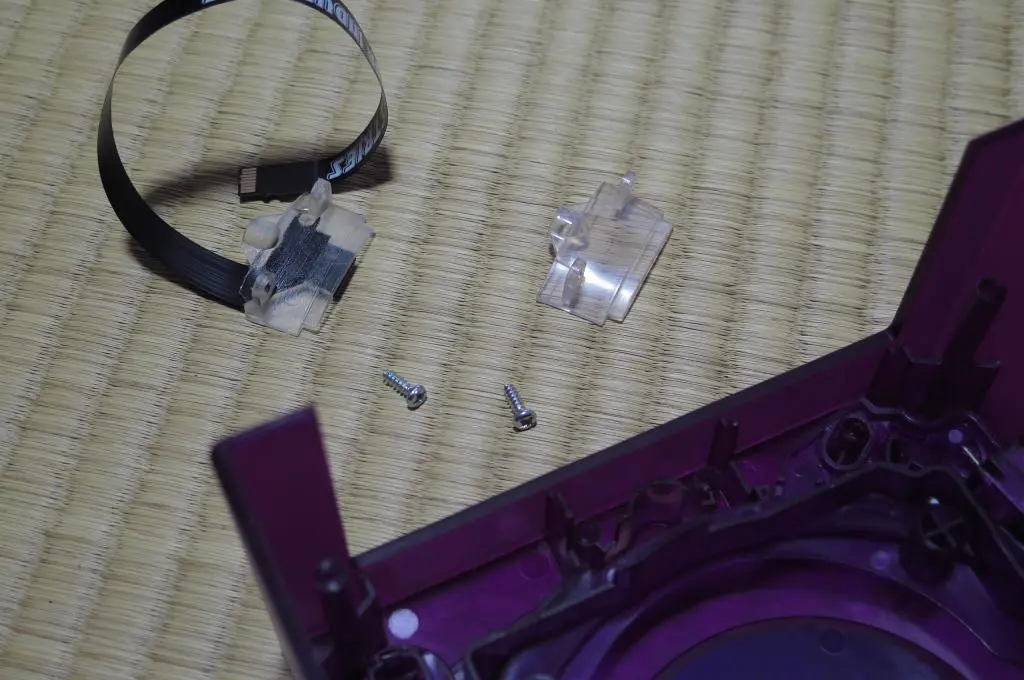
There was one more piece, the clear plastic piece for the console light. But, I am replacing that with Laser Bear's SD Card extension, so I'm going to install that later.
After an hour and a half, the upper shell is complete, and I think it looks fantastic. The black and gray perfectly complement the solid color everywhere else, and it looks like an official alternate color of the system.
Time to continue the teardown.
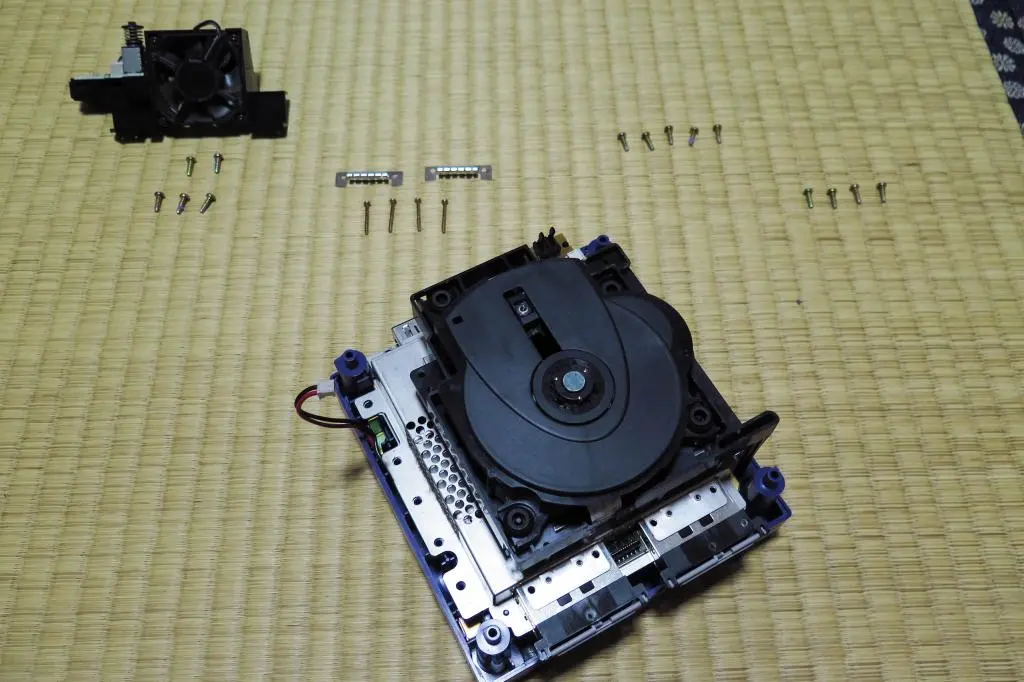
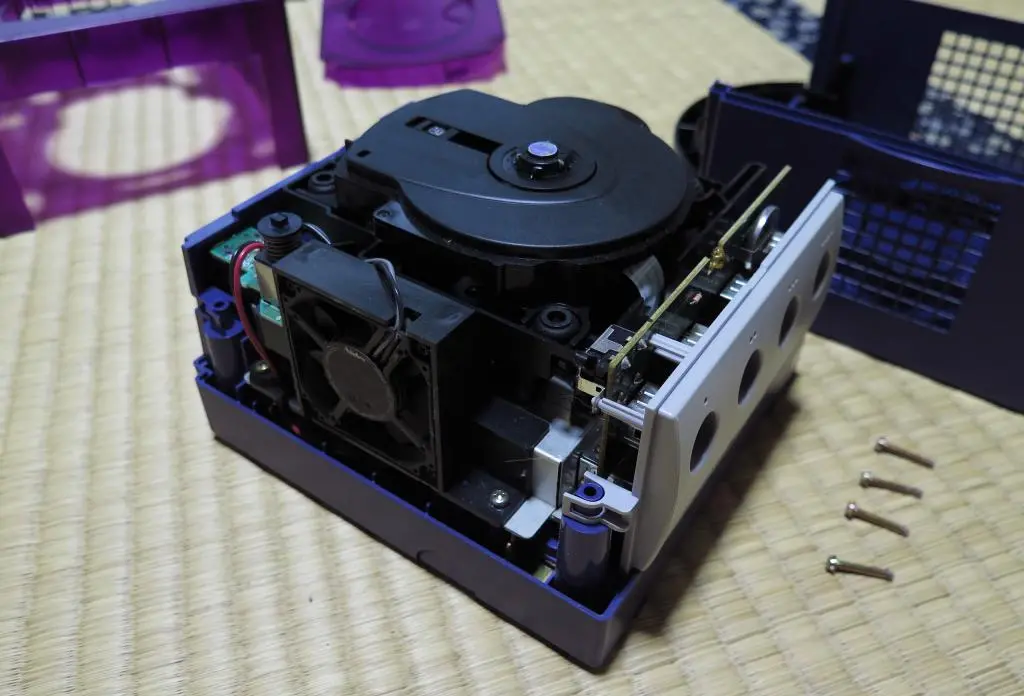
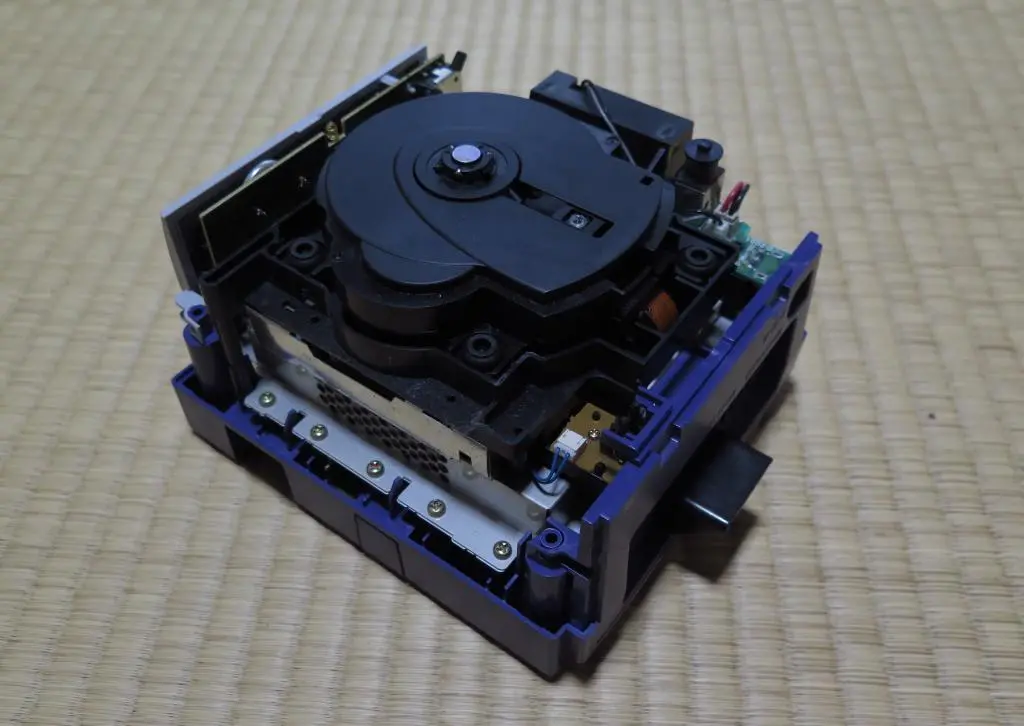
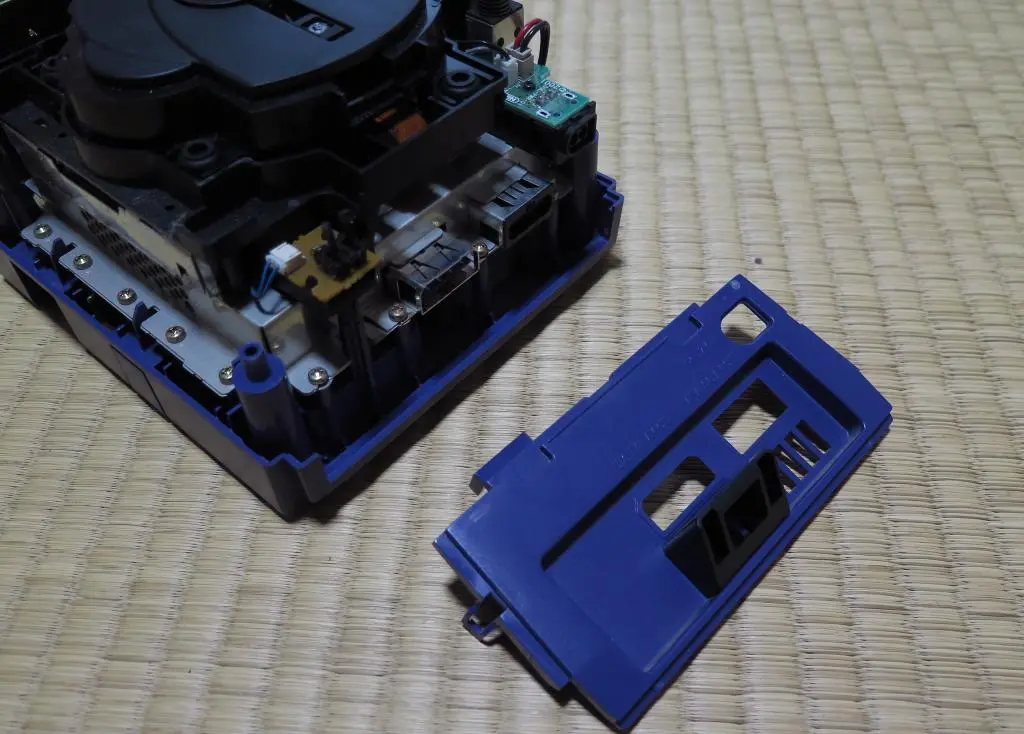
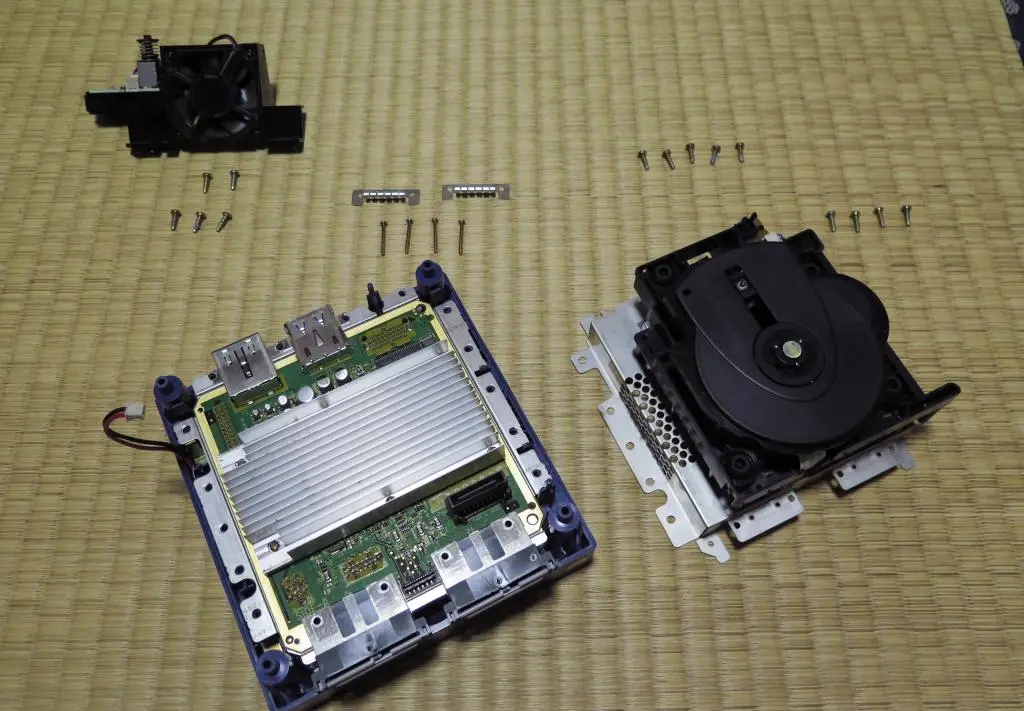
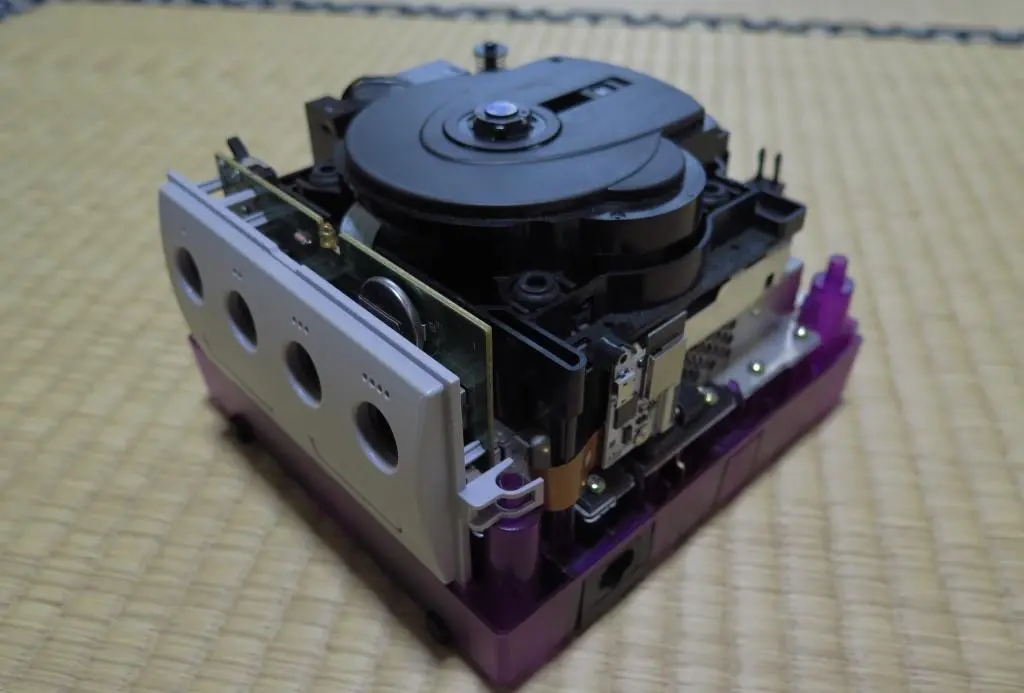
The main componenet in the lower shell is the disc reader. It is held on with 18 screws around its perimeter, but we need to get to all of them first. First, the back panel comes off easily. Then, the front controller panel is held in place with plastic latches on the side. Just pop those out and the controller panel comes free. It is still connected to the base with a ribbon cable, so pull that out.
After that, the fan is held in place with two screws. The power plug can be detached with a little force and a little wiggle. After that, just start removing all the screws.
I kept all the screws in order of where I pulled them from, but with the exception of the controller port screws, they're all the same. The replacement shell kit did not come with replacement screws, so I will reuse all of these during reassembly.
With all the screws removed, the disc reader is held in place by its plug on the motherboard. Again, gentle force, gentle wiggle and it comes right off.
At this point, if I weren't doing a shell replacement, I could begin the FlippyDrive installation.
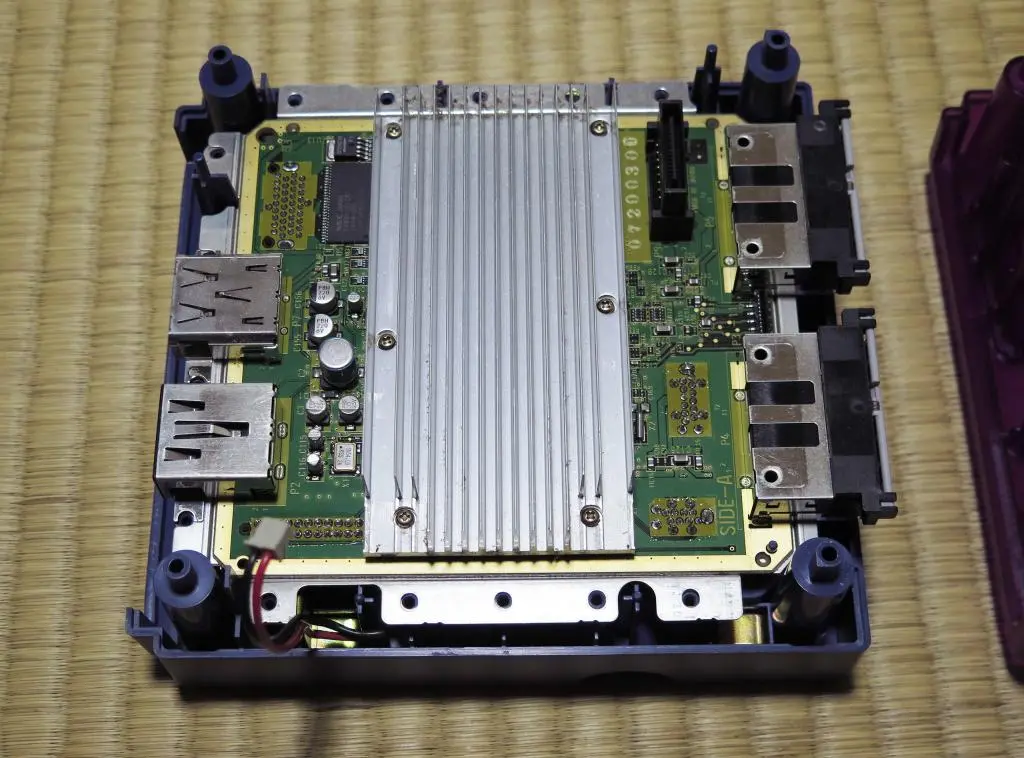
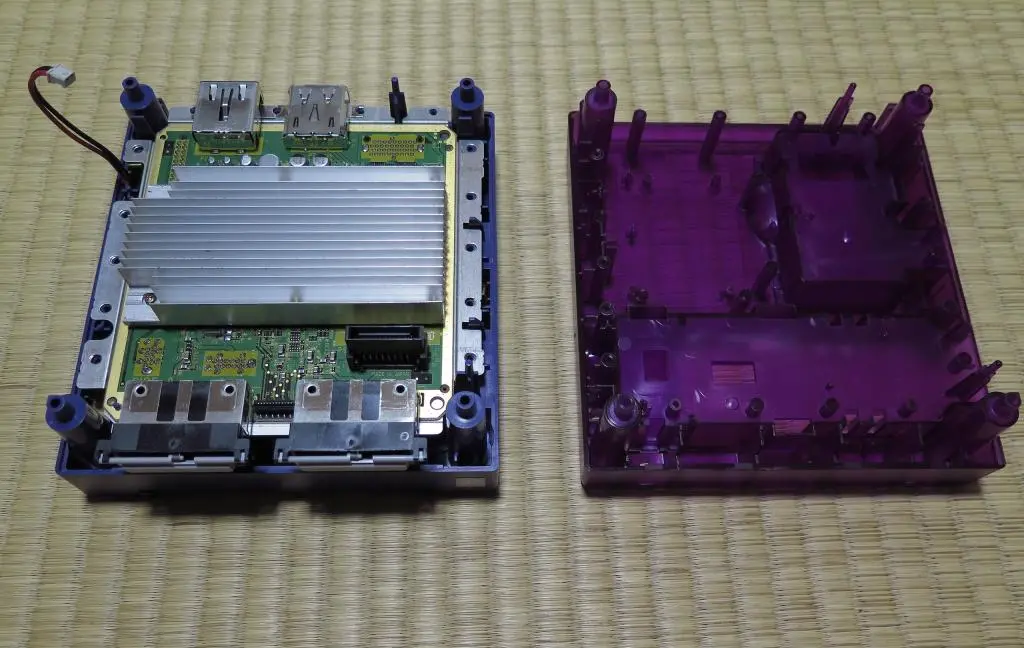
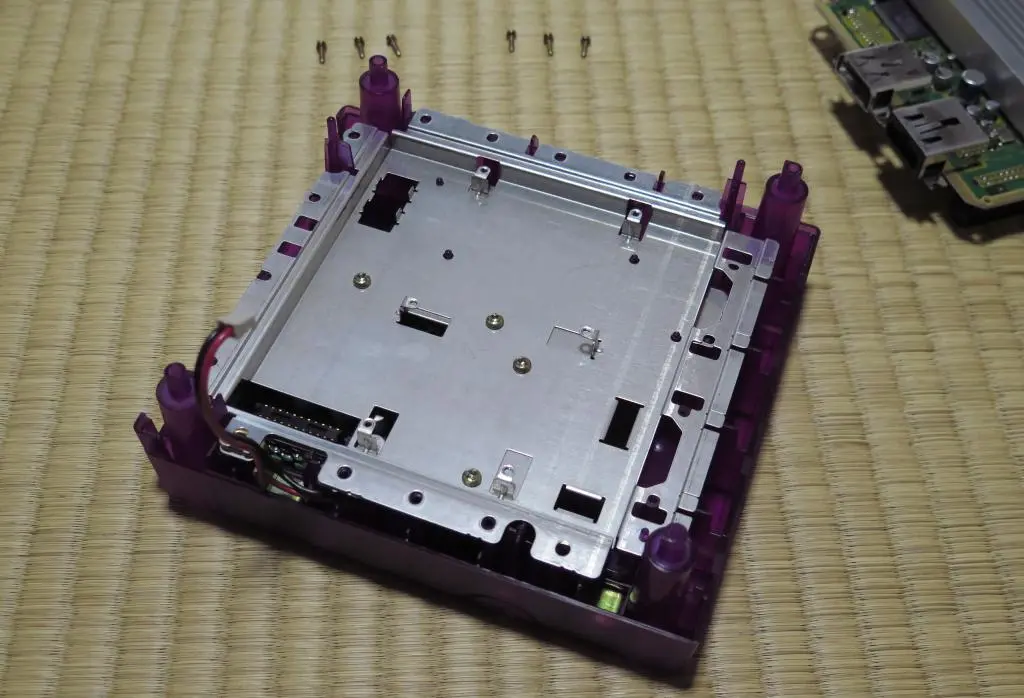
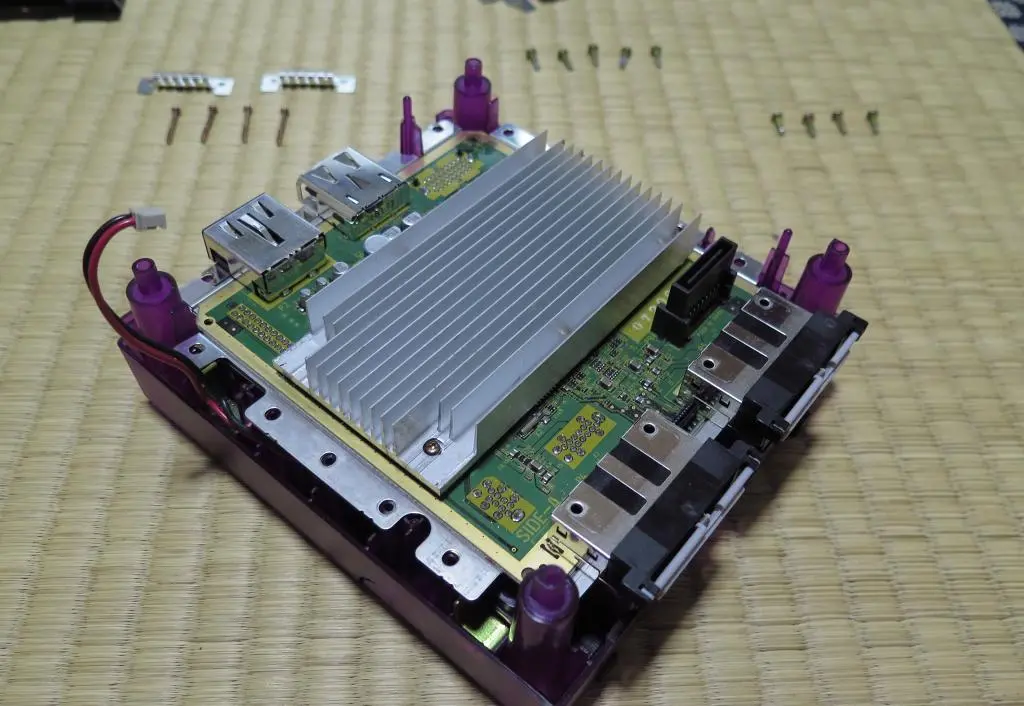
To continue the teardown, these six screws must be removed. It may look like their purpose is to secure the hintsink, but they go through the motherboard into the bottom shell. When removed, my heatsink stayed pretty solid on my motherboard. I did not have to worry about it slipping off. I'm not sure if something else secured it other than the thermal paste.
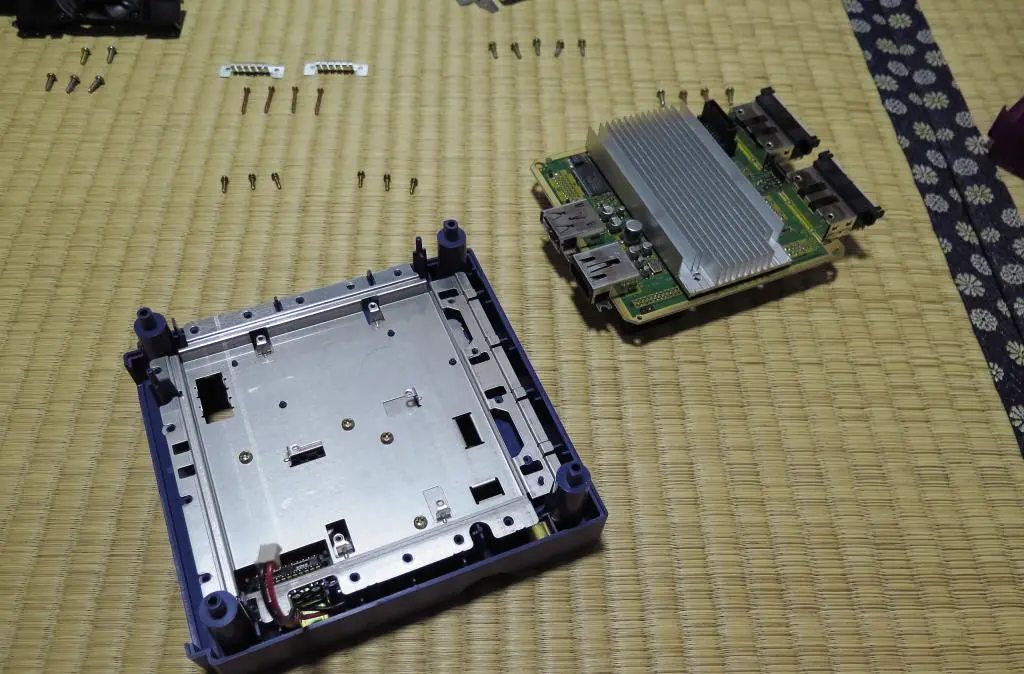
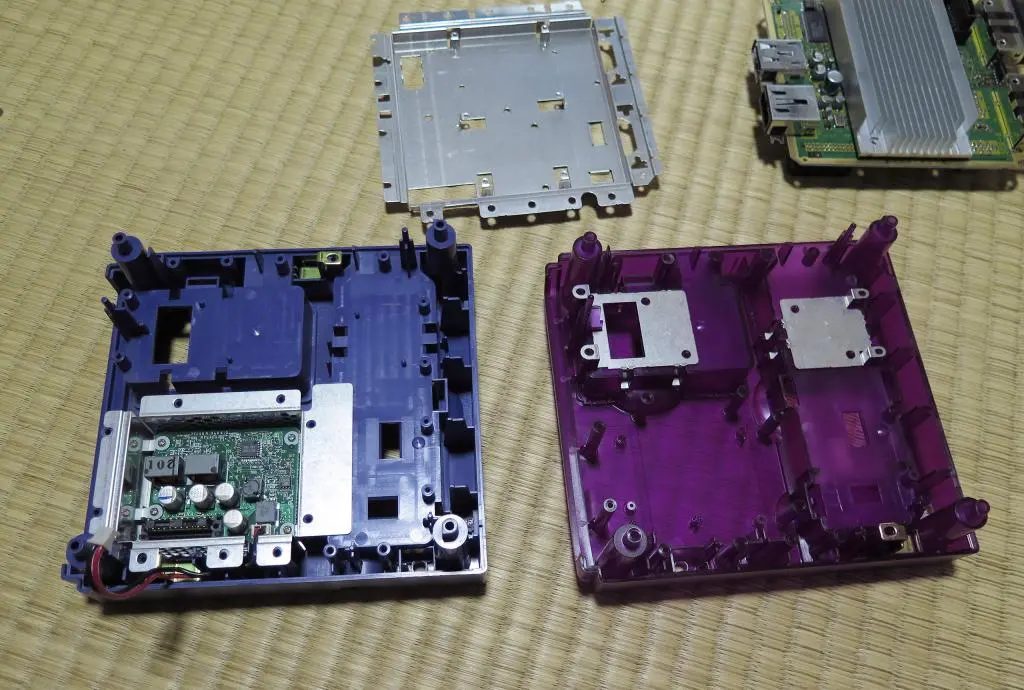
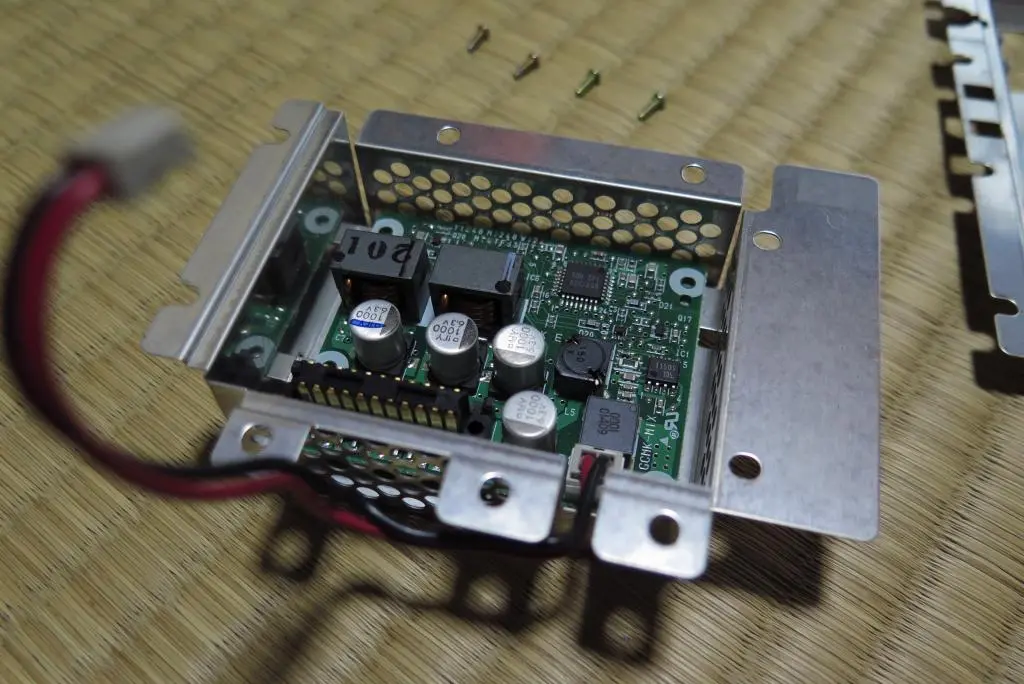
When the screws are removed, the motherboard assembly is only held in place by its bottom plug in the power converter below, like the disc reader was. So, it comes off with some more wiggling. This exposes a metal plate held on with four screws. Remove those and we're nearly at the bottom.
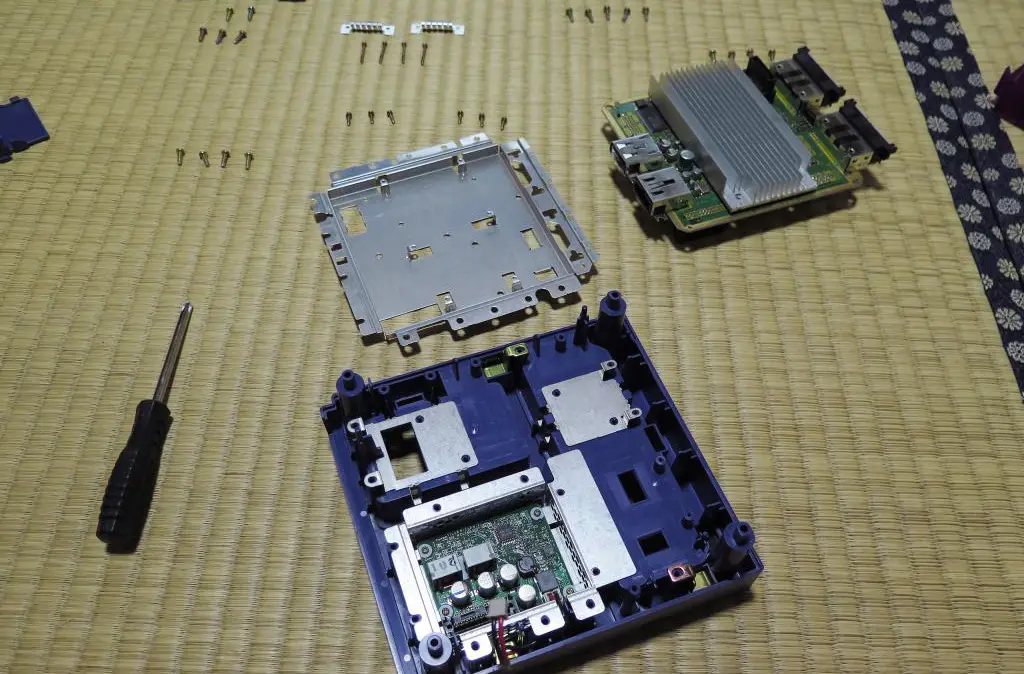
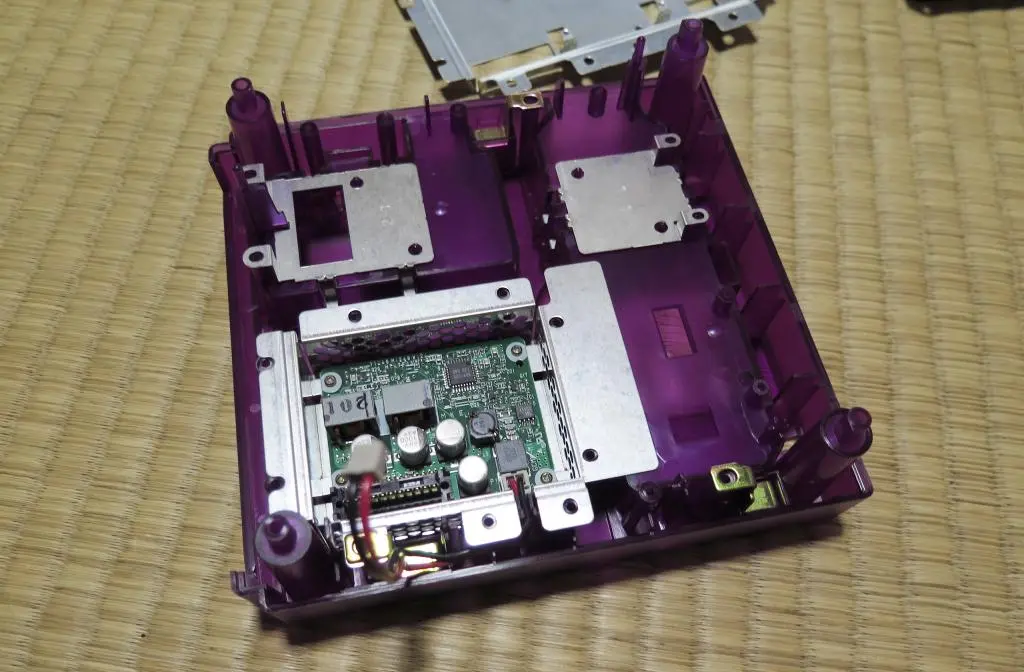
All the remaining pieces are just sitting in place and can be easily picked up, except for the power converter. That has another four screws that are easily removed.
We're now finally at the bottom and can start putting components into their new home.
All the components go back into the same position in the new shell.
One thing to note is that the new shell is resin, not injection molded like the original. This means screw holes have not been primed AND they are slightly fragile. You don't want to over tighten or tighten too quickly. Otherwise, you might sheer the screw post. Often, I would move the screw back and forth in its hole to create enough room for it to naturally tighten further.
Before continuing too far, I removed the rubber feet from the original shell and transferred them to the new one. The replacement shell came with plastic ones that seemed stupid. I didn't use any tactics pulling out these feet. I just yanked em out! So, I damaged them slightly. They didn't stay flush in place in the new shell, so I used some epoxy to glue them.
Going step-by-step, I added on the power converter and screwed it in. Next was the metal plate with its screws. And then the motherboard plugged into the power converter, and the six screws going through the heat sink.
The disc reader is the next component to add, but we need to install the FlippyDrive first.
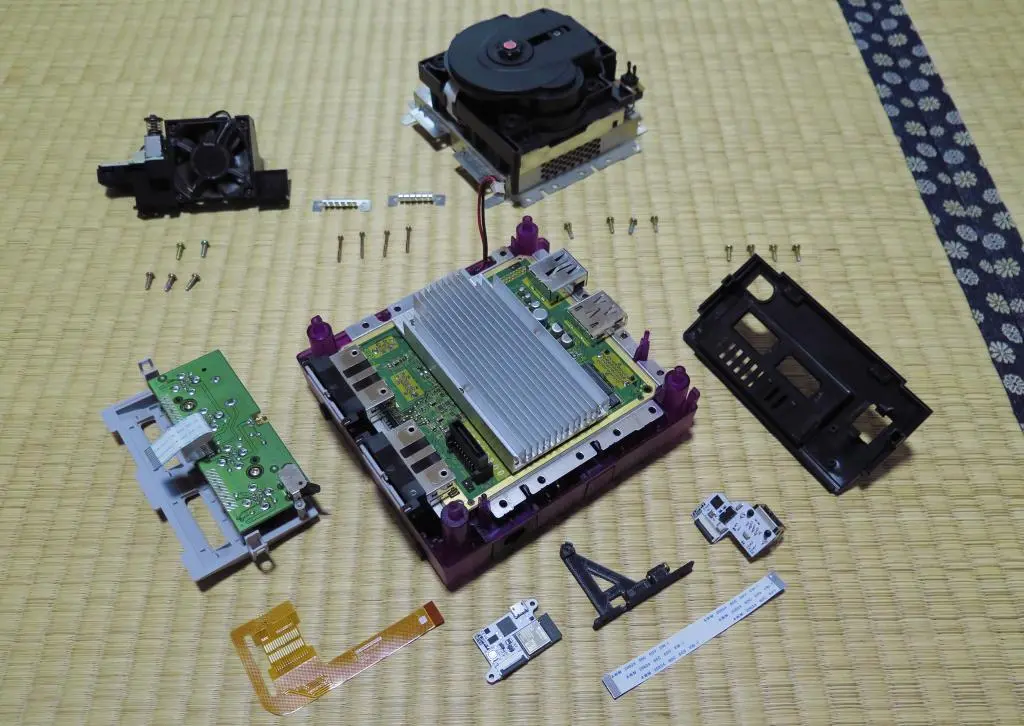
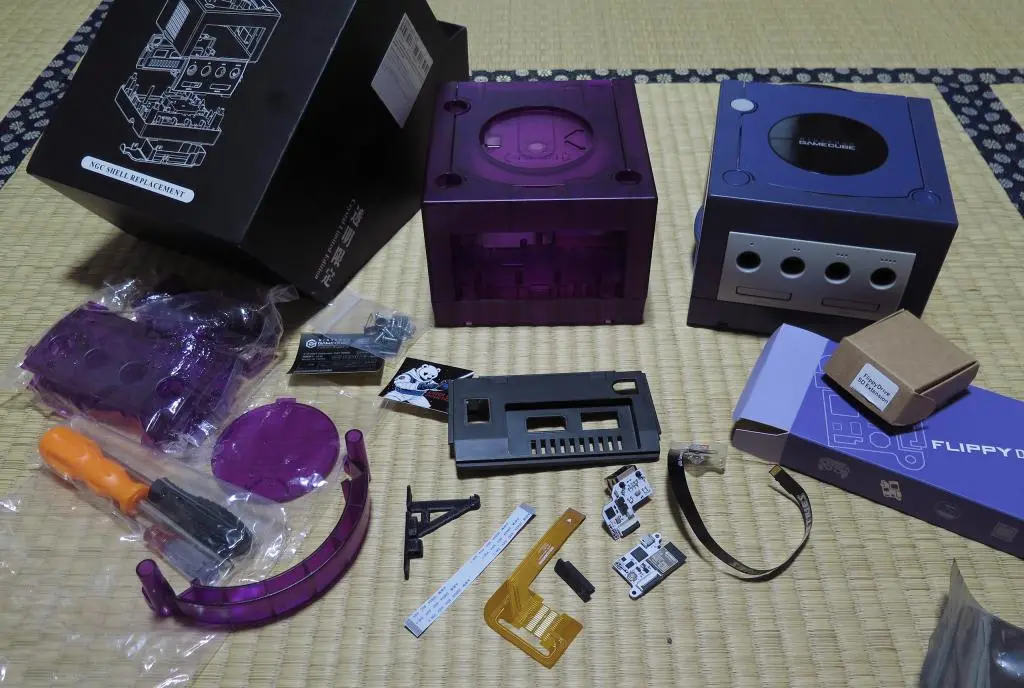
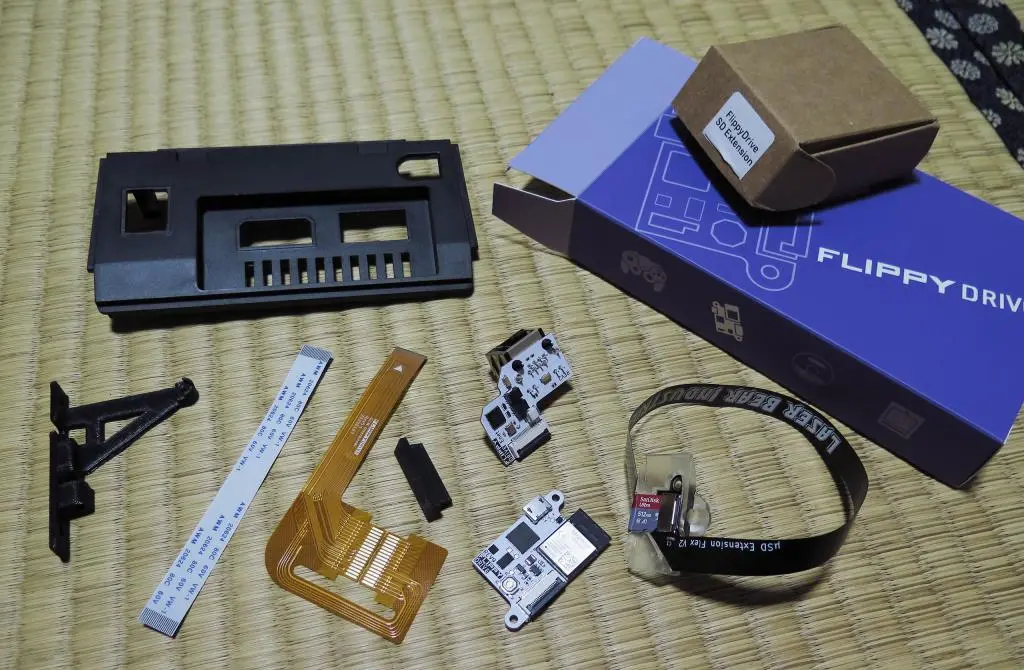
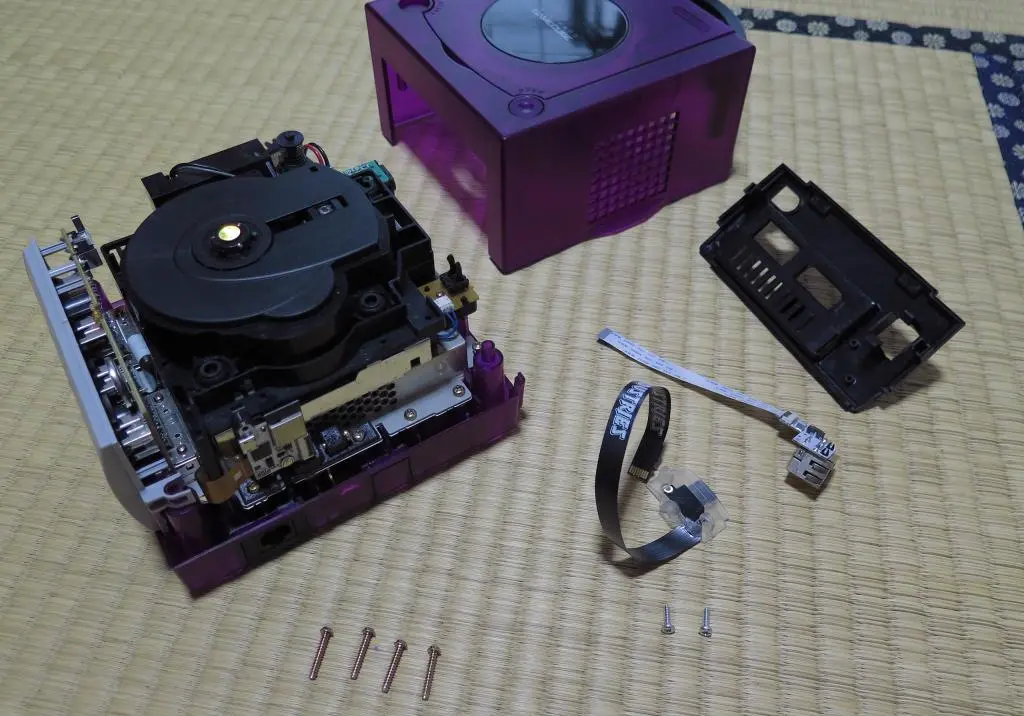
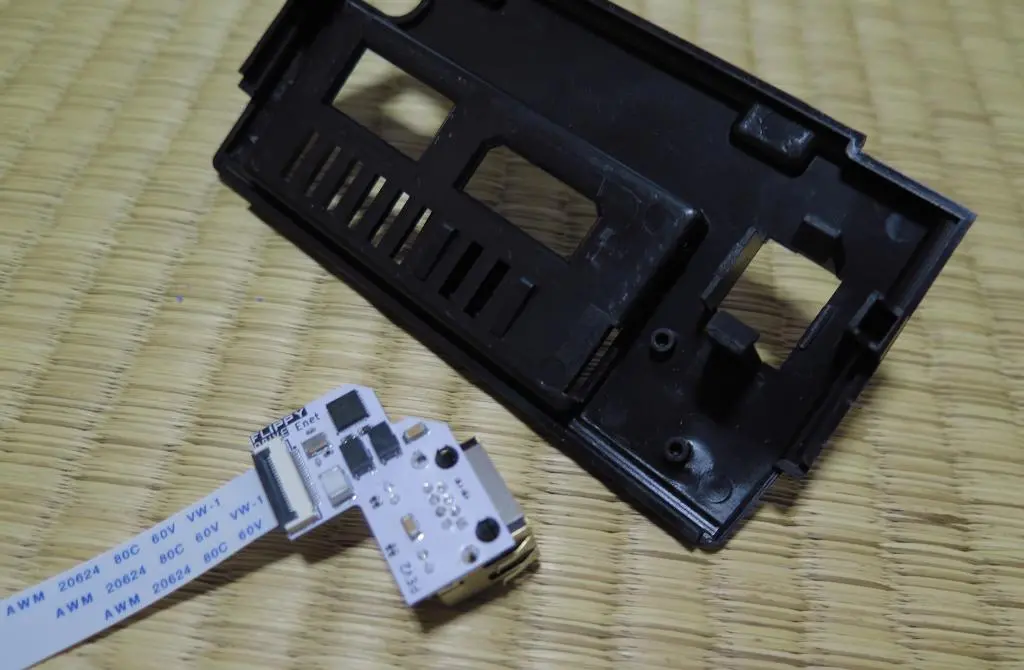
Here are all the remaining components left for the lower half along with the FlippyDrive.
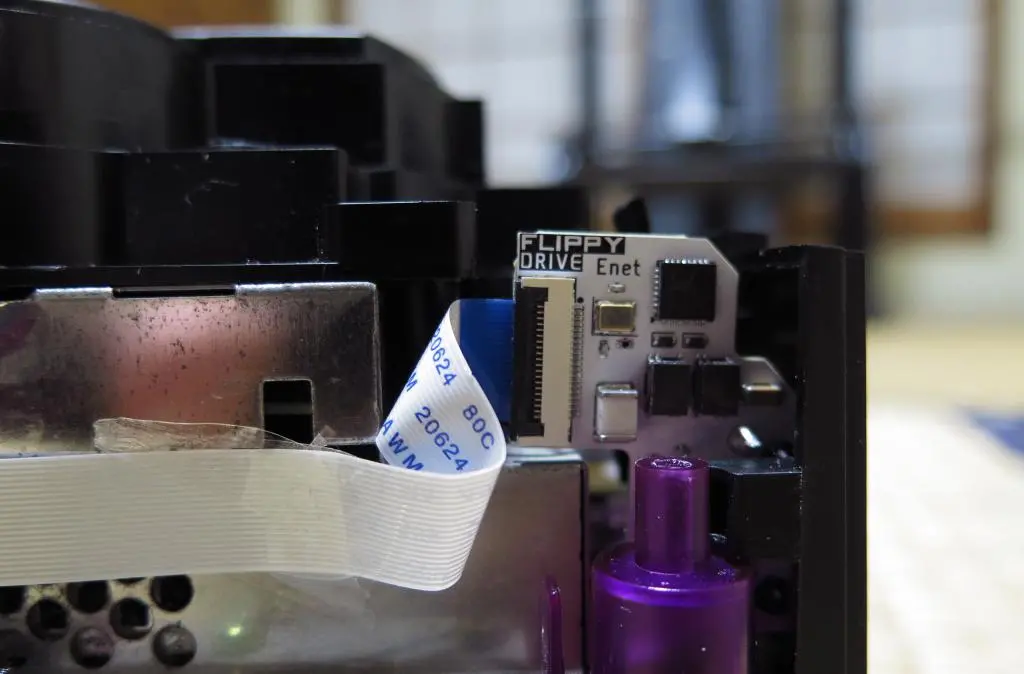
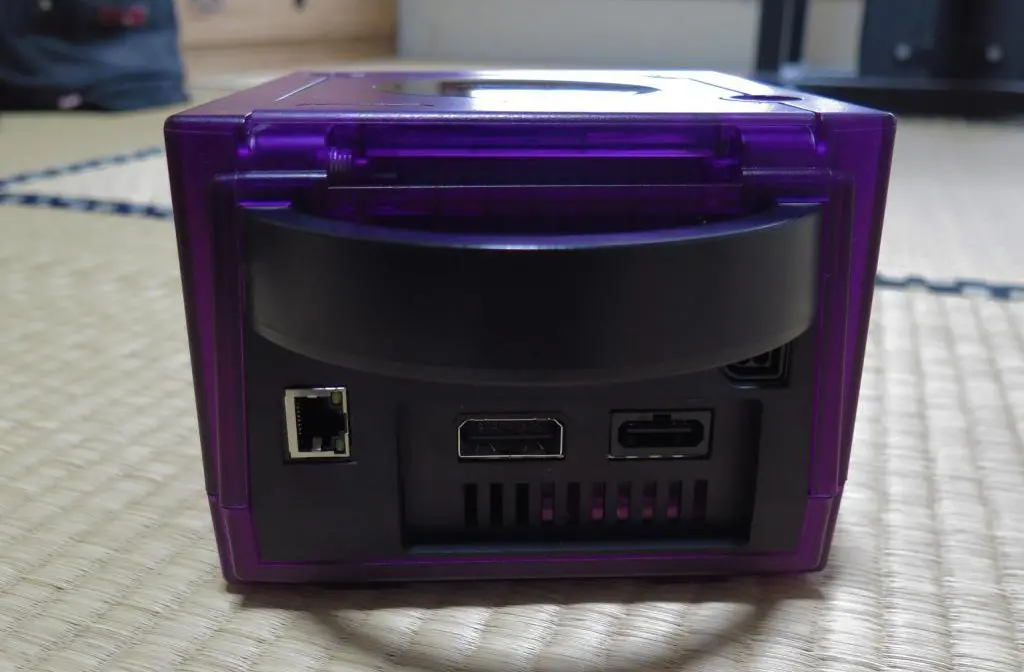
For the FlippDrive we have the ribbon cable which sits in the disc reader plug, the FlippyDrive itself, its mounting bracket, the molded back plate with an ethernet port, the ethernet port, and a ribbon cable connecting the port to the drive.
The FlippyDrive Wiki has an excellent installation guide, which I mostly ignored because I had already watched Tito's YouTube video and assembly seemed obvious. This caused a few problems later with the order of assembly, so READ the intructions.
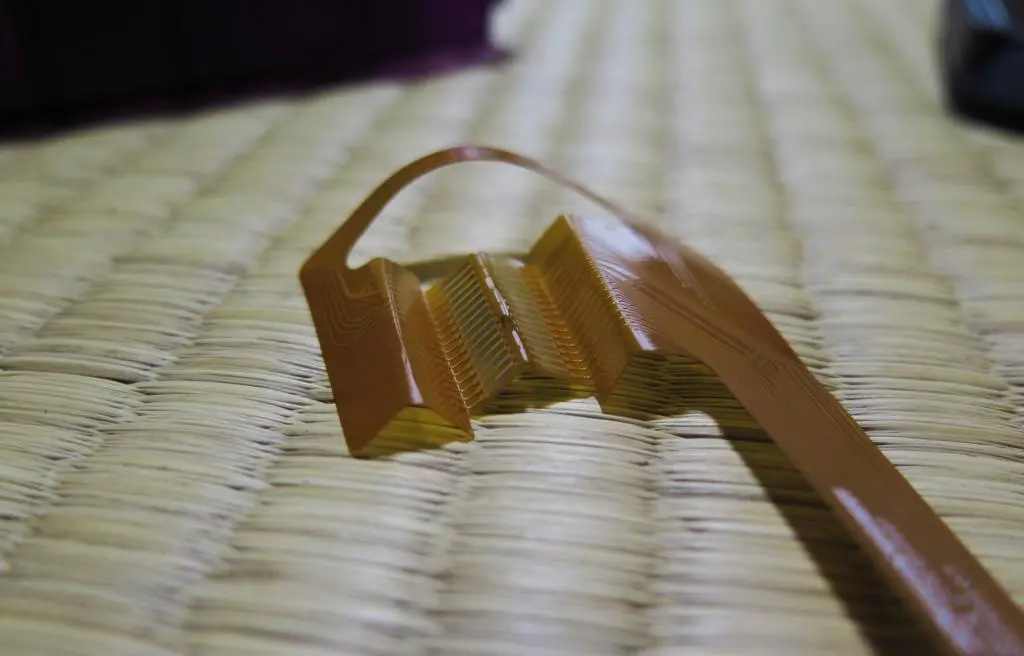
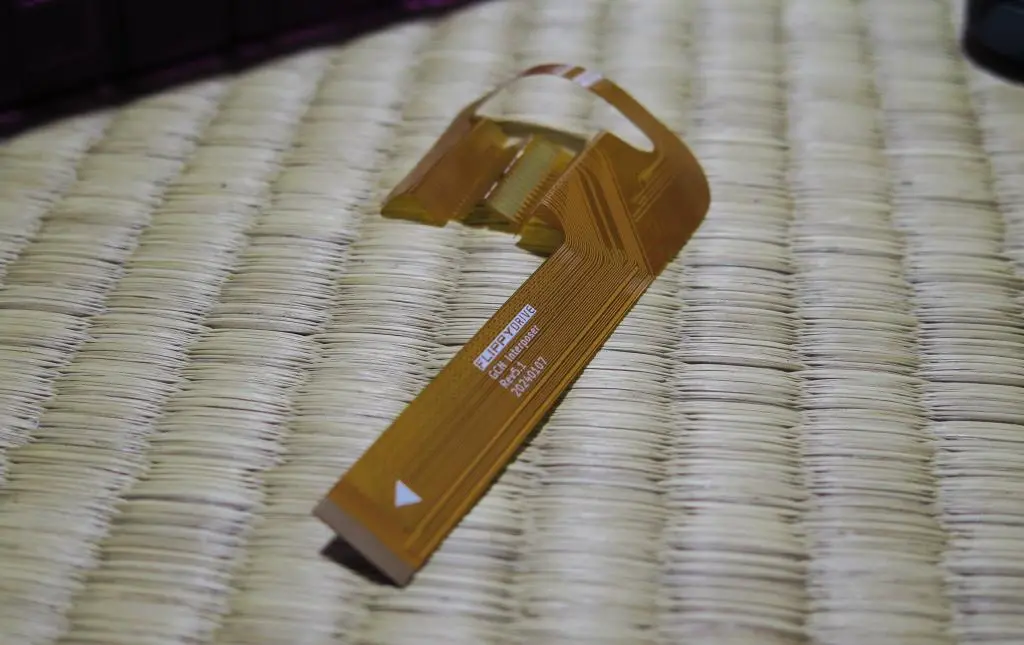
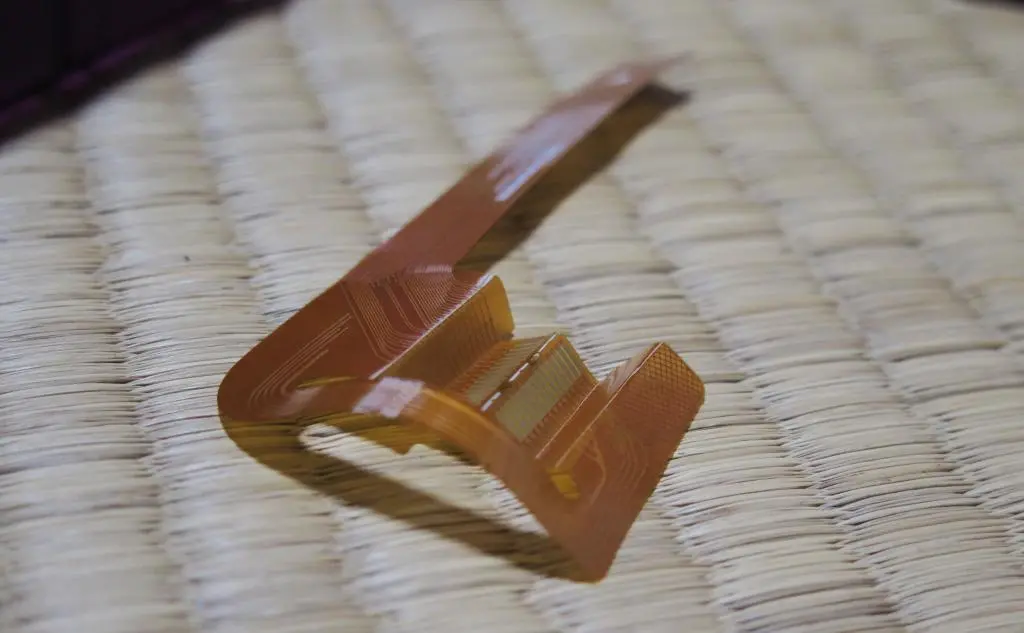
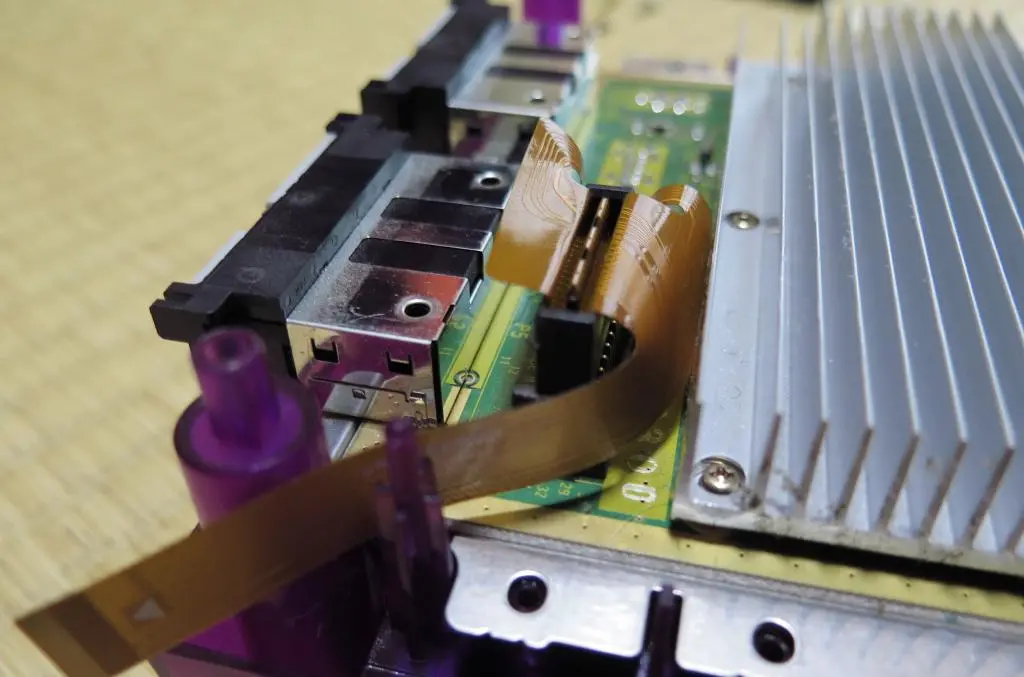
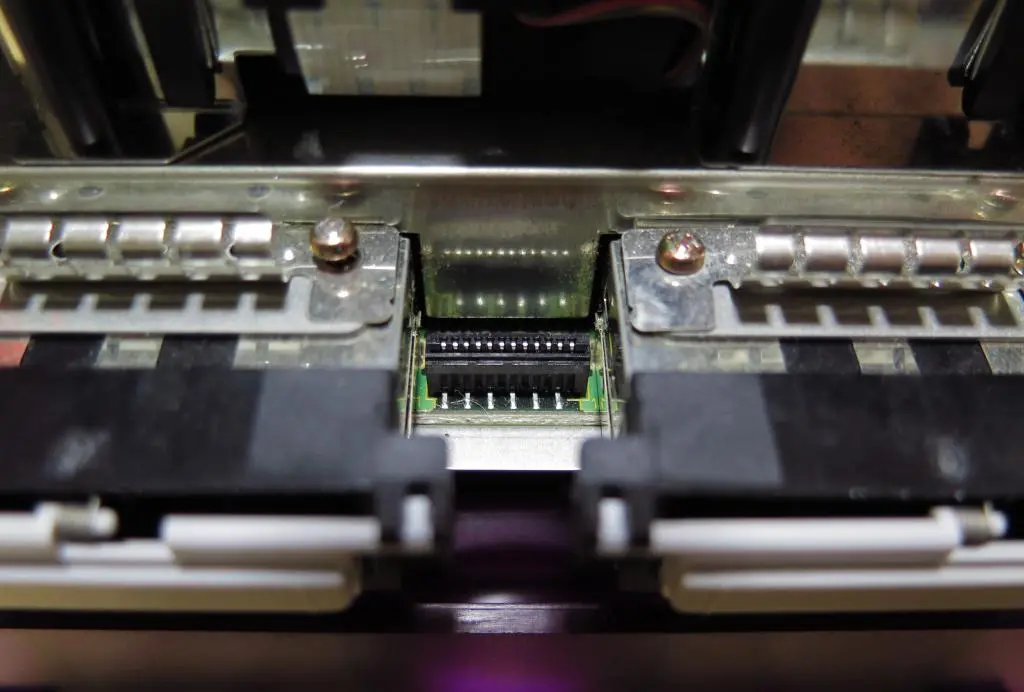
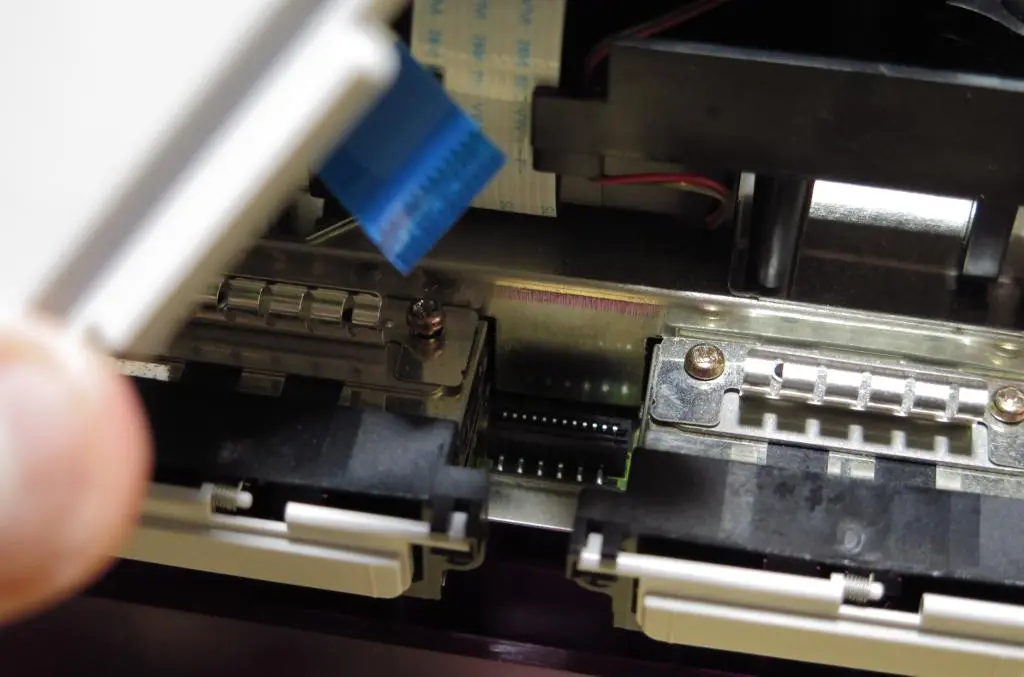
The first step is making a series of folds on the FlippyDrive's ribbon cable so it can recess in the disc plug.
You want to make this wacky W-shape with the folds. The valleys will go into the plug with the middle contacts sitting on the connectors in the plug.
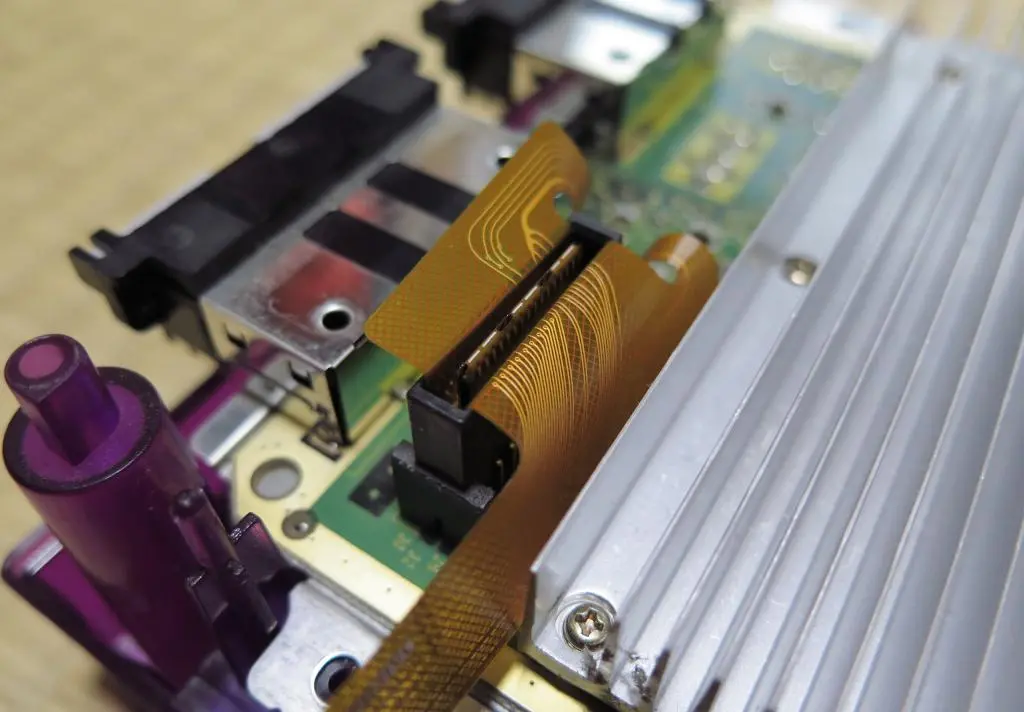
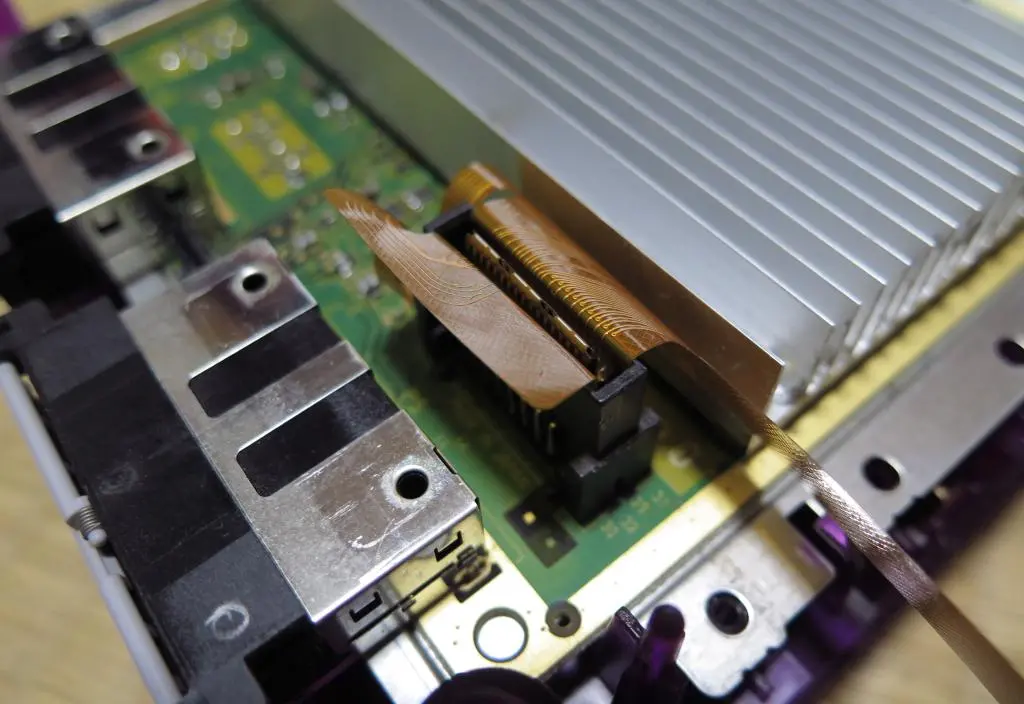
It should fit in the plug like this.
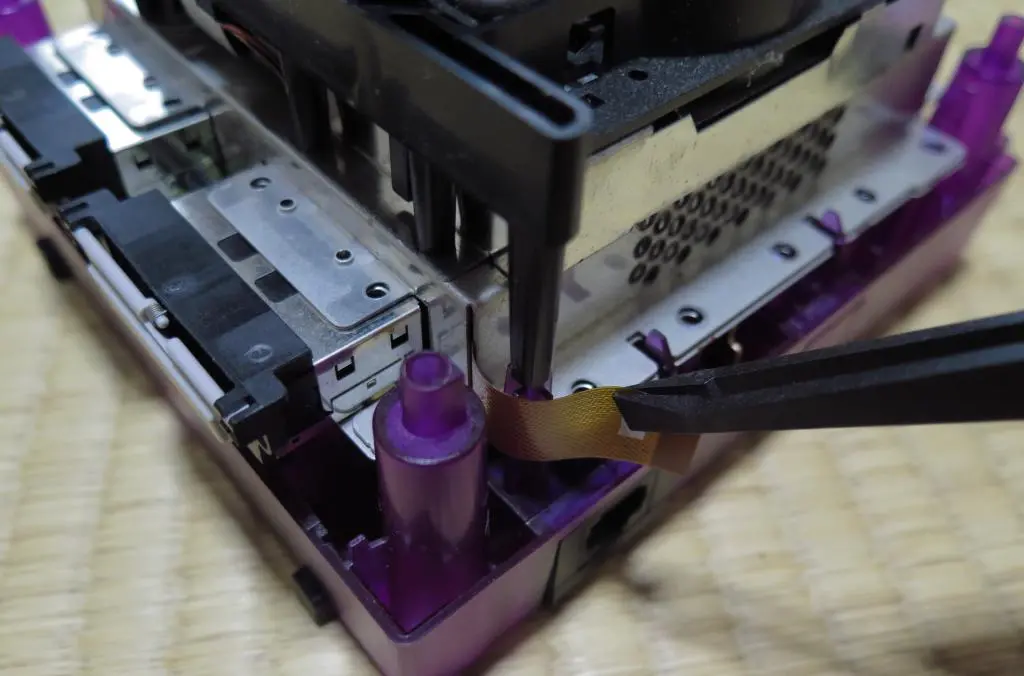
The excess ribbon cable should fold around some of the case plugs in preparation for the next step, which is reinstalling the disc reader.
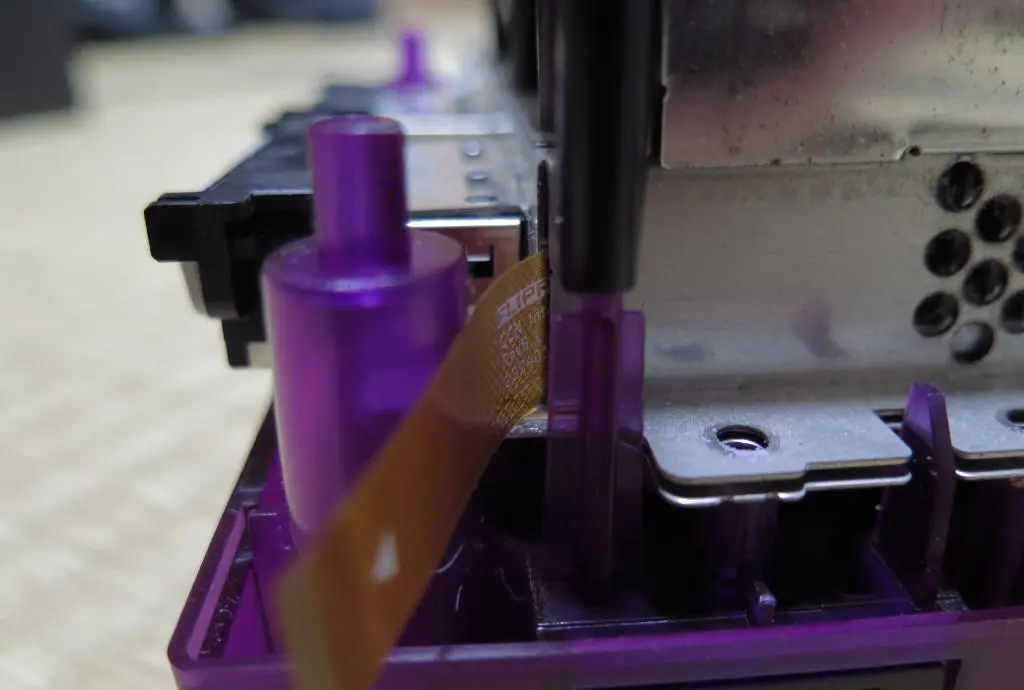
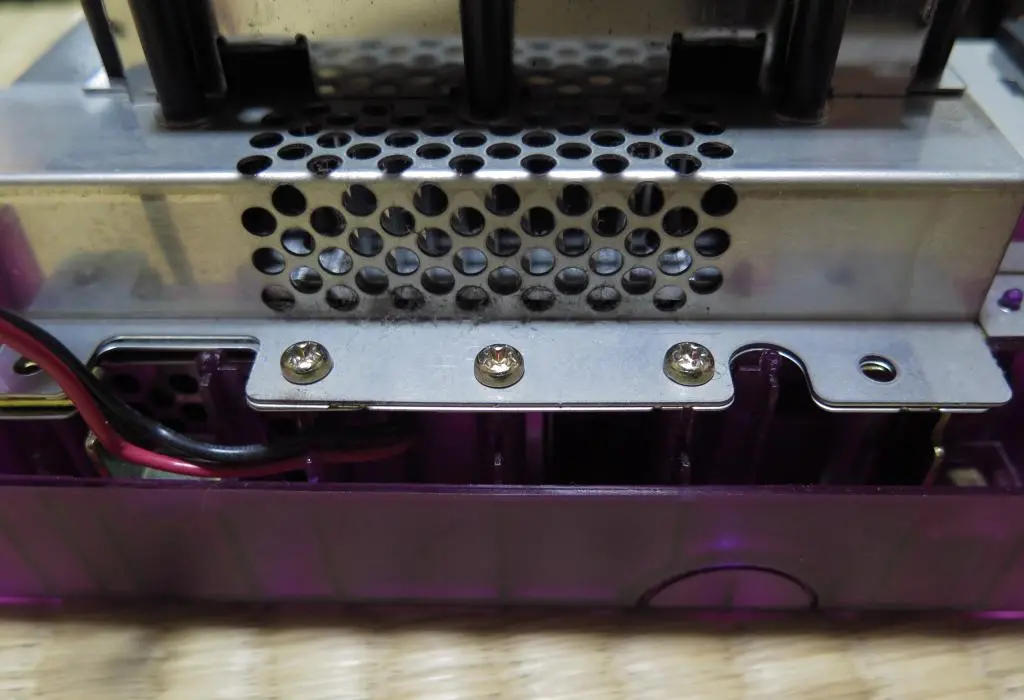
There's a narrow slit in each of the corners of the disc reader assembly where the metal is bent downwards. We want to position the ribbon cable so it is fed through that slit as the assembly is pushed onto the plug.
In the end, all we'll see is the end of the cable coming out of that corner.
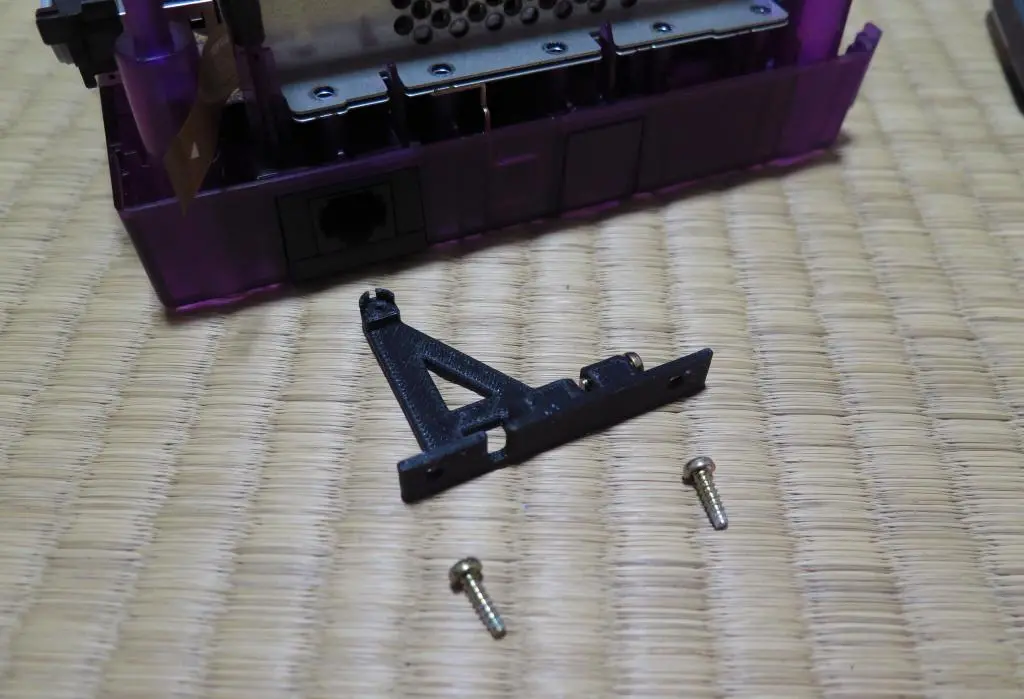
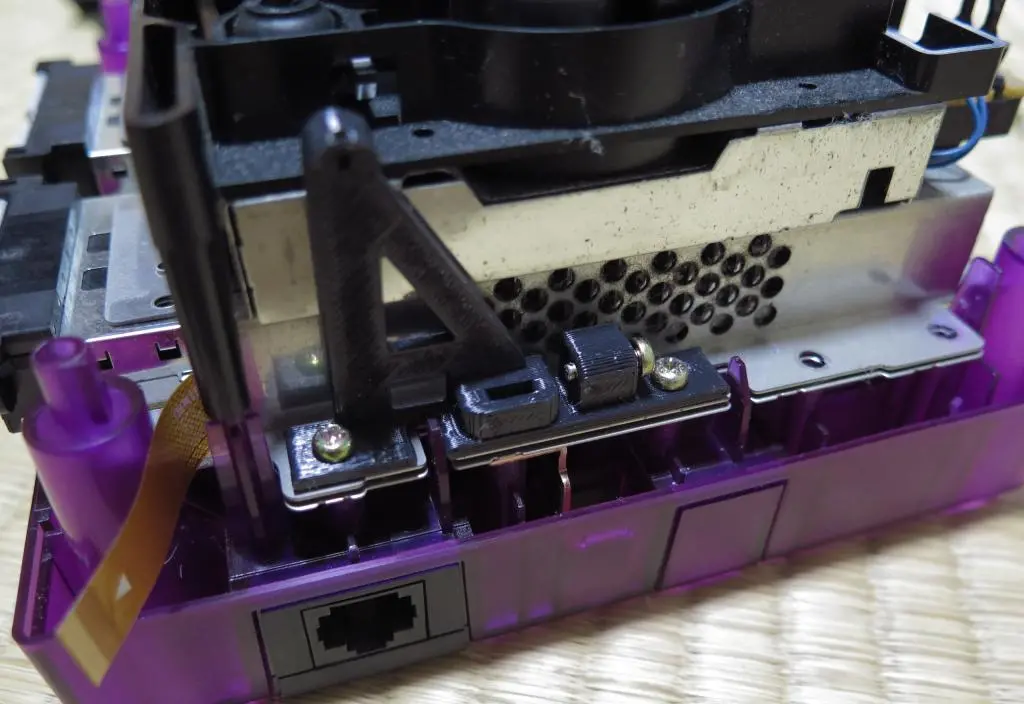
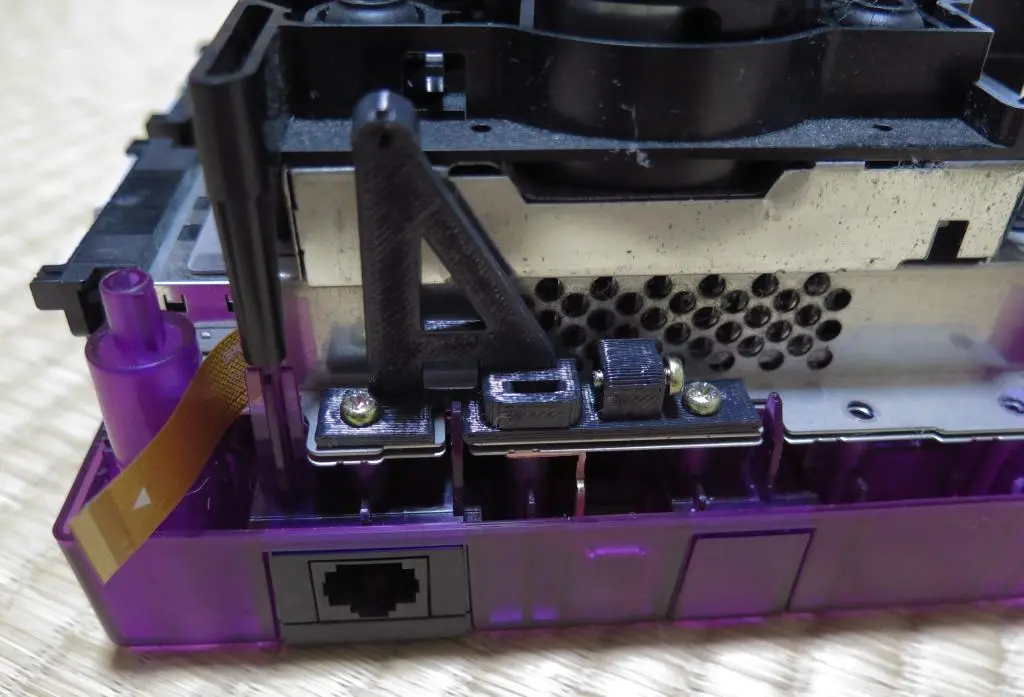
The next move is screwing in the mounting bracket near the cable. The bracket has an extra slot for the screw that is no longer used.
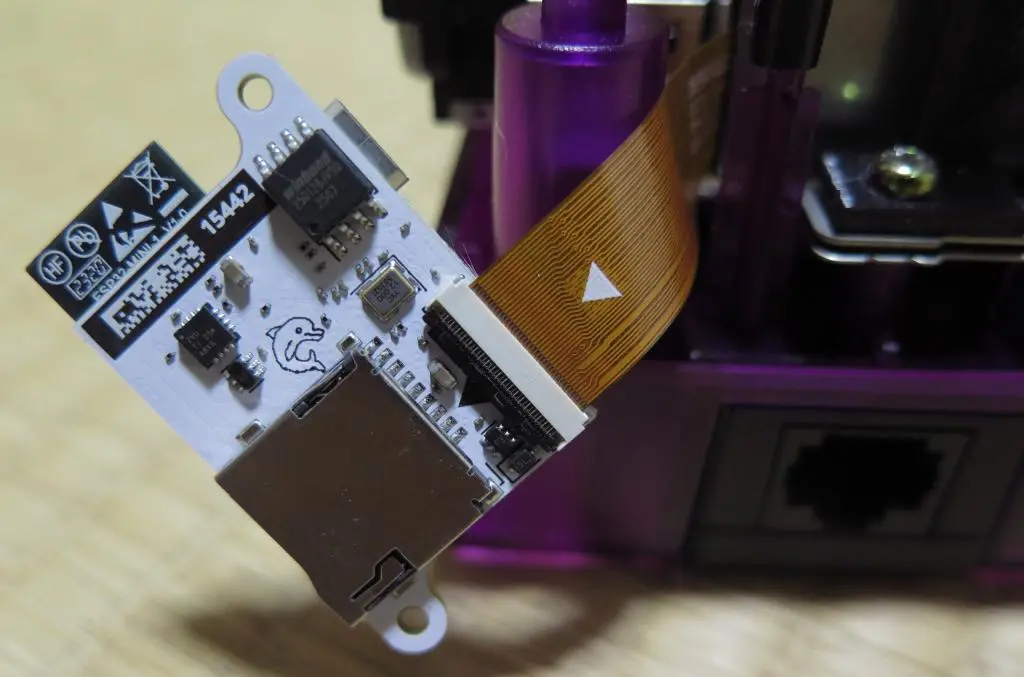
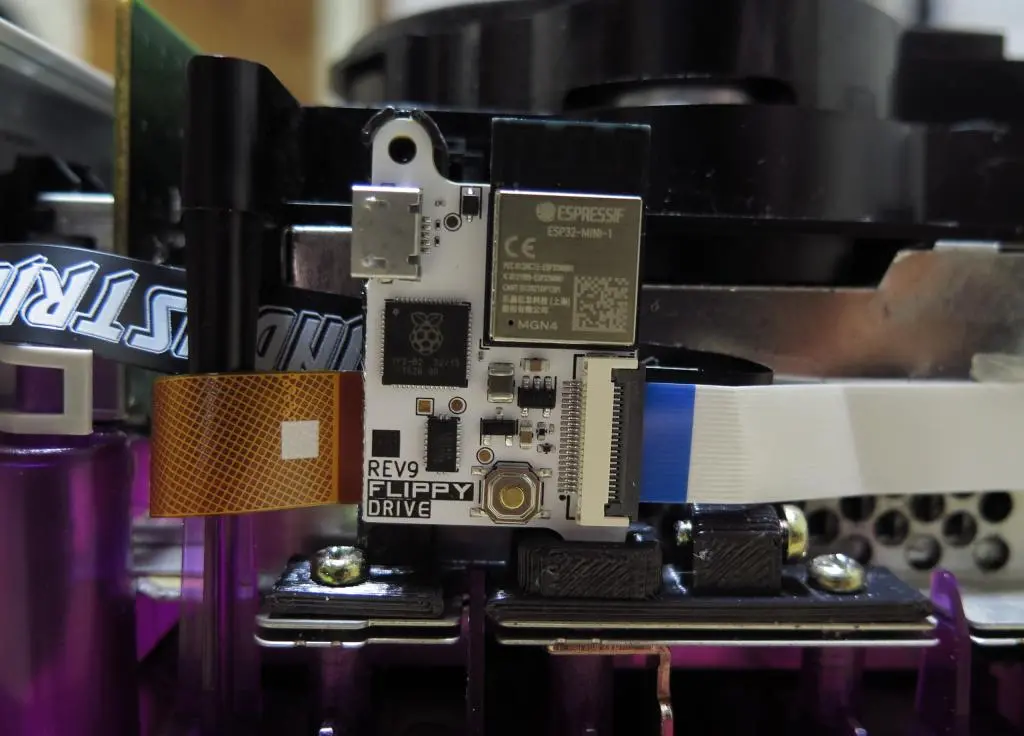
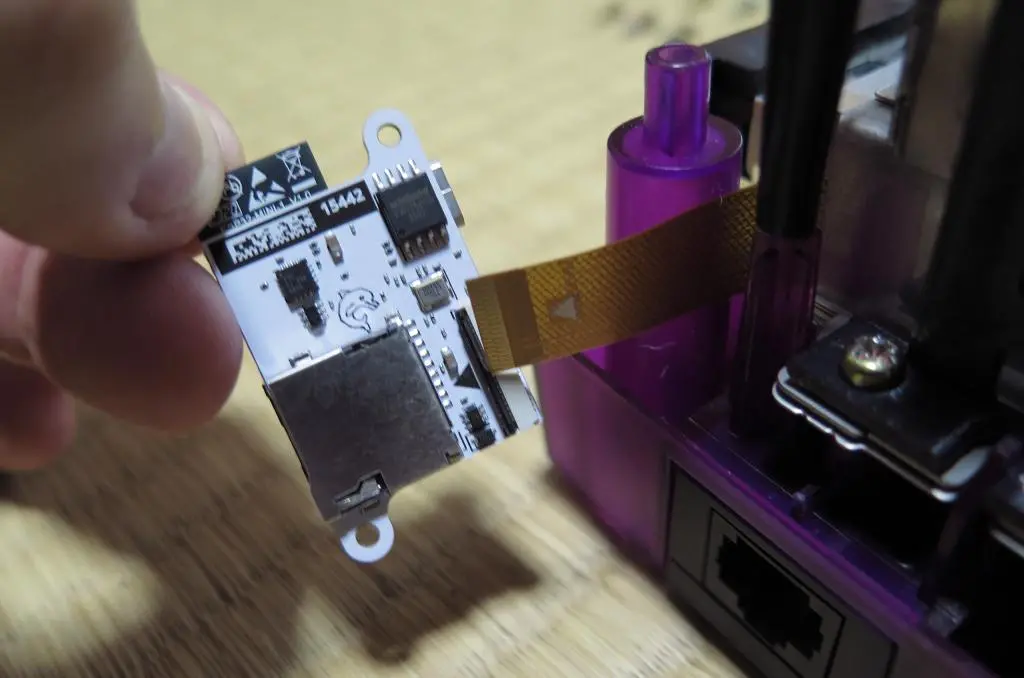
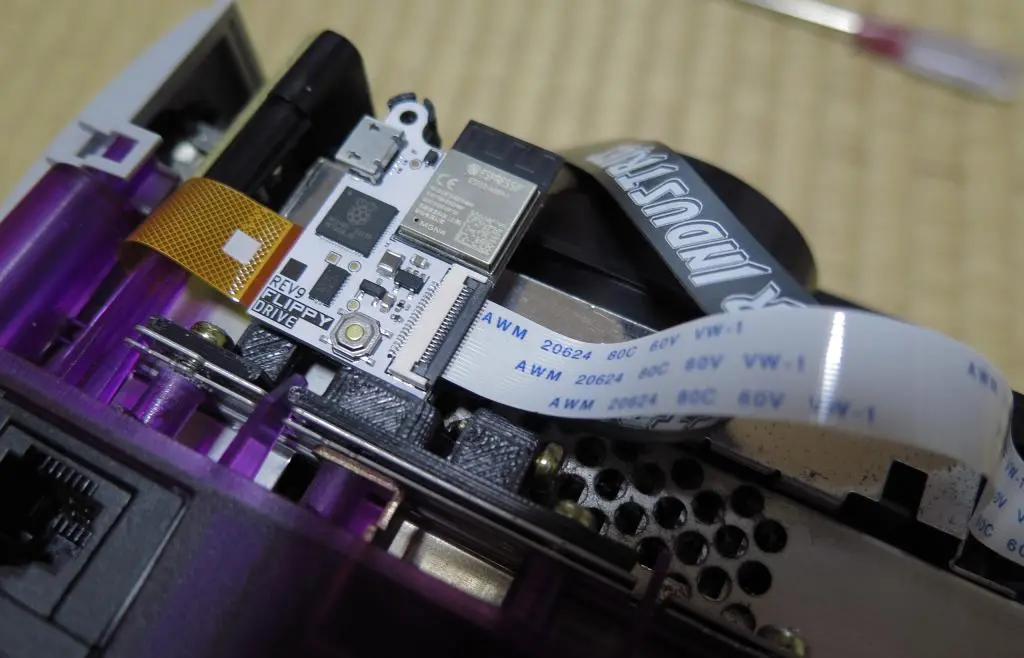
The FlippDrive is then plugged into the cable and can then be mounted on the bracket. Depress the ribbon cable gate from the middle of the gate! Not from the edges. The instructions make a huge point of saying you'll most likely damage the gate by closing on the edges.
The FlippyDrive is now done! But I have two more components to install, the SD card extension and the ethernet port. However, here's where I did a few things out of order because I wasn't following the instructions. This resulted in some backtracking. Here's the correct order:
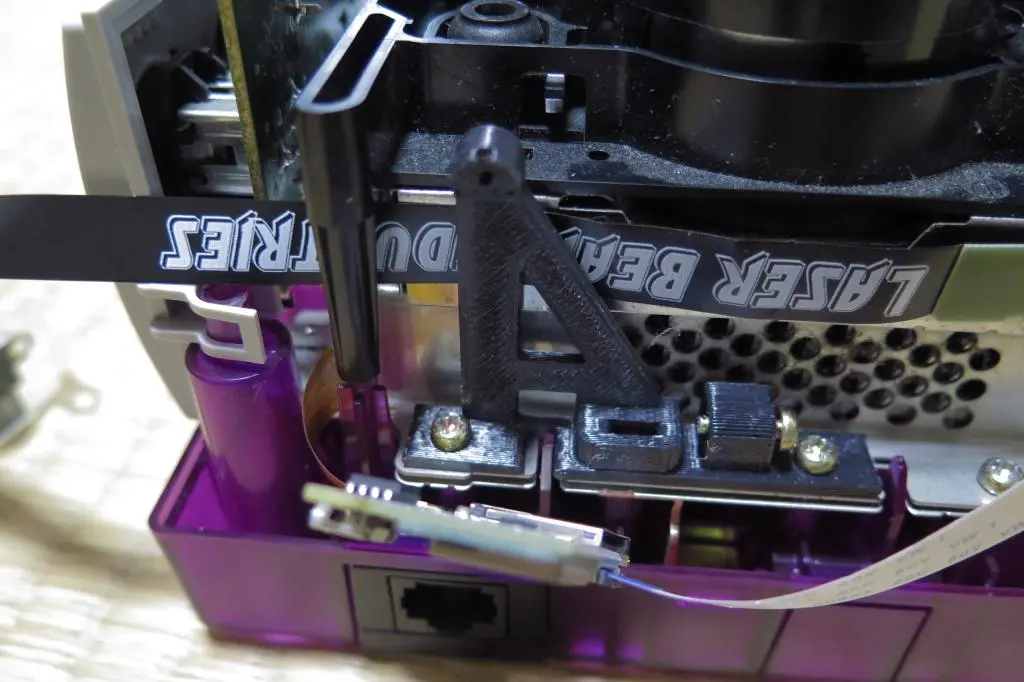
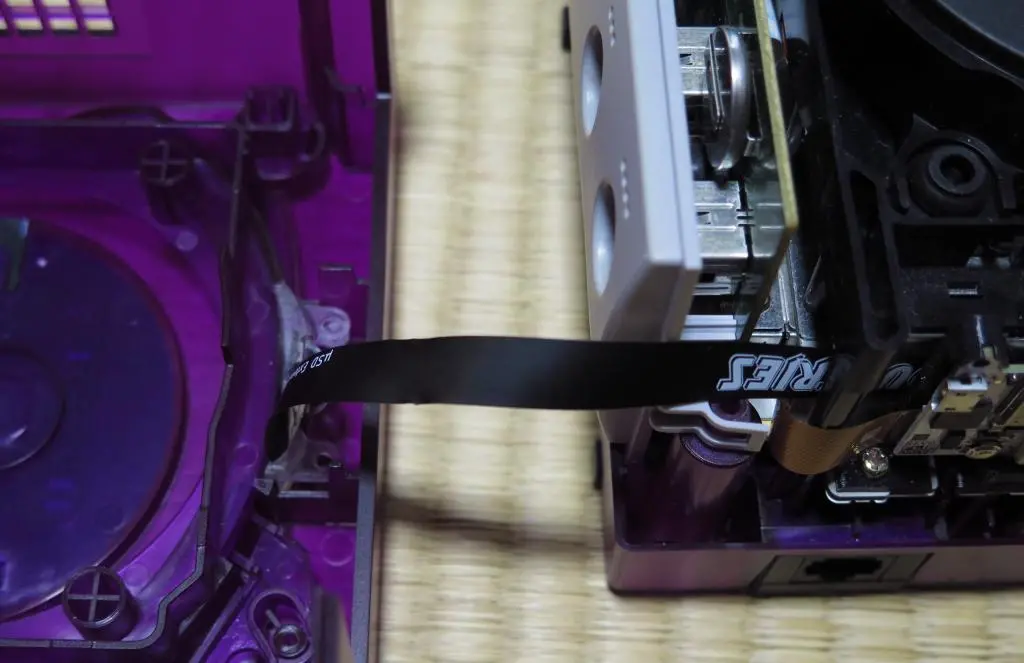
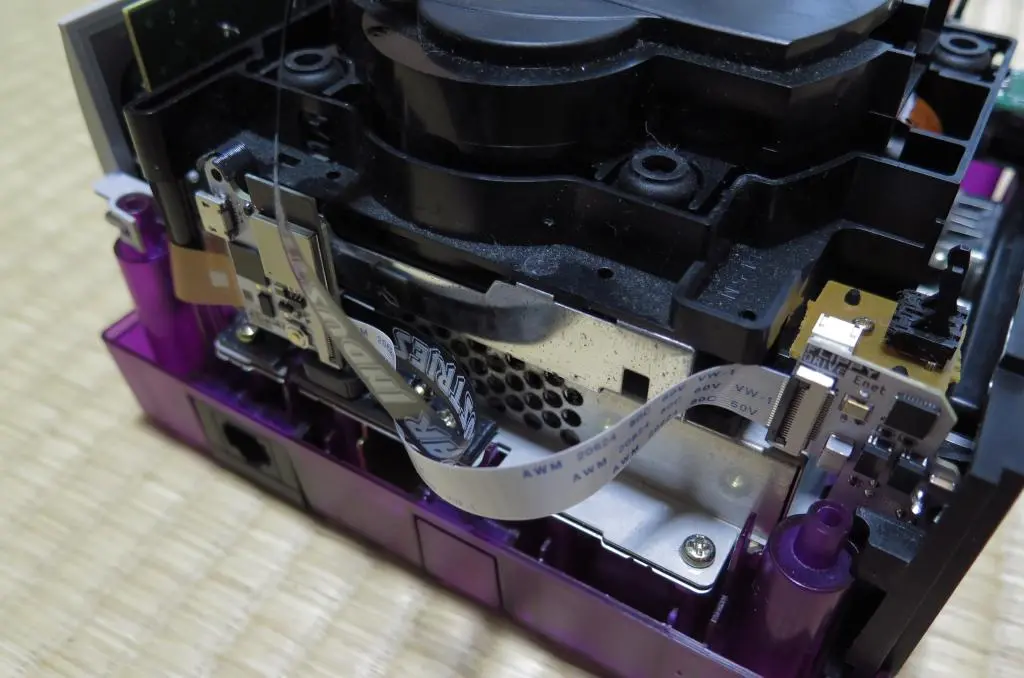
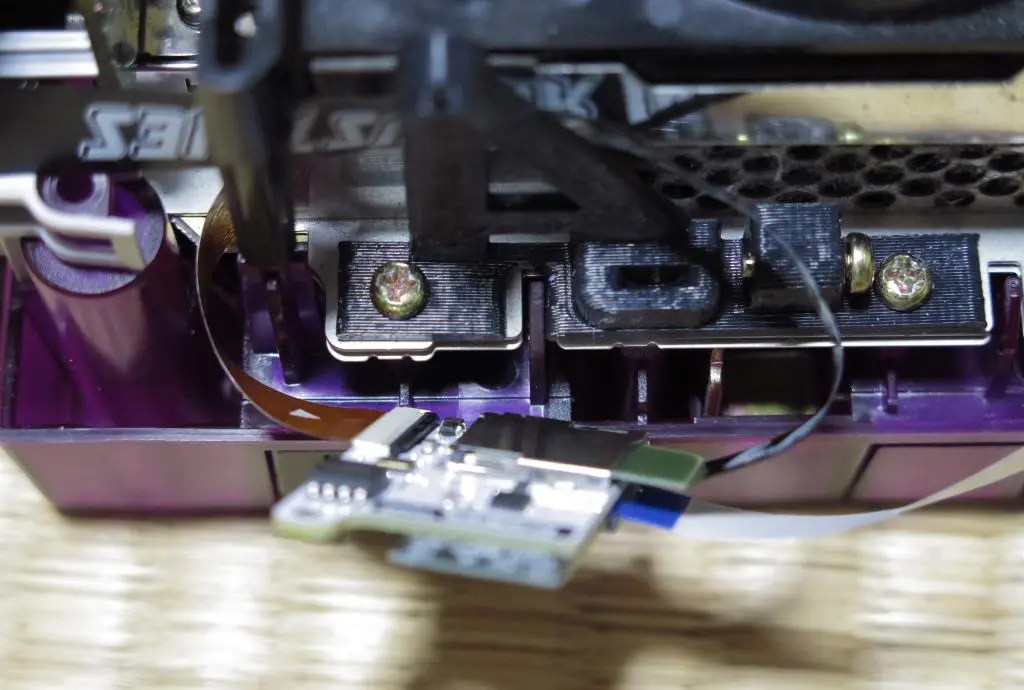
First, because I'm using the SD card extension, that ribbon cable should be fed through one of the mounting posts and behind the mounting bracket. This is what the official installation guide says. Look at the video on that page.
The connector is then folded back into the SD card slot on the FlippyDrive. This makes the cable pretty snug in the shell keeping it from getting crushed during reassembly.
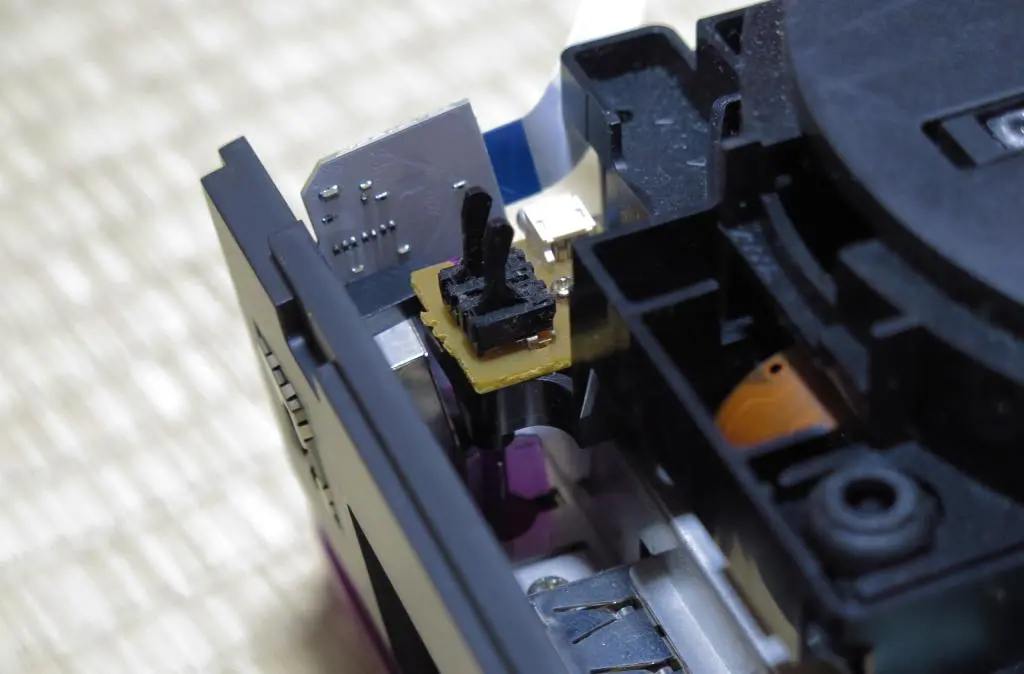
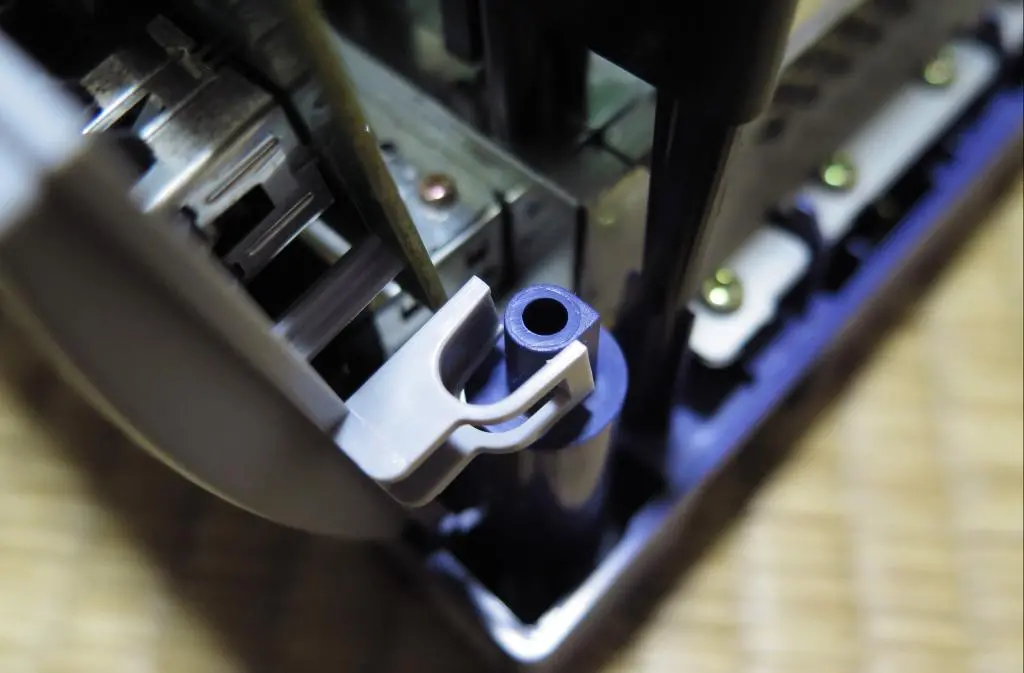
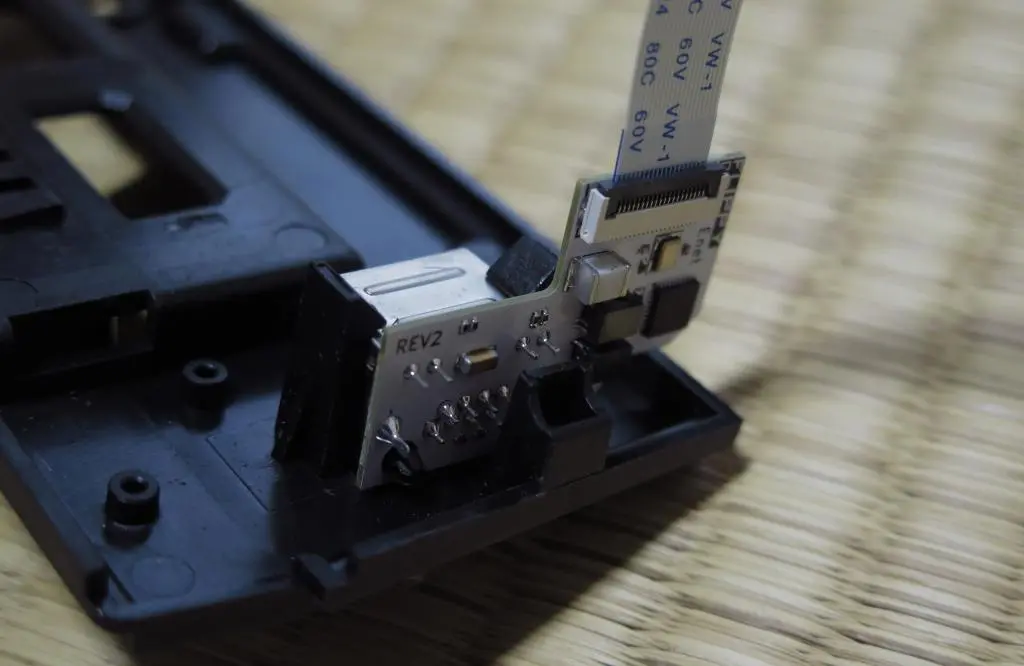
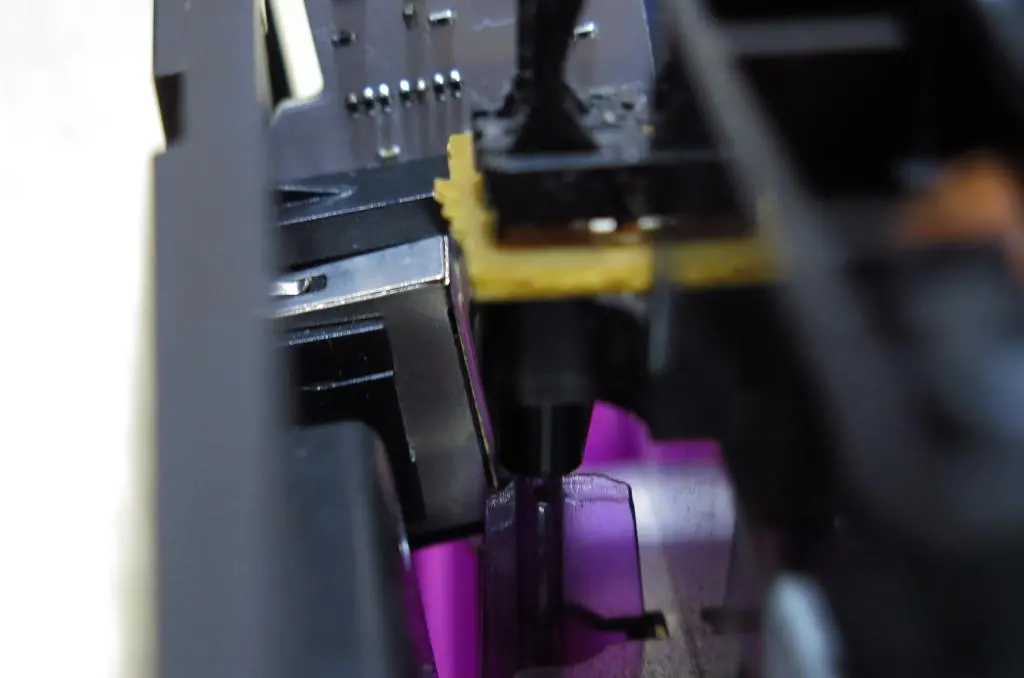
Second, the ethernet port in the back is a VERY tight fit. If the disc reader has been fastened in place with all its screws, the port bumps up against the disc lid sensor on the top and the screw underneath.
I had to remove all screws holding the disc reader in place so I could slightly lift the disc reader assembly and wedge the port in place as the disc reader assembly was correctly set. This results in a second unused screw. This time, there is no extra place on a bracket to put it.
And Third, I put the ethernet cable in backwards.
The blue bit goes on the outside not the inside. LACES OUT!
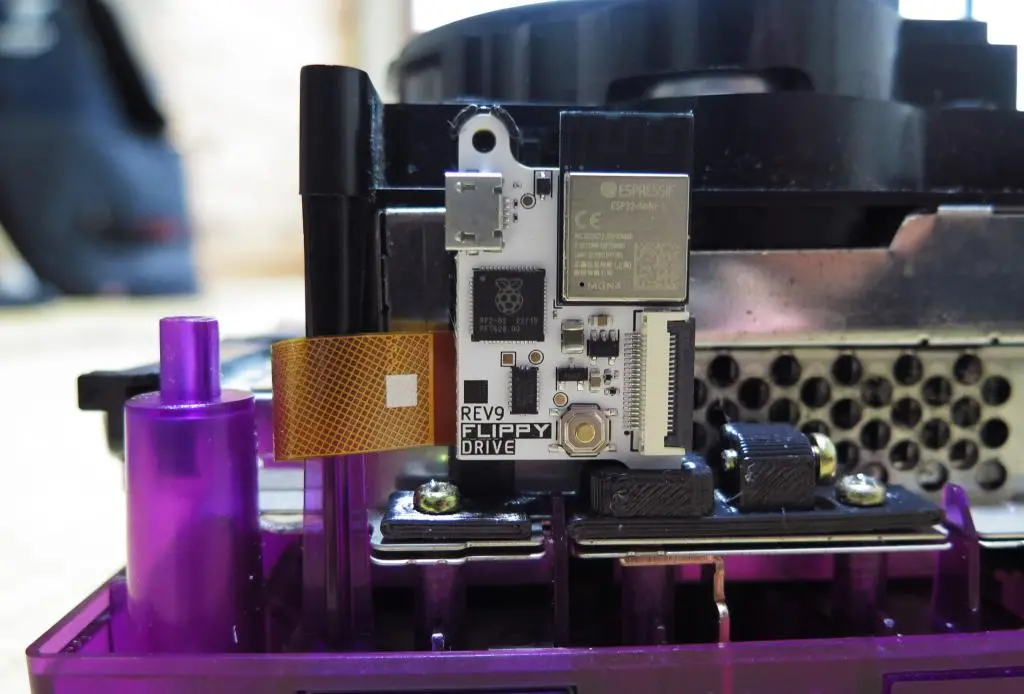
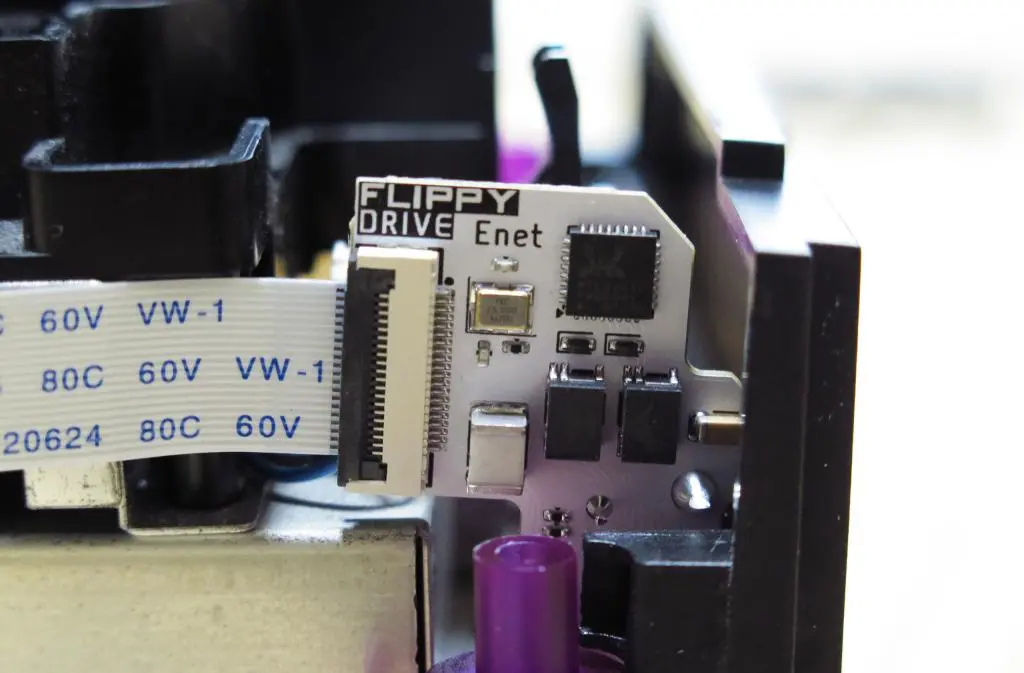
With everything plugged in, the FlippyDrive just snaps into its mounting bracket.
Earlier versions of the FlippyDrive used tiny screws on the bracket, but they figured out a really convenient way of just having it snap in place instead. It's very solid, too.
With the FlippyDrive installed, it's time to start screwing. Cue the Michael Scott references, but many of the holes were tight and required a lot of back and forth to get everything in correctly. Some of the screws couldn't even go in all the way because things were too tight. So, there are a few screws slightly raised because I didn't want to completely strip them trying to force them in.
With everything screwed in, I had dreaded putting in the controller port ribbon cable, but that was surprisingly easy. The blue tape made the cable strong enough to be pushed into its plug on the motherboard.
Before the final step, one more piece had to be screwed in, the other end of the SD card extender into the power light position on the top. It fit perfectly, and the screws went in easy.
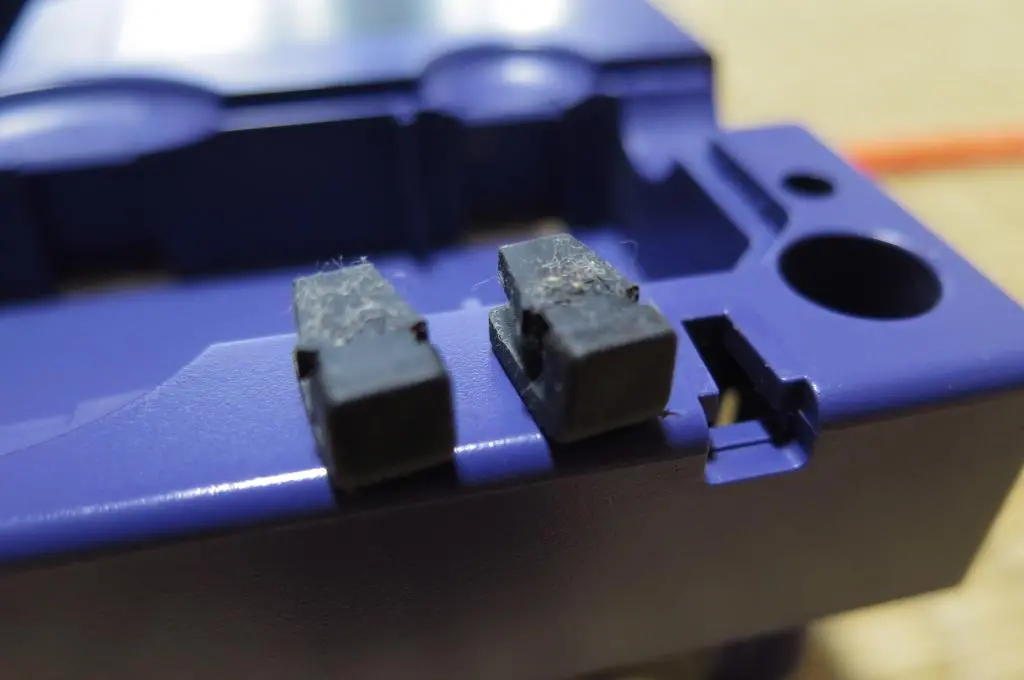
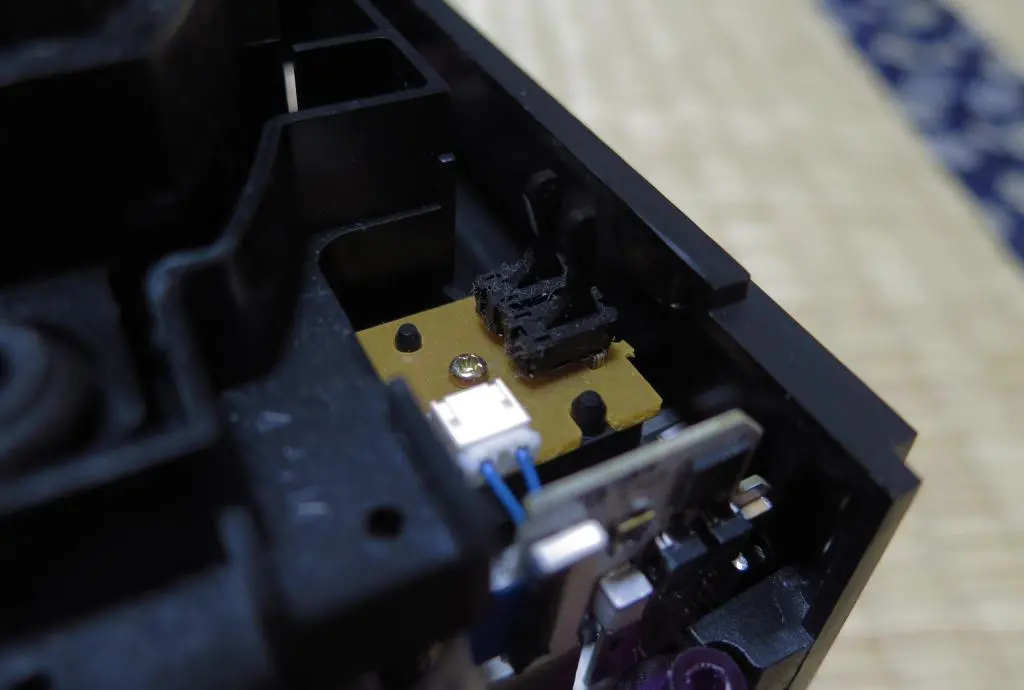
Finally at the end! When reassembling the two halves, you should always pop the lid! The back of the lid hits the small fragile sensors in the back. These can easily be broken with too much force. Also, I had to make sure the SD card extender cable was correctly going behind the controller port assembly and in front of the disc reader. Not squished between other components.
With everything in place, it took a little bit of wiggling and force to get it closed, but it eventually snapped on. Then I screwed the outer shell screws to secure it all together.
It looked so great.
The SD card was very discrete and easily accessible on the outside. The back had an ethernet port. I will probably never use it, but maybe I'll try PSO someday? I do have the official broadband adapter in the bottom, but this doesn't give me access to the FlippyDrive on my network.
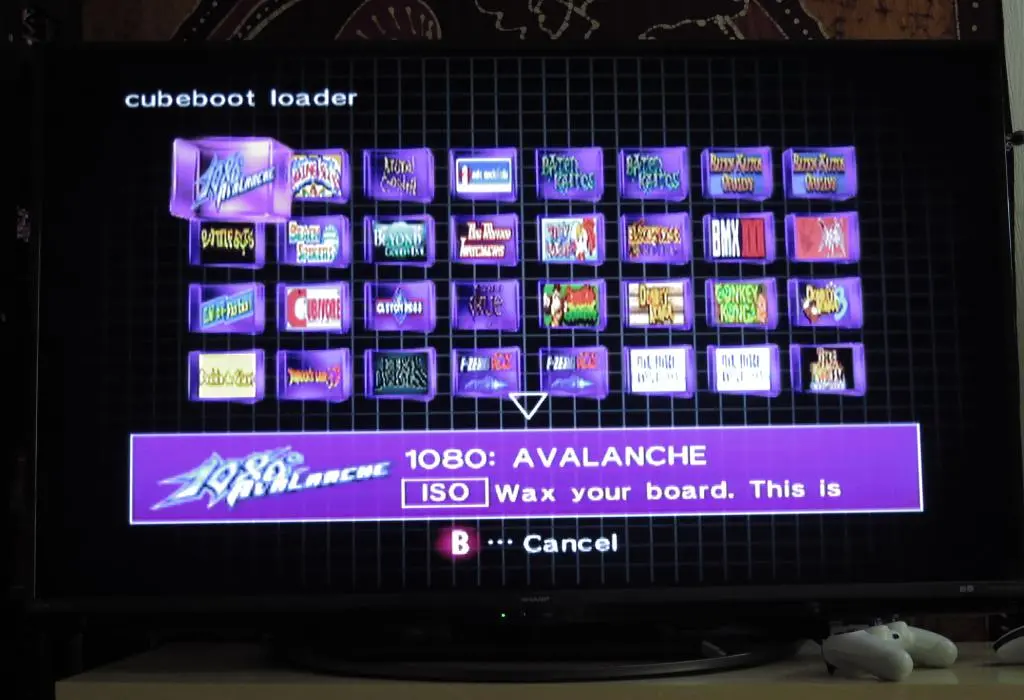
I brought it into the other room, plugged it into the TV, and... all my games immediately appeared.
It worked on the first try. It was so satisfying.
The whole build took me over 4 hours, but some of that was a little trial and error and a little Internet research on figuring out what to do next.
I received the Rev9 version of FlippyDrive which came with version 1.4.6 preinstalled. Loading is quite quick and the Gamecube automatically boots into CubeBoot. CubeBoot is the FlippyDrive's native game selection UI. Swiss has become the standard for Gamecube, but FlippyDrive wanted to provide something that felt more native to the Gamecube's own UI. I like this WAY more than just choosing games from a text list.
However, the UI is very barebones. You can only choose games. There are no menus or settings available on the Gamecube itself. There is nowhere to configure Internet settings, and set up Bluetooth for a controller. All configuration is done with a config file on the SD card. Details are here.
As of now, Bluetooth has not been implemented for controllers, so I can't do anything there.
Also, if you use the ethernet port, you don't need to do any Internet configuration since that is for WiFi only. But, besides playing games on the Internet, ethernet is only used for moving files around on the FlippyDrive. I can easily access the SD card by removing it from the extension, so I don't need that functionality.
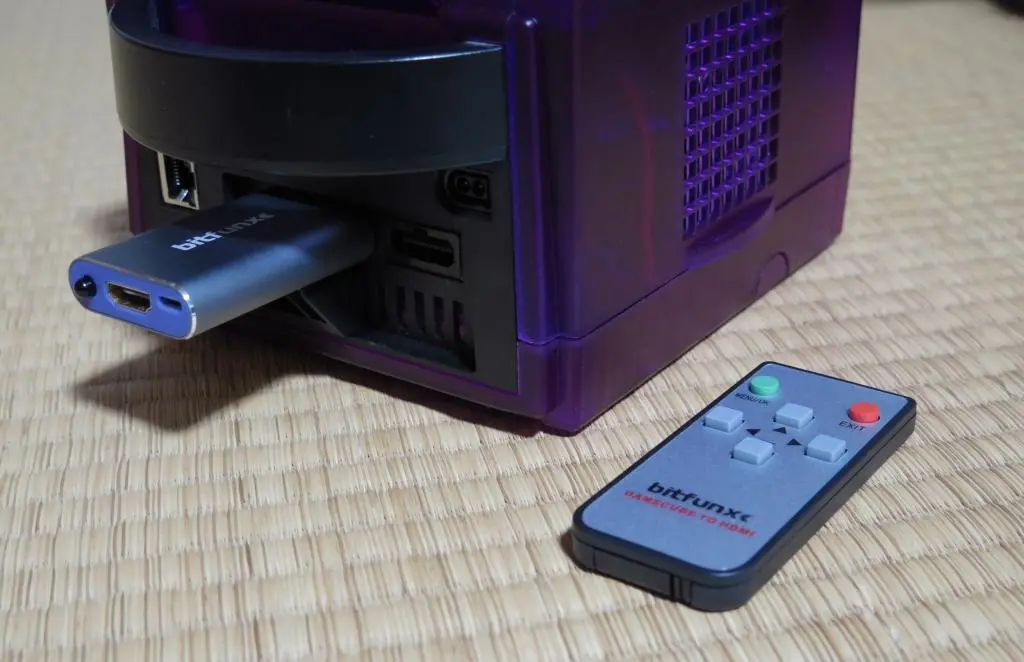
On the outside, I'm using two major accessories, the MemCard Pro from 8BitMods and the HDMI adapter from Bitfunx.
The MemCard Pro is an amazing device that manages all game saves. Through CubeBoot, it will automatically select and/or create a memory card specific for that game. Set up for the MemCard Pro continues in its own post. It was a little messy getting my original saves onto it, but I figured it out.
The HDMI adapter is really great, too.
The best possible image you can get from a Gamecube is using the RGB component cables. But, those can be expensive, plus you'll need an additional device to convert the signal into HDMI for your TV. This HDMI adapter does that and much more. Plus, it was only $25 on Aliexpress.
Unlike the Dreamcast HDMI adapter, this is not doing any upscaling to 1080p. It is receiving the raw signal from the Gamecube and slightly massaging it to the nearest standard HD resolution. You could then pass this into your own upscaler, or just plug it in the TV.
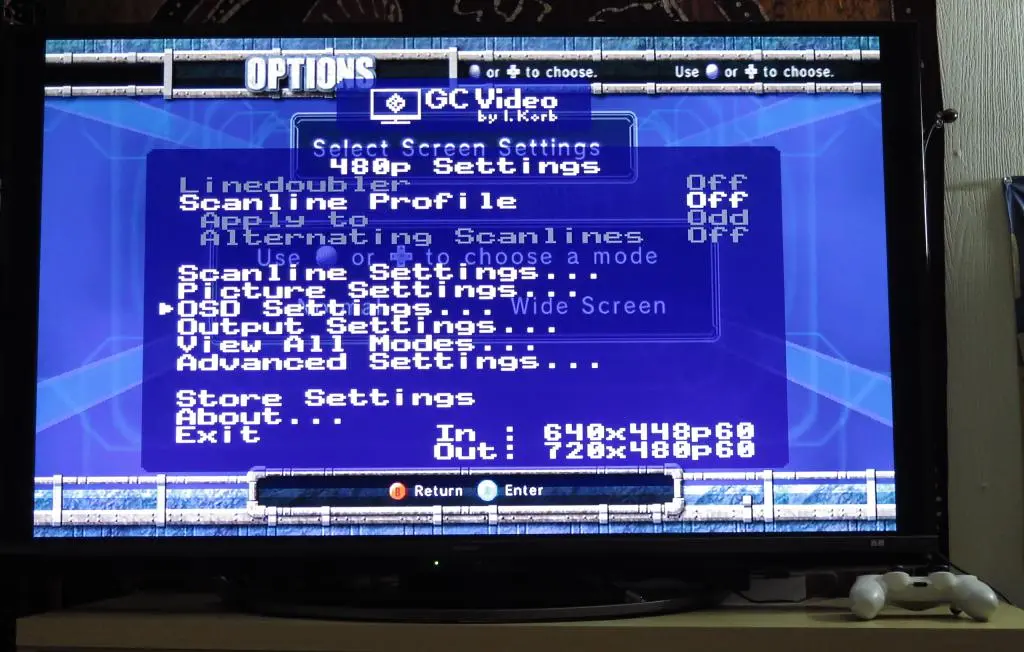
Also, unlike the Dreamcast HDMI adapter, you have options. GCVideo comes preinstalled, which gives you linedoubling and scanlines. These are all options you would have on an OSSC, but it's nice to have them in a device that has everything working perfectly by default. You can access this menu using the included remote. There are more details on the product page.
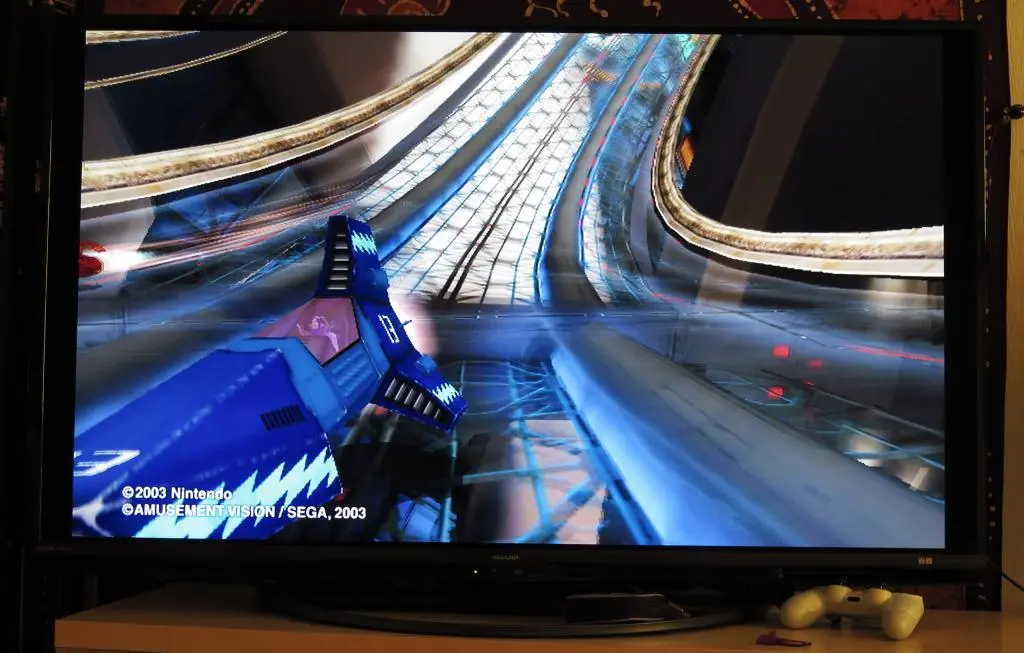
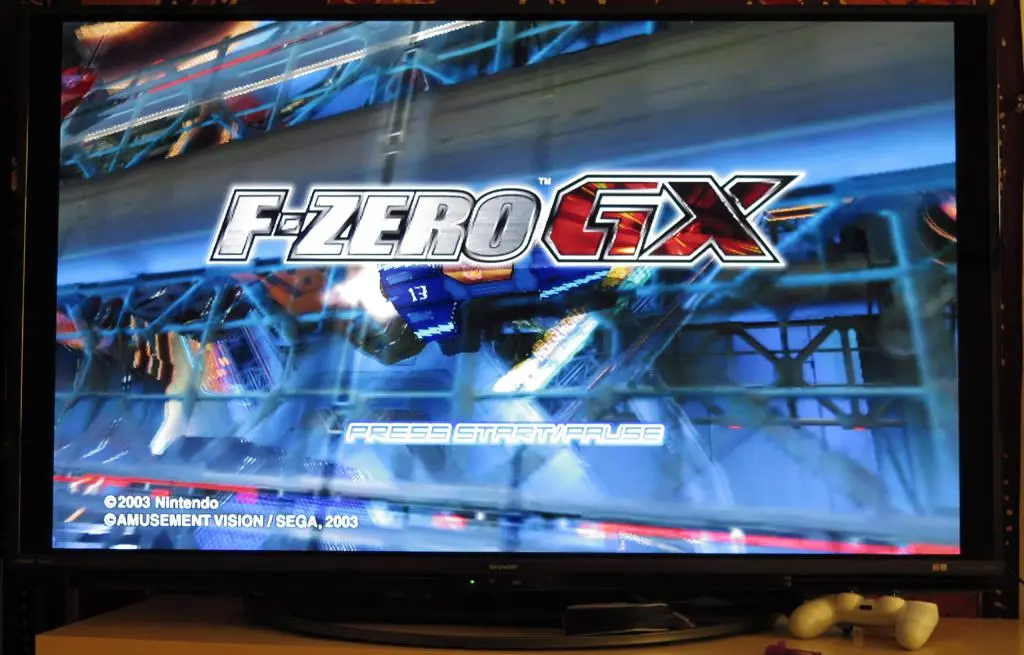
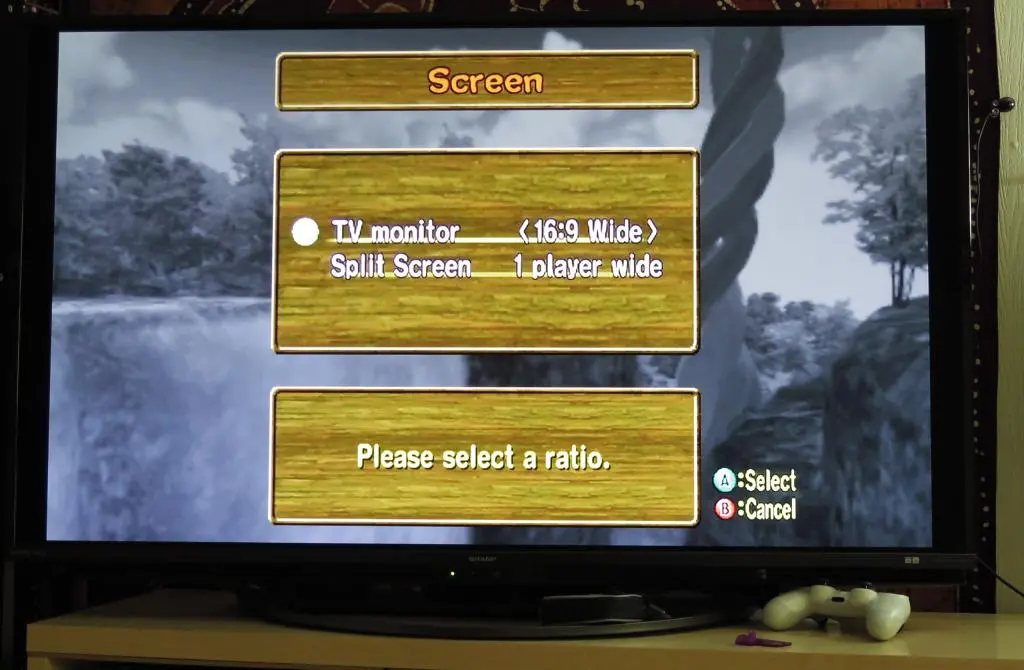
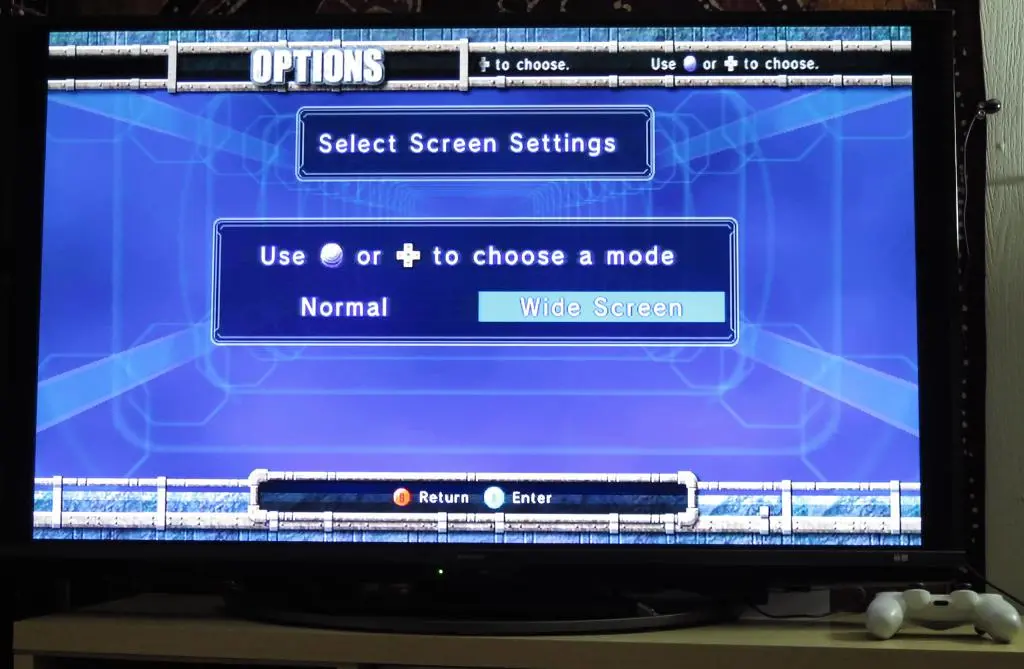
My TV does not have an option to change the aspect ratio to 4:3, but there are several games that have widescreen support including F-Zero GX and Monkey Ball. You can find a full list of games with widescreen on this page.
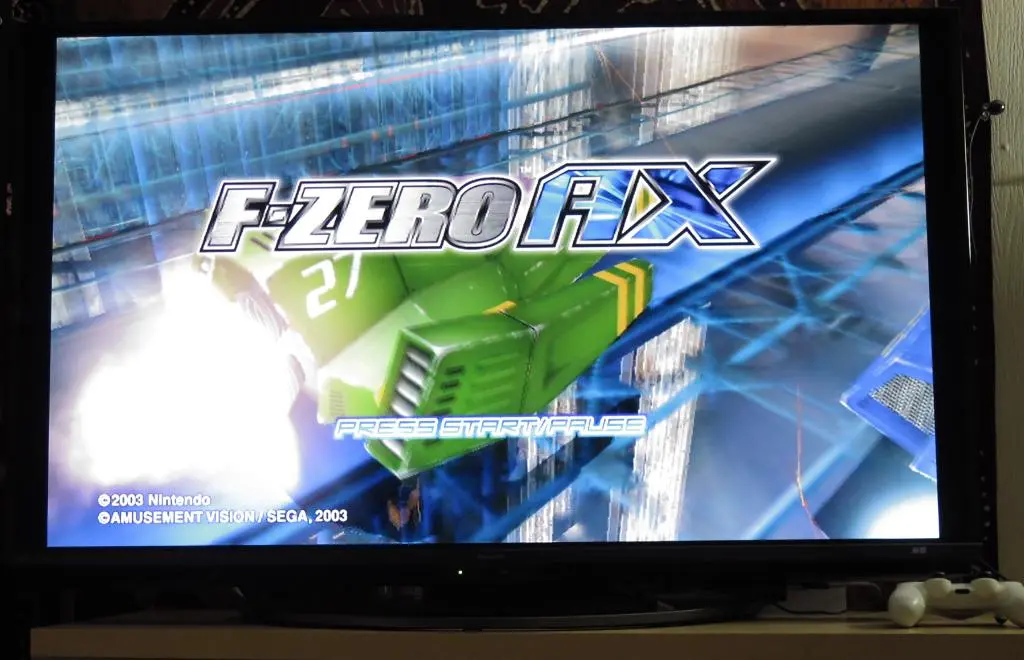
F-Zero looks and plays fantastic.
I wouldn't say I've ever dreamed of the perfect Gamecube, but this is pretty close for me.
All of my old saves are here. I can play all of my old games. I can also play hacks and special versions of games including F-Zero AX, although that doesn't allow saving.
Ultimately, I think modding a Wii or a Wii U might end up being the better option. You would have access to all of those libraries in addition to Gamecube. Also, Triforce games (F-Zero AX and Mario Kart Arcade GP) run natively on Wii and Wii U. I will probably look into this in the future, but I am content with this for now. :)
With the Mister, Analogue Pocket, modded Playstation 2, Dreamcast, and the Gamecube, I can play all of my favorite games from the past up through the mid-Bush years.
