After getting a Mister FPGA last year, I wanted to get ALL the accessories and try out everything the system had to offer (within reason). One of the accessories I bought into was TapTo.
TapTo (now renamed Zaparoo due to fear (or reality) of trademark infridgement) is a service that constantly runs in the background on Mister. With a connected NFC reader, any NFC signal it reads will automatically run instructions. The main use of this is having a physical set of cards or objects representing your favorite games. Tap the object and the game runs automatically without having to go through menus.
It's a fun way of bringing physicality back to a digital platform, and people have let their creativity fly. There's a replica miniature C64 disk drive with an NFC reader inside, and you insert cards like floppies. Some folks have put NFC stickers on their physical game cartridges and use those to boot up games. People print their own NFC cards with various styles and images. People have also made figures with NFC buttons inside. The sky is the limit.
For me, I thought this was all unnecessary. You're removing one of the advantages of having a digital platform which is reducing your amount of clutter. But, you can have TapTo (Zaparoo) do more than just execute games. You can have it execute button macros. And you can have it execute random games.
I was most interested in the random games. The standard randomization is to have it choose a console and execute a random games on that console. But, unlike the Analogue Pocket, you can build lists of favorites on the Mister using MGL files. So building lists of my favorite games in each genre, I can Tap a card, and have it run a random Shooter or Puzzle game or Fighting game. These are all single serving games, so it makes sense to randomly try one for 5 or 10 minutes and find a new one.
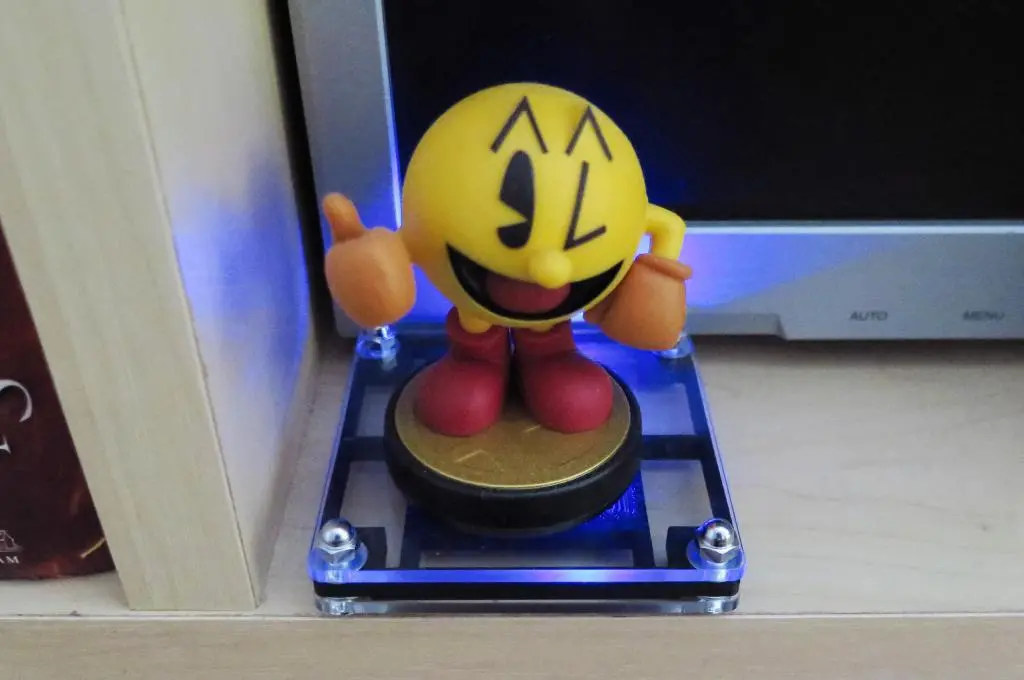
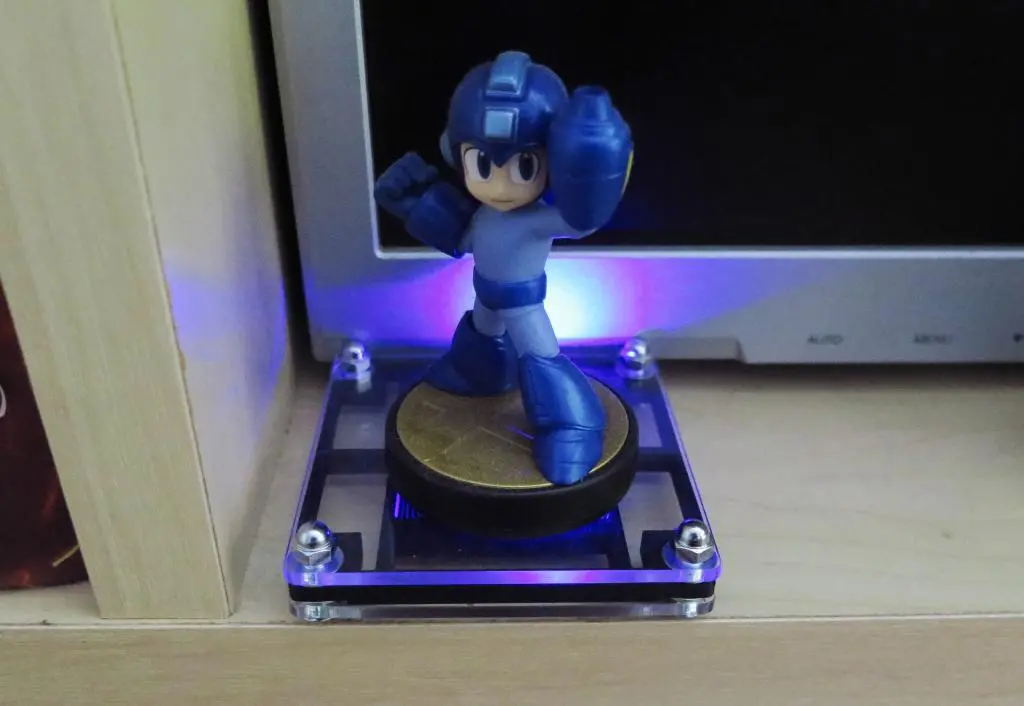
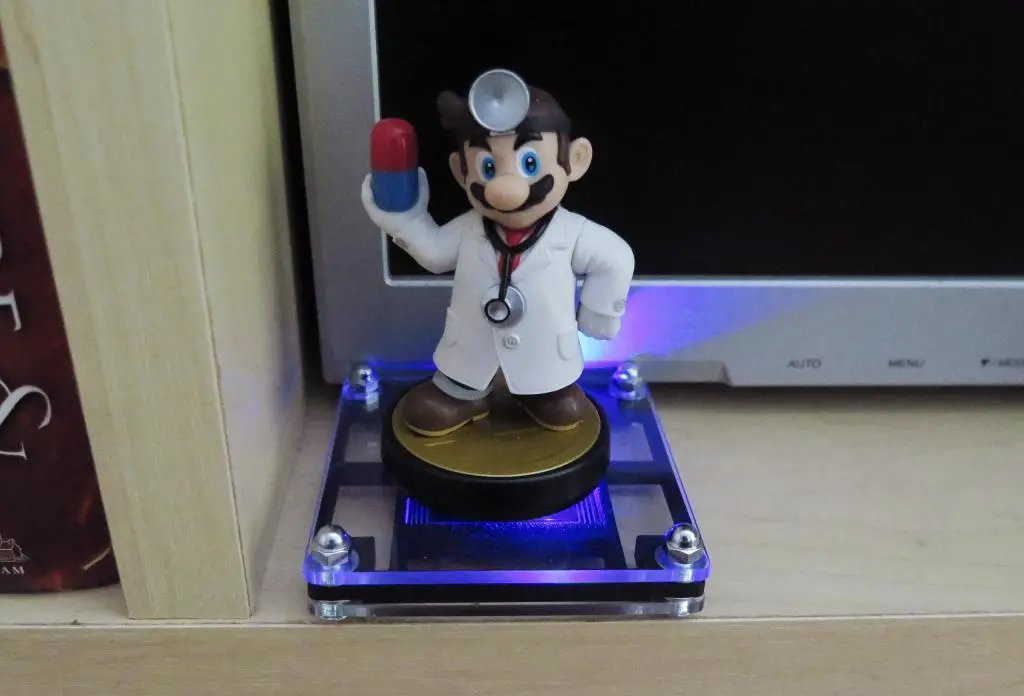
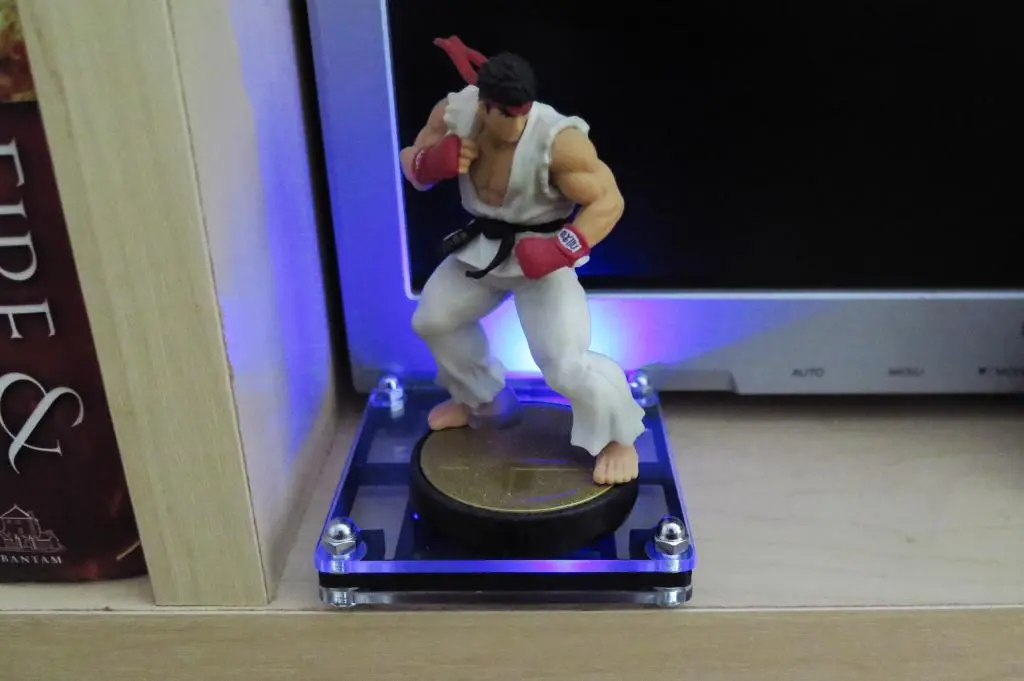
But, rather than use printed cards, Nintendo Amiibos use NFC, too. I could register the Pacman Amiibo to boot up a random arcade game, and use Ryu to boot up a Fighter. Dr. Mario for Puzzle games. And for Shooters? A Vic Viper would've been amazing. The closest is Star Fox, but those figures look terrible. I just went with Mega Man.
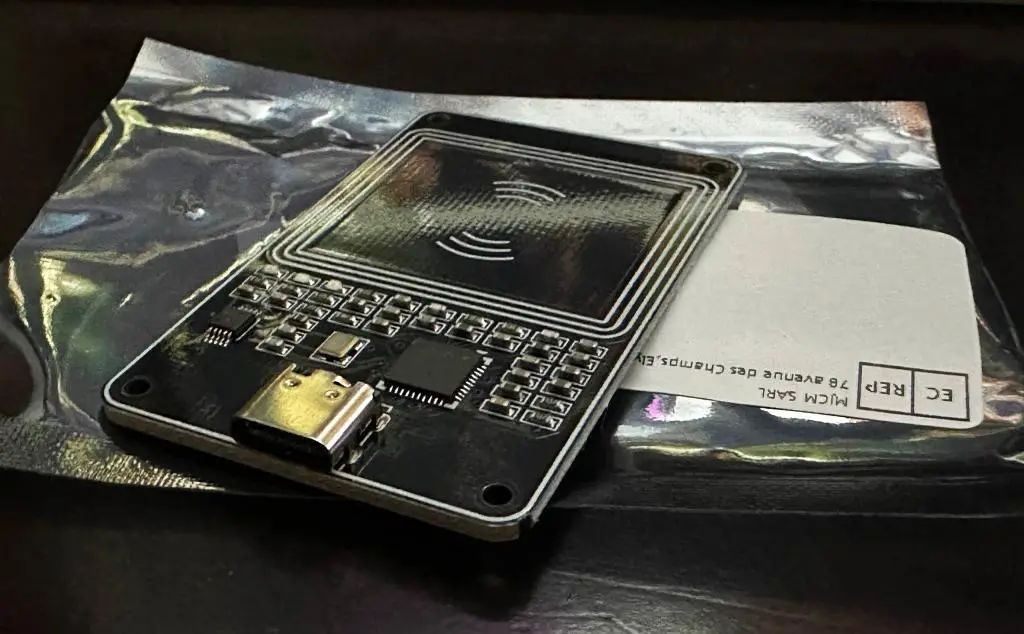
You can use any NFC reader with Mister, but all the official images used a particular one. It was only 764円 on Aliexpress! So cheap! Why not buy it?
It was so small! I was thinking that it would be the size of a trading card, but it's less than half that size. This is great because it has allowed creative folks to sneak it into their enclosures and even in their Mister cases. My Mister case is shoved into the shelf, though, so it's not practical for me to do that.
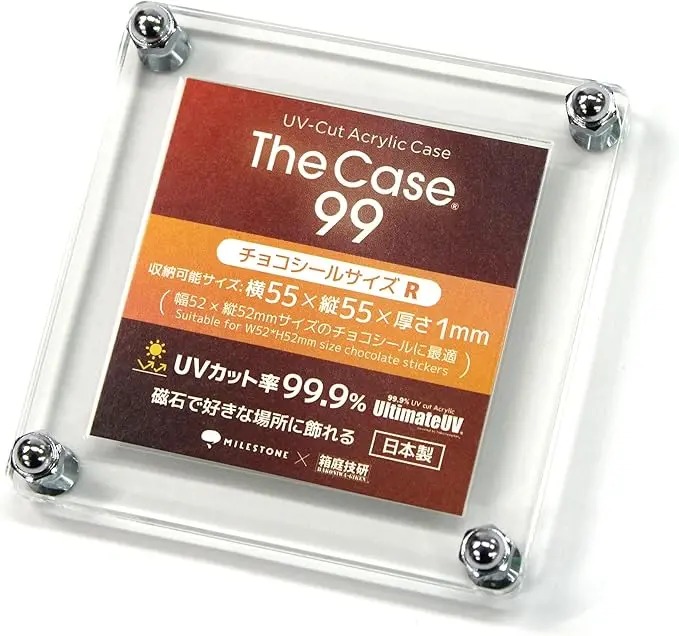
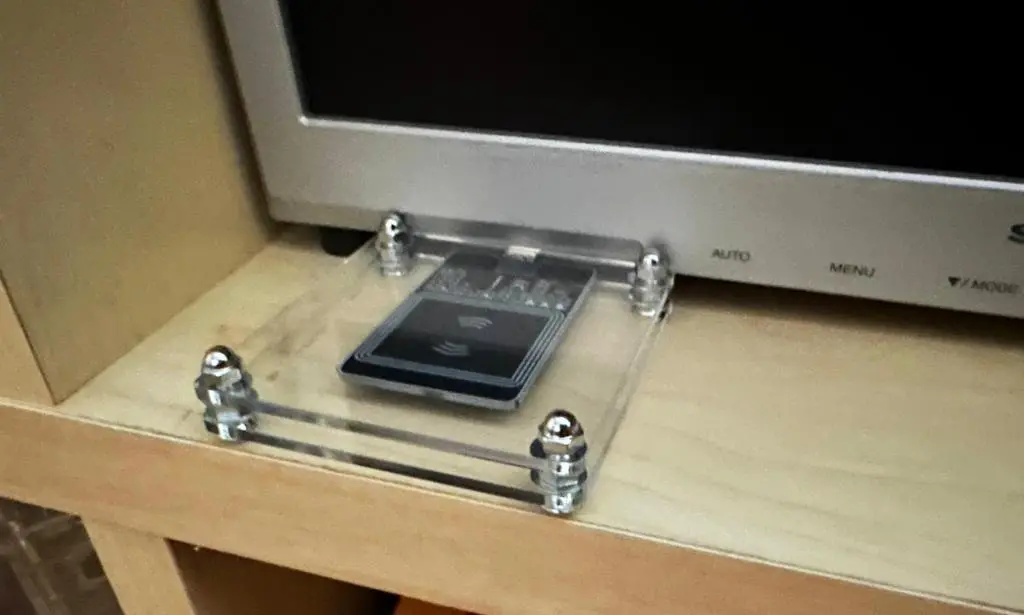
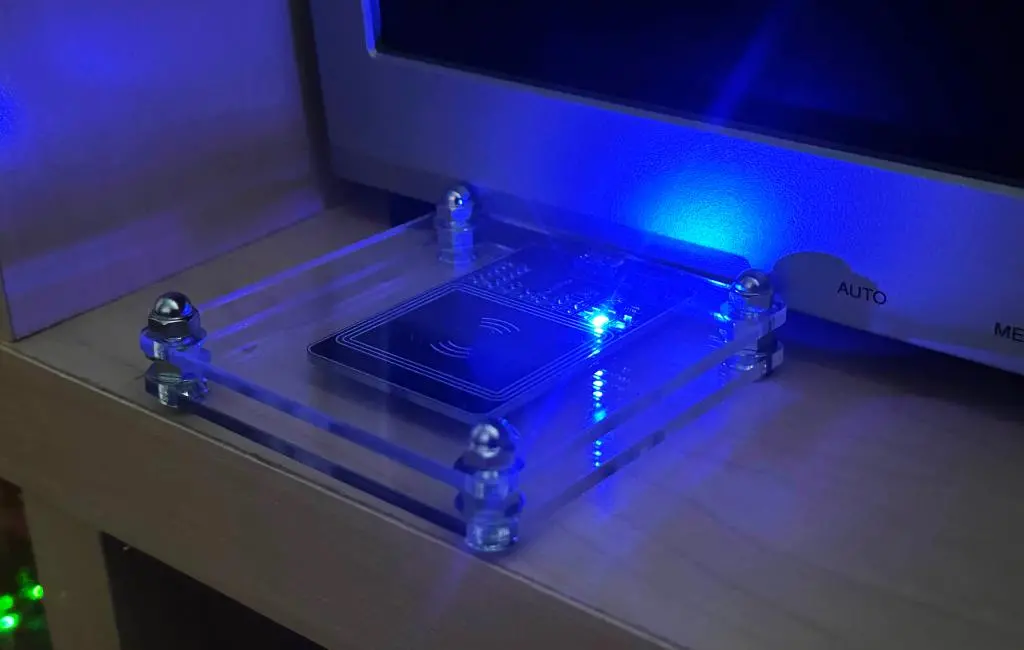
I wanted to create a platform that could stick out of shelf for easy placement of Amiibo figures. Because the reader is like a tiny trading card, I thought I could use one of those hard plastic trading card protectors. Just screw the thing in there, and it would make for a pretty piece.
Amazon had a few different sizes of these sandwich plate style plastic card protectors available, so I bought a standard trading card size and a smaller size closer to the dimensions of the NFC reader. This one:
Here's the Amazon Link. Now, a year later, it's out of stock, but I bought it for only 660円. Maybe that's expensive for a single card protector, but I think it's a good price for an NFC enclosure.
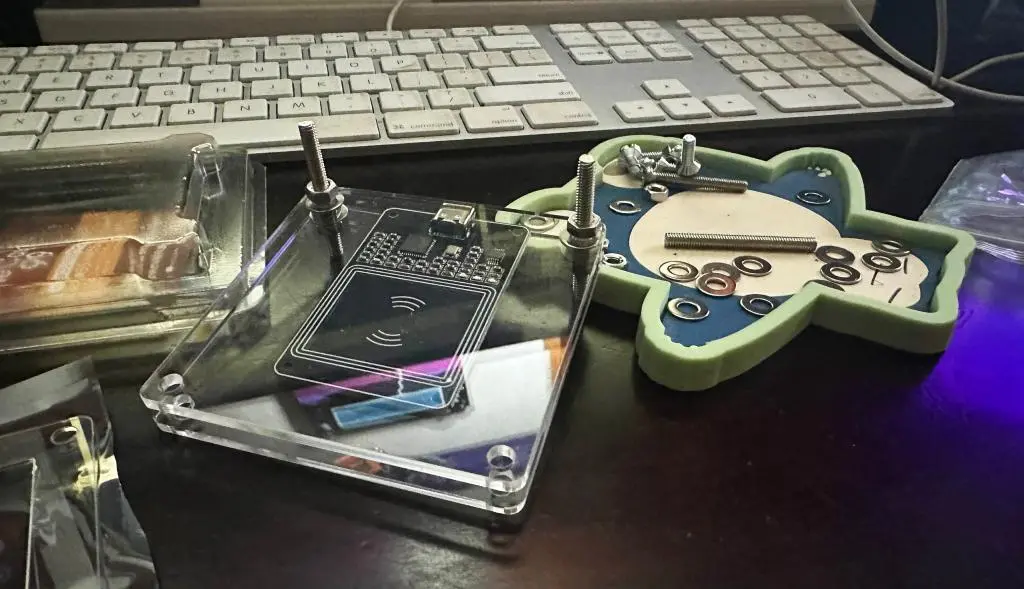
Although, with buying this protector, I wasn't really thinking about how the reader was going to slip between the two plastic plates. A card is as thin as paper. The PCB of the reader is thicker than that, plus it has a USB-C connector on it. The protector came with a thin plastic frame border for the card to hold it in place, but that would not work with the reader.
Overall, the protector was a good size, but I did not think about the USB-C connector. I wanted the PCB more centered, but the USB-C plug on the cable is WAY thicker than the connector. The USB-C connector would have to be flush with the outer rim of the plastic for it to connect.
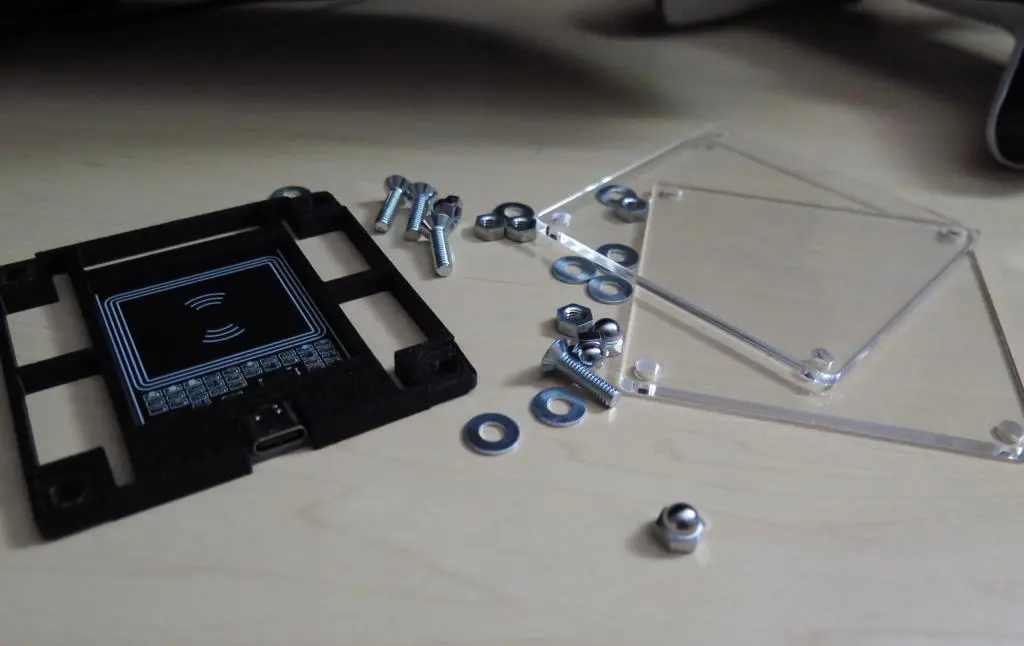
The included screws weren't longer enough for added height, so I had to buy some new ones. My local hardware store was able to identify the guage of the screws at M4. They sold these packs of screws, nuts, and washers. I had a few different lengths from some other projects, but I bought one of those packs with 15mm length screws.
So, I ultimately used the following:
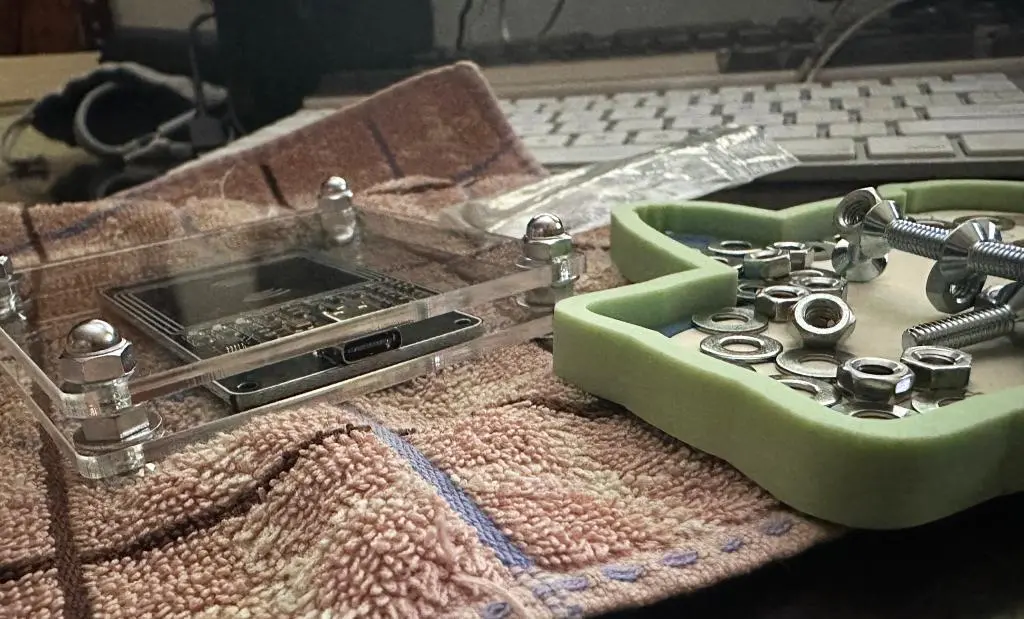
4 Screws - M4 Size - 15mm Length
4 Nuts - M4 Size
8 Washers - M4 Size
4 Thumb Nuts - Reusing the ones including with the protector.
It was a little tight, but it had to be to hold the USB-C connector in place. If it was too loose, the plates wouldn't hold it and you couldn't plug it in without pushing the PCB in further. Although, too tight and it could've cracked the plates or warped the connector. Adding the washers and screws gave it just enough height to hold it in place well enough. Although, it still slipped around and it could be pulled out easily.
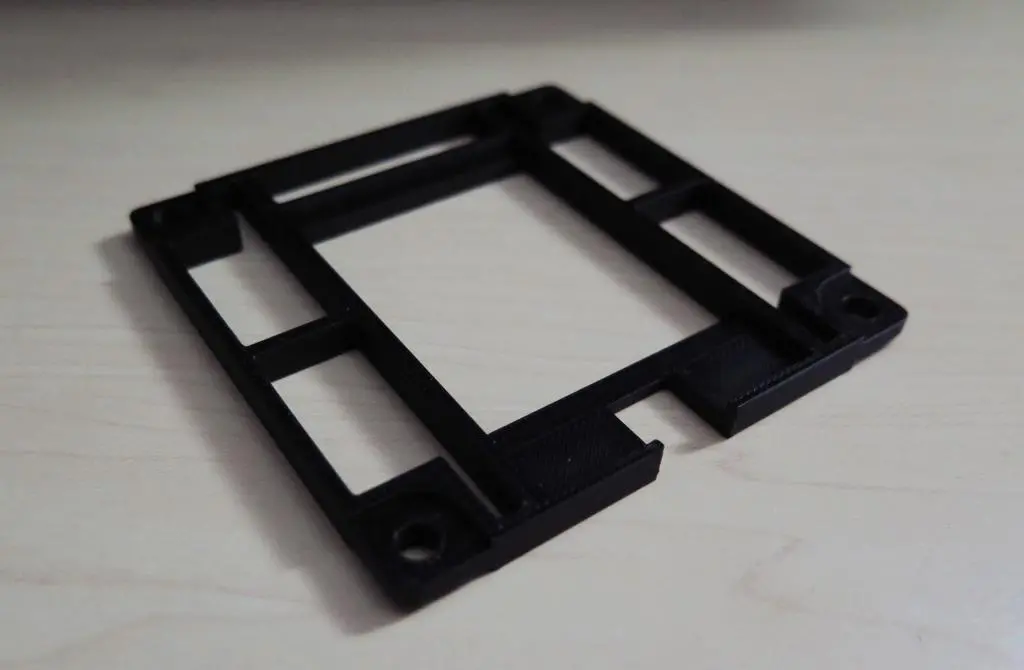
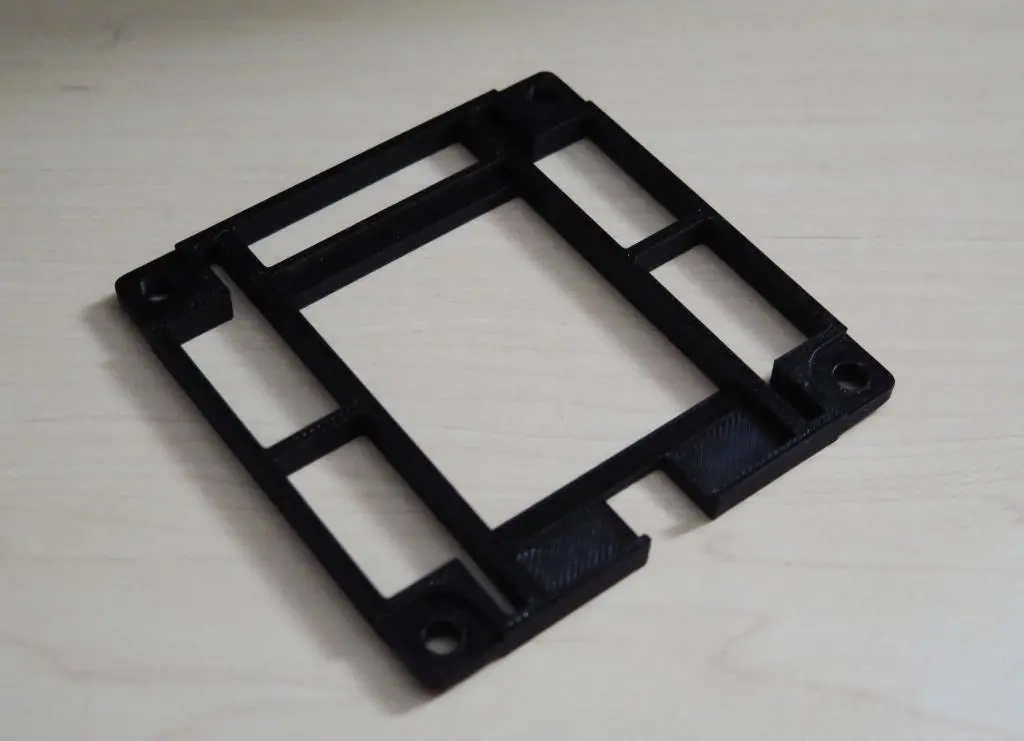
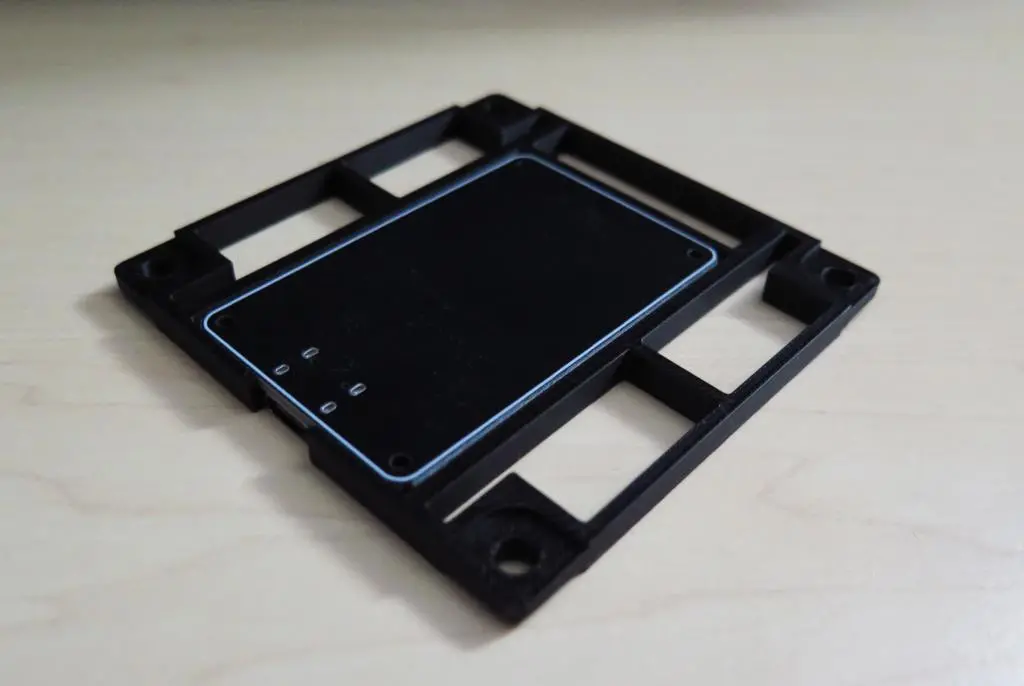
The perfect solution would be to design a 3D printed bracket that could be flush with all edges of the plates and hold the NFC reader in place.
So, after almost a year after putting the plates together, I finally designed a bracket. I didn't realize that my sister had a small 3D printer, so it was the perfect excuse to finally make this thing. Her model of printer was a ToyBox, a more accessible consumer level printer which allowed her kids to make little figurines and such. It also accepted custom STL files, so you could still print whatever.
Looking online, TinkerCad was recommended as an easy online program for creating STL files. And it was really easy to figure out how to move around the view, create objects, and also create negative objects which cut into the solid shapes ultimately creating and shaping your vision.
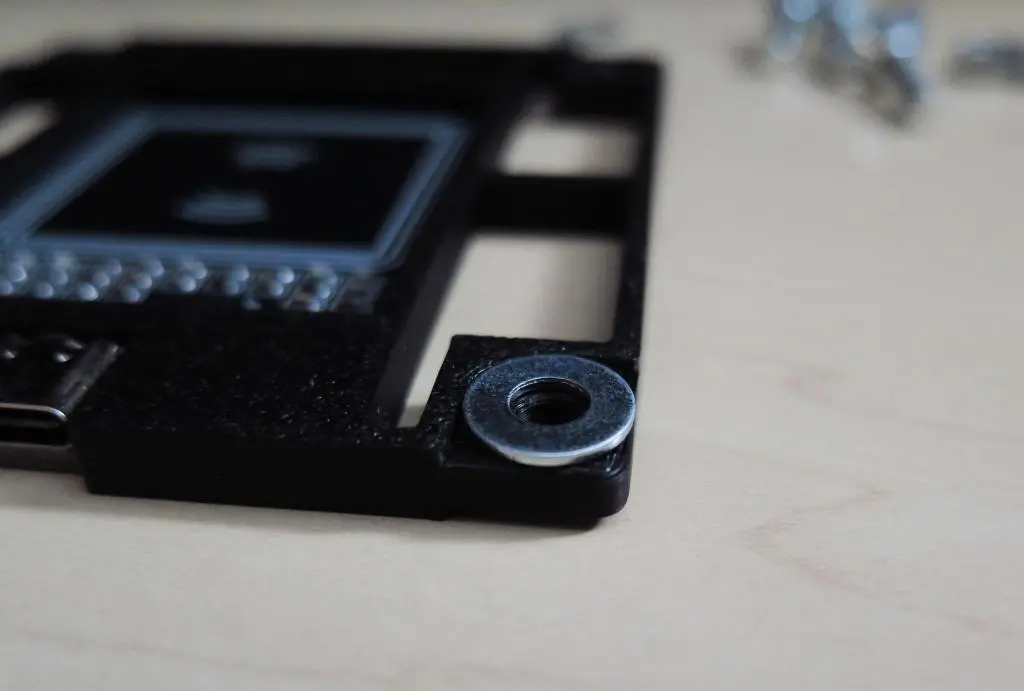
Being very precise and measuring all lengths using a tape measure, I put together the model. The plates measured 74mm by 74mm, and I added 5mm height. The NFC reader measured 40mm by 61mm, so I added some grooves for the reader to rest into the model and stay in place. I added rounded corners and measured the screw holes. I also added some divots for the washers.
It did not take long to create the model. I cut out more of the solid areas to use less material when printing. Also, I flipped the model upside down thinking that it would be better to have the flat areas printed first.
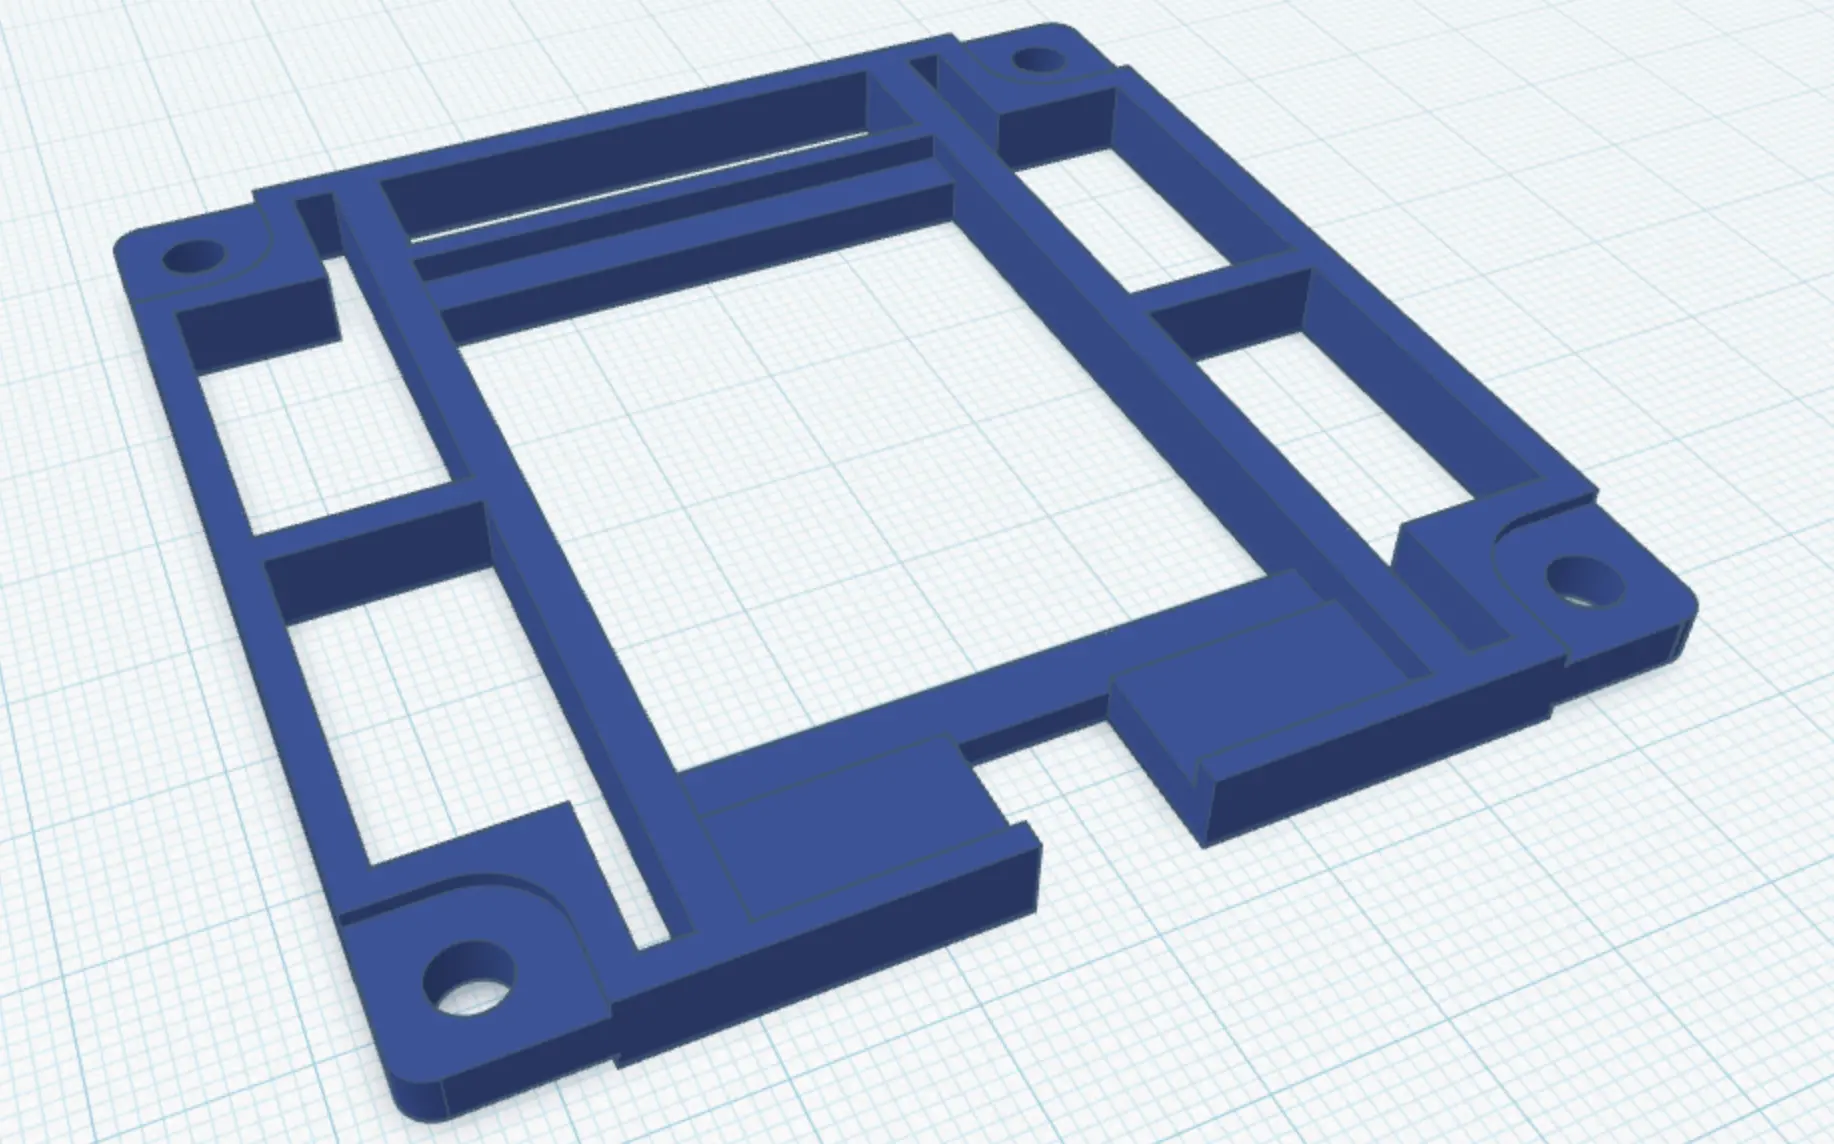
Here's the file: Google Docs / TapTo Bracket Thin Upside-Down.stl
My sister had several failed attempts trying to print it for some reason. I've never owned a 3D printer, but it seems like there's so much variance in print quality depending on properly seeding the model to the bench, using quality materials, making sure the printer head is clean to allow clean material on the bench, the speed of building the model, and generally just the overall quality and precision of the printer itself. Seems like a nightmare.
My friend Jason was coming to visit, so I asked if he knew anyone with a decent printer setup. And he was able to get an clean print of my file.
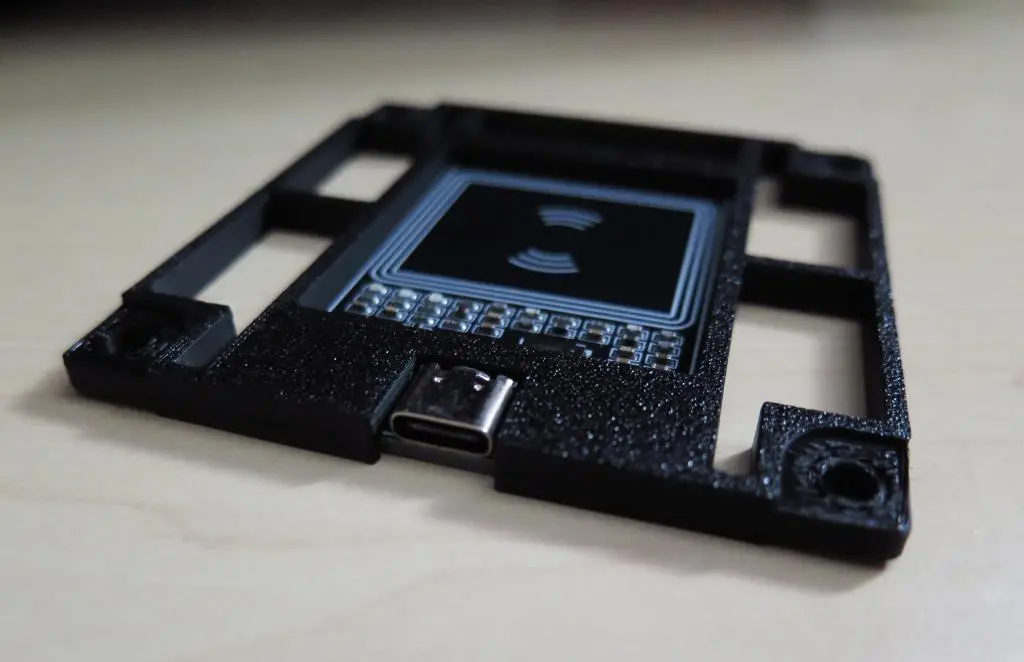
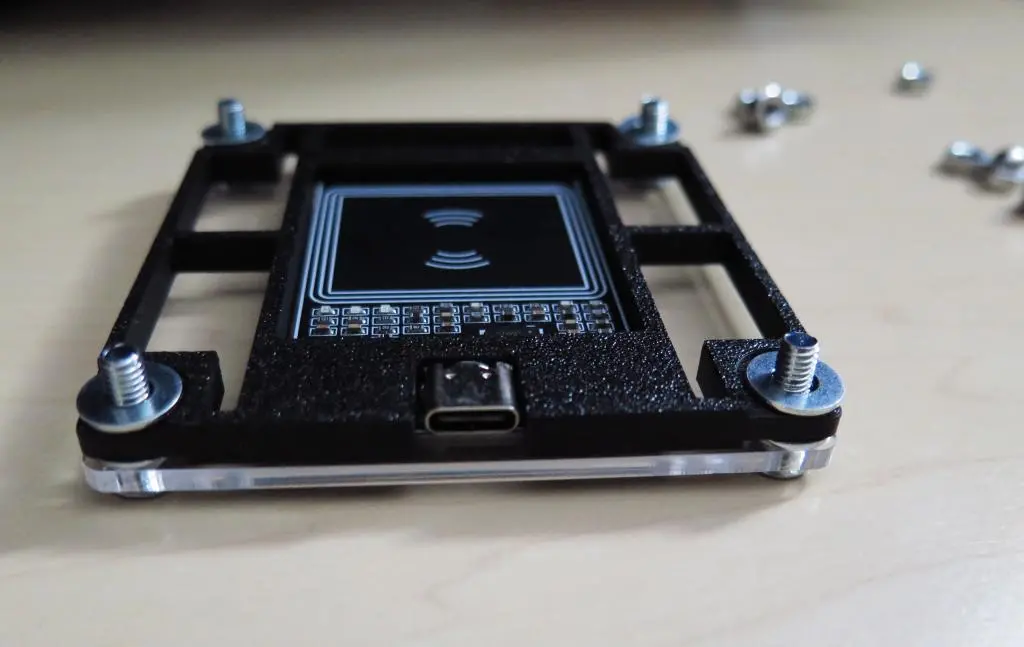
It was an exact clean print! It felt nice and sturdy compared to other 3D printed parts I've had before. It was SO exact that when I put the NFC reader into place it perfectly snapped into position. There was absolutely no clearance. It was perfect.
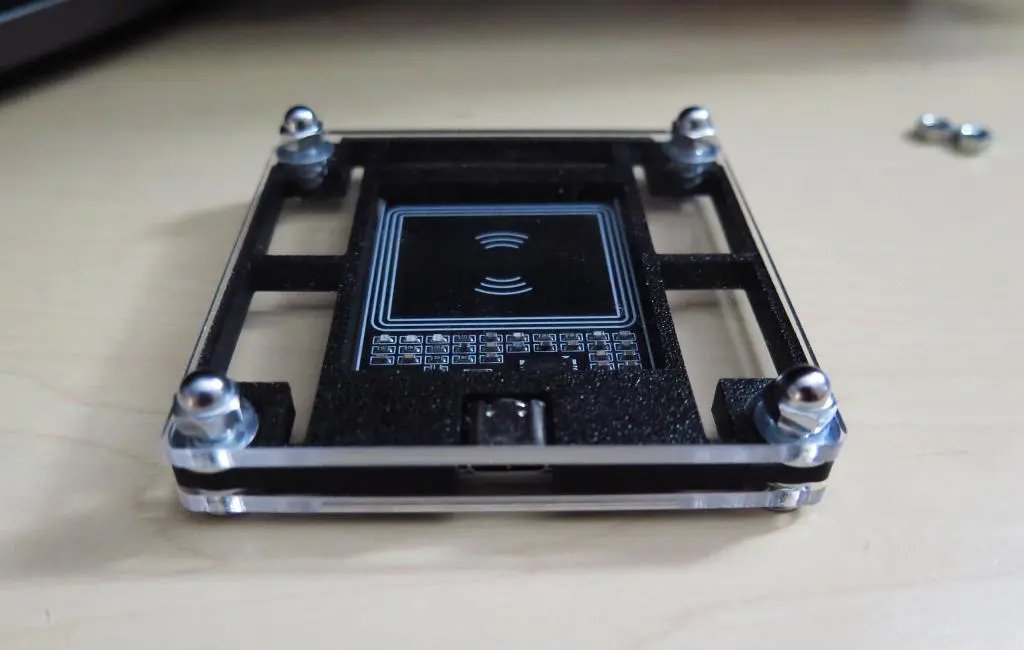
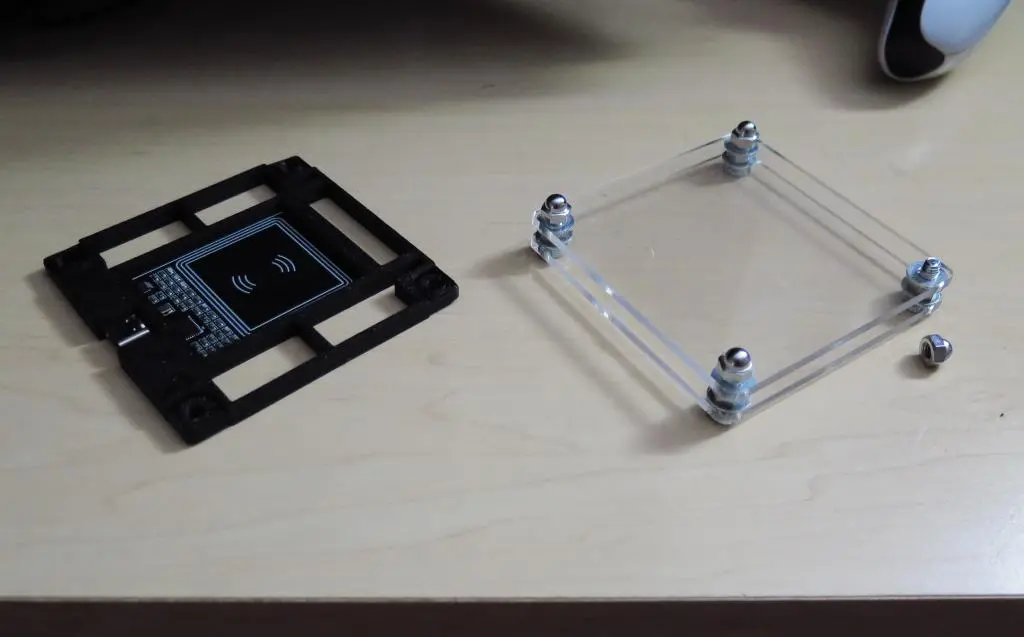
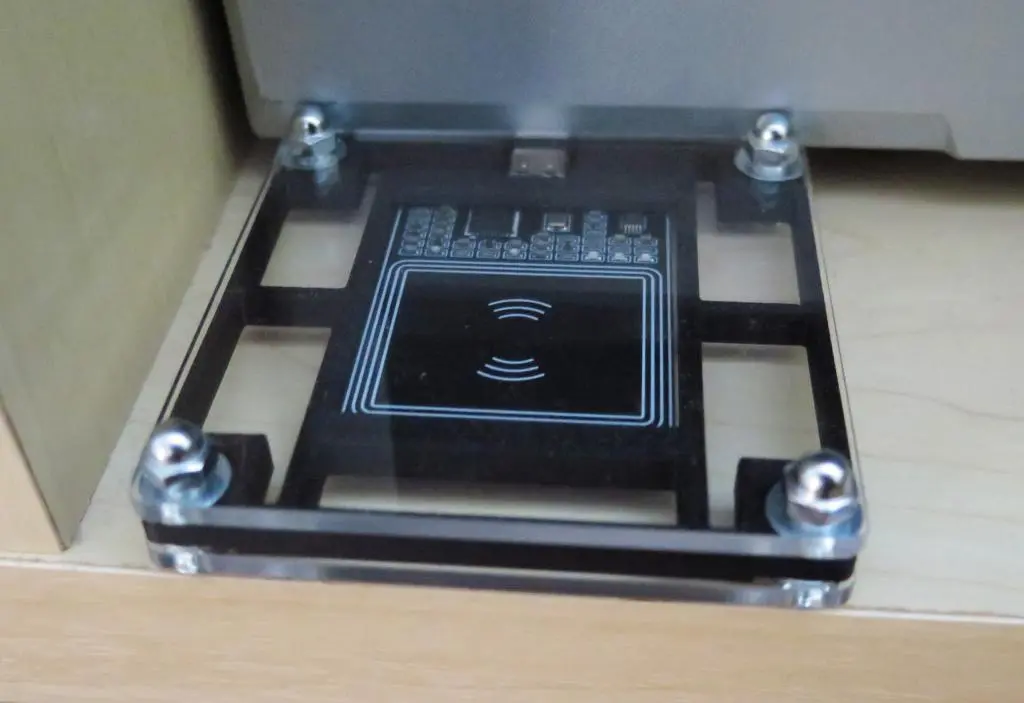
It took apart the base, and began assembling it with the bracket in the middle. The washers fit in the divots perfectly. The screw holes matched exactly with the screw holes on the plastic plates. Things were tight, but all the dimensions were exact enough that it fit together like a dream.
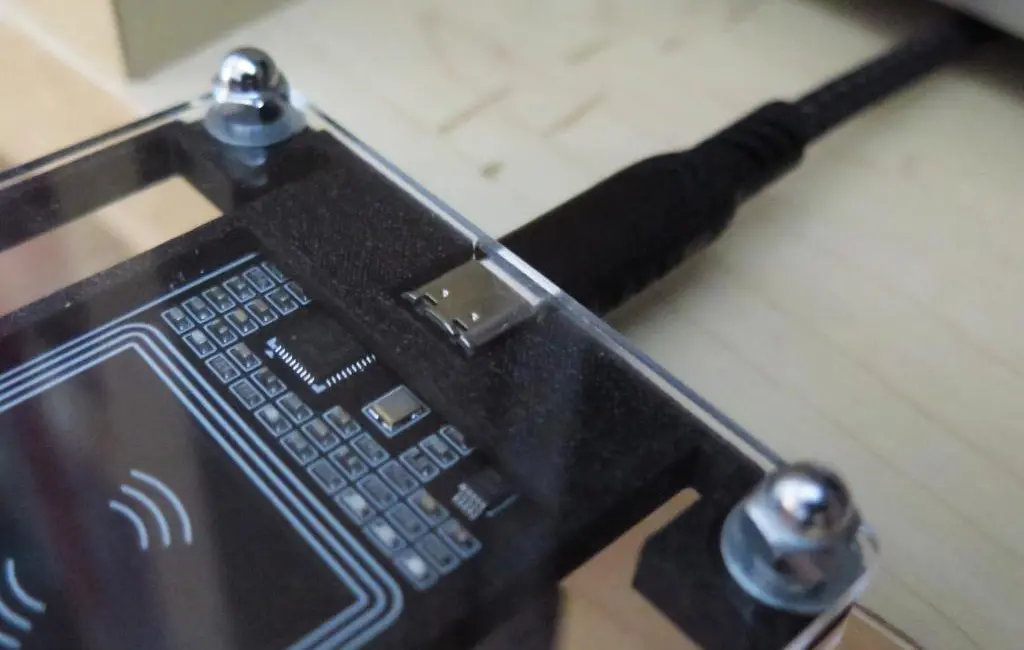
The USB-C connector was a little recessed in the bracket, but the connector on the plug was long enough to compensate. And it fit in the connector perfectly.
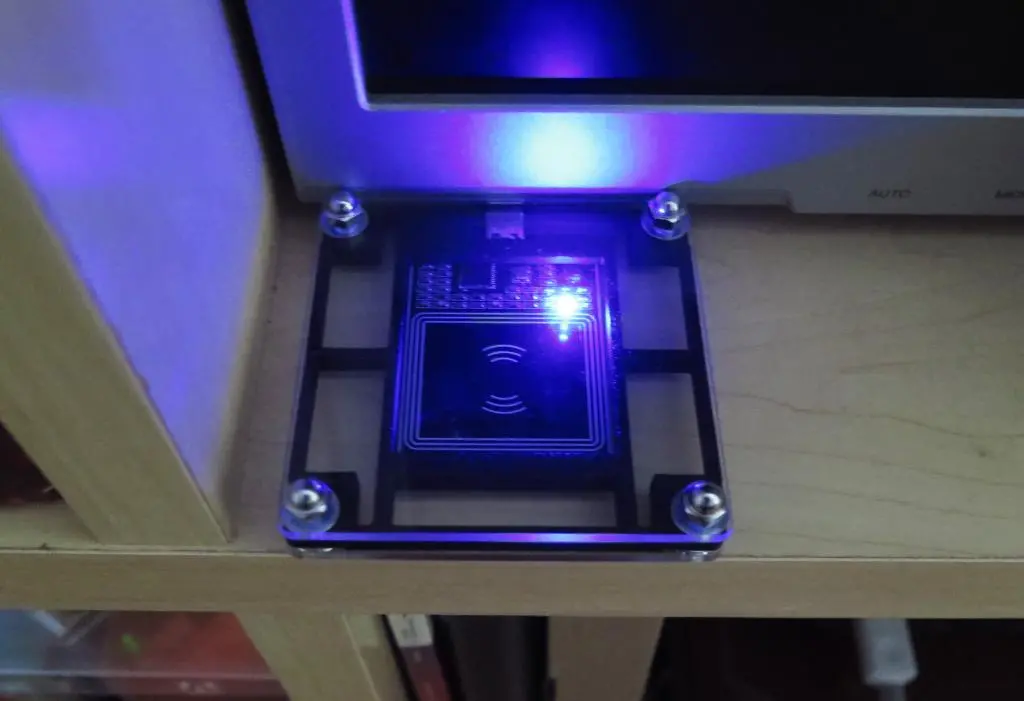
After fitting everything together, I was so amazed at the results. I would expect there to be some problem with size or quailty or variance. Like the print would be slightly too large or small. Or maybe there was some piece of the PCB sticking out that I hadn't noticed before. Or the inlets weren't deep enough. Or I messed up my measurements.
But no problems at all. It fit like a glove. Pac-Man agrees.
Feel to use the file and part list to create your own. The only thing I would add is a TapTo or Mister FPGA sticker.
